Disc
18
• Linear PCM, etc.: Audio format
• OFF/Zoom2 – 4 (DVD)/ Zoom2 (VCD):
Displays the zoom ratio.
This function can be used from the remote
control. (P.81)
• [Hide]: Hides the control screen.
• [
] : Repeats the current content. Each time
you touch the key, repeat modes are switched
in the following sequence;
DVD: Title repeat ( ), Chapter repeat
( ), Repeat off ( )
VCD (PBC On): Does not repeat
VCD (PBC Off ): Track repeat ( ), Repeat off
( )
2
Function panel
Touch the left side of the screen to display the
function panel. Touch again to close the panel.
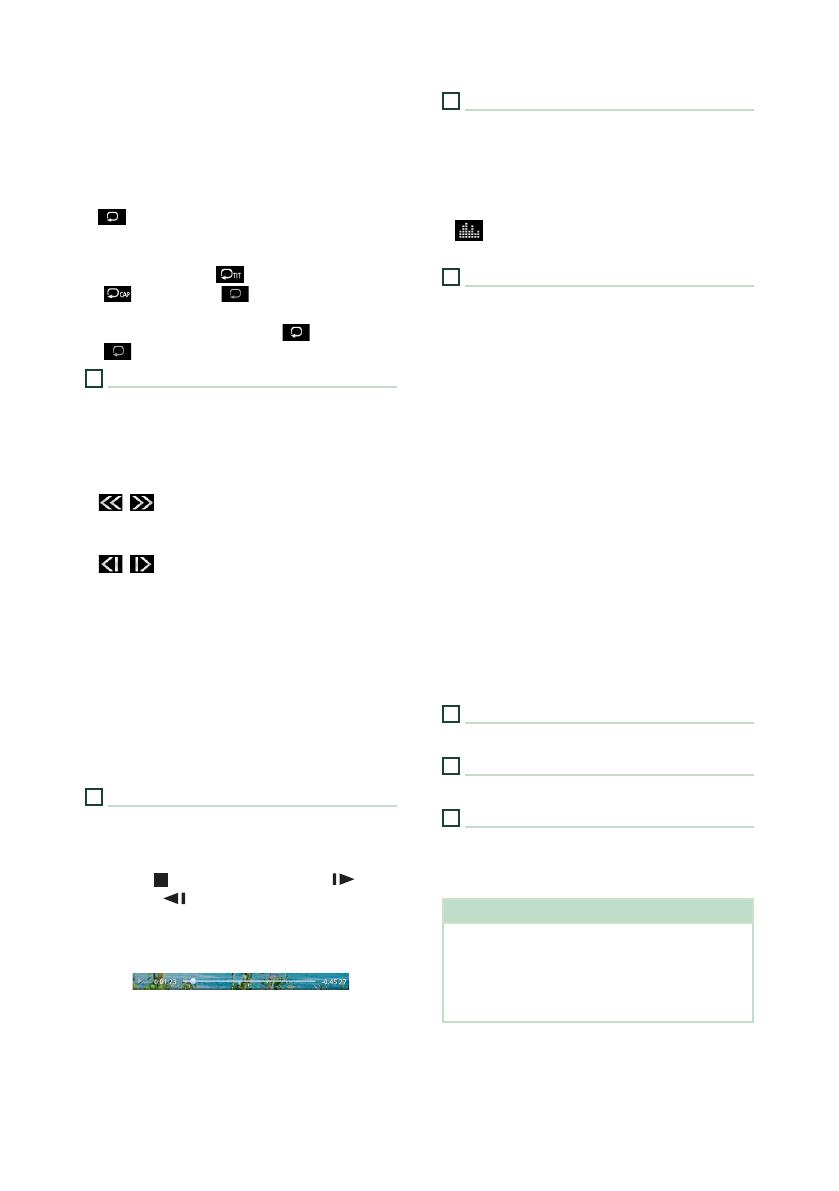
• I]: Stops playback. Touching twice will play
the disc from the beginning when you play it
next time.
• [
] [ ]: Fast-forwards or fast-backward the
disc. Each time you touch the key, the speed
changes. 2 times, 10 times.
• [
] [ ] (DVD only): Plays in slow motion
forward or backward.
• [SETUP] (DVD only): Touch to display the DVD
SETUP screen. See DVD Setup (P.22).
• [MENU CTRL] (DVD only): Touch to display
the DVD-VIDEO disc menu control screen. See
DVD Disc Menu Operation (P.21).
• [PBC] (VCD only): Touch to turn Playback
control (PBC) on or off.
• [Audio] (VCD only): Touch to change audio
output channels.
3
Play mode indicator/ Playing time
• D, B, I, etc.: Current play mode indicator
Meanings of the icons are as follows: D (play),
B (fast forward), A (fast backward),
I (stop),
R
(resume stop), H (pause), (slow
playback), (slow reverse playback).
• For confirmation of current playing position.
You can drag the circle left or right to change
the playing position. (DVD only)
4
Operation keys
• [E] [F] : Searches for the previous/next
content.
• Touch and hold to fast-forward or fast-
backward the disc.
• [DH] : Plays or pauses.
• [
] : Displays the Graphic Equalizer screen.
(P.74)
5
Indicator Items
• [IN]: Disc insertion status.
White: A Disc is inside the unit.
Orange: Disc player failure.
VCD
• [1chLL/2chLL]: Identifies the left audio output
of channel 1 or 2.
• [1chLR/2chLR]: Identifies the monaural audio
output of channel 1 or 2.
• [1chRR/2chRR]: Identifies the right audio
output of channel 1 or 2.
• [1chST/2chST]: Identifies the stereo audio
output of channel 1 or 2.
• [LL]: Identifies the left audio output.
• [LR]: Identifies the monaural audio output.
• [RR]: Identifies the right audio output.
• [ST]: Identifies the stereo audio output.
• [PBC]: The PBC function is on.
• [VER1]: The VCD version is 1.
• [VER2]: The VCD version is 2.
6
Searching area
Touch to search for the next/previous content.
7
Key display area
Touch to display the control screen.
8
[MENU CTRL] (DVD only)
Touch to display the DVD-VIDEO disc menu
control screen. See DVD Disc Menu Operation
(P.21).
NOTE
• The control screen disappears when no operation
is done for 5 seconds.
• If you use a remote control, you can jump directly
to the desired image by entering the chapter
number, scene number, play time, etc. (P.79).


