GN-B49G High-Speed Wireless Broadband Router
1
Chapter 1
Getting To Know Your B49G
Overview
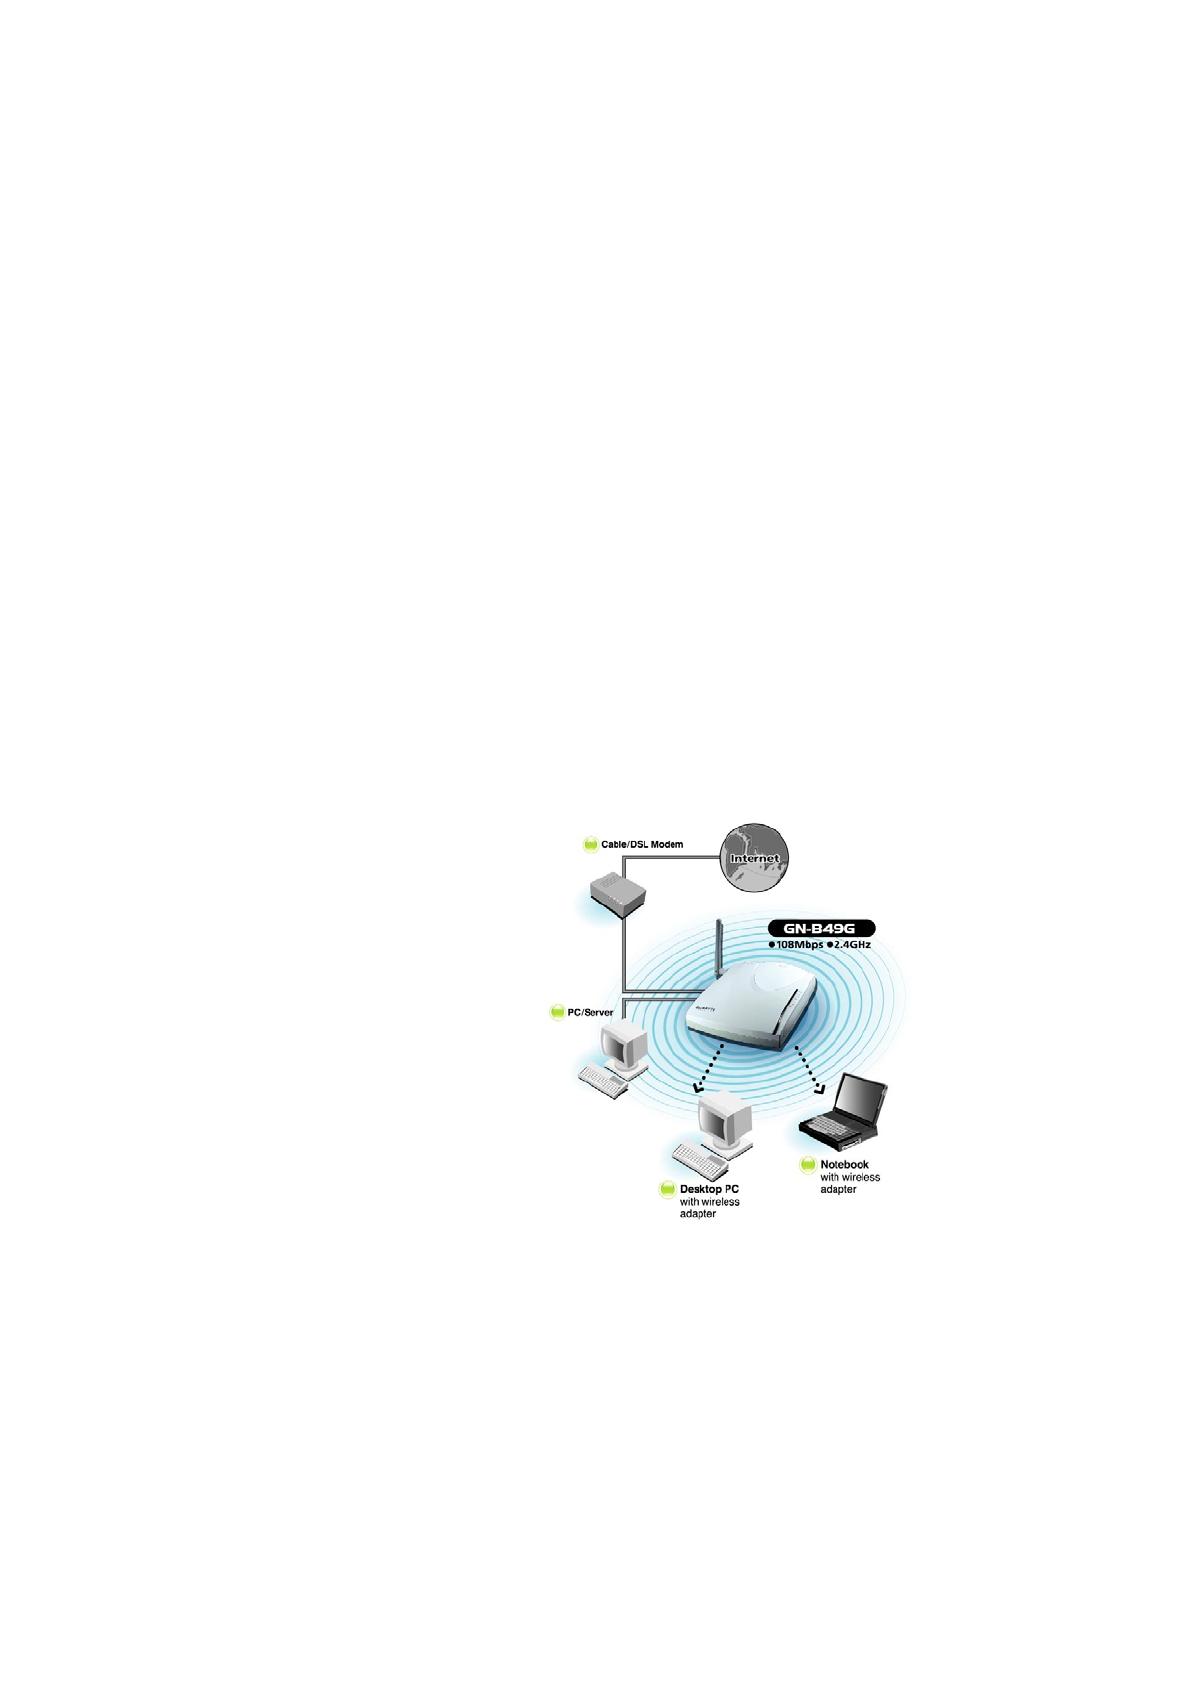
Thank you for purchasing the GN-B49G High-Speed Wireless Router.
Providing transmission speeds of up to 108Mbps, the GN-B49G allows users to
share network resources, retrieve emails, download large files, conduct a video
conference, and distribute or display digital photos, videos or MP3 files. The
B49G is the ideal networking device for you to share a broadband connection in
your home or office. The GN-B49G gives you a simple, cost-effective wireless
networking solution.
The B49G offers the newest, strongest, most advanced security features
available today. Unlike most other wireless routers, the B49G offers advanced
features such as SmartDHCP (the ability to assign IP addresses to other
network devices while still using DHCP), a user editable routing table, Dynamic
DNS mapping (allowing you to host a website on your dynamic DSL account),
and more. Advanced security features such as WPA (Wi-Fi Protected Access)
and 802.1x safeguard your privacy on-line, while URL blocking keeps kids safe
from explicit websites.
Like all 802.11g wireless products, the B49G is fully backwards compatible with
802.11b products. This means that you don’t need to change your entire
network to maintain connectivity.
Package Contents
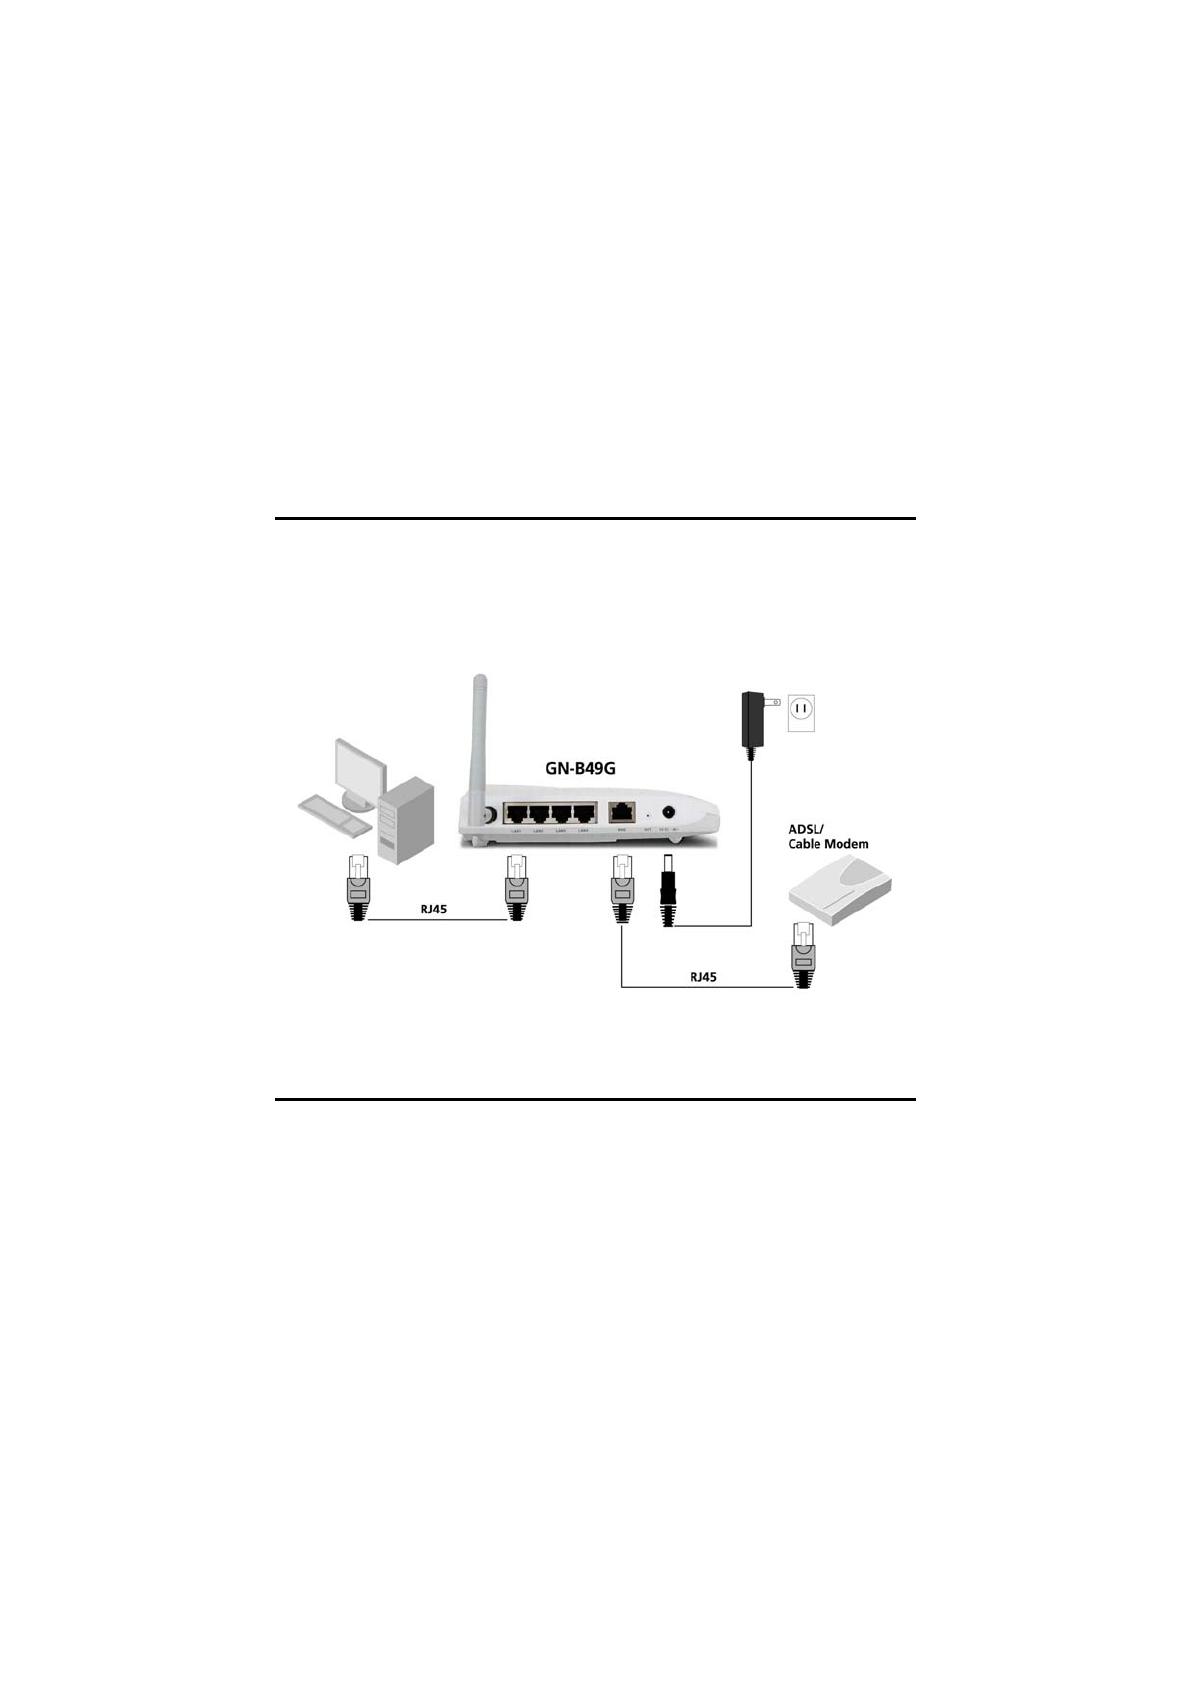
• GN-B49G High-Speed 2.4GHz Wireless Broadband Router
• Power adapter (5V DC, 2.0A)
• Vertical Stand
• User Guide on CD-ROM
• Quick Start Guide
• SmartSetup 3 Guide
• Ethernet cable – All of the B49G Ethernet ports are Auto-MDIX
If there are any missing or damaged parts, please contact your local distributor
or dealer immediately.
Using a power supply with a different voltage rating than the one included with
the B49G may cause damage and void the warranty for this product.