Introduction
16
Memory operation
Record, Record pause,
Playback, Playback pause,
Fast playback,
Fast reverse playback,
Slow playback,
Slow reverse playback
only:
Frame advance,
Frame reverse
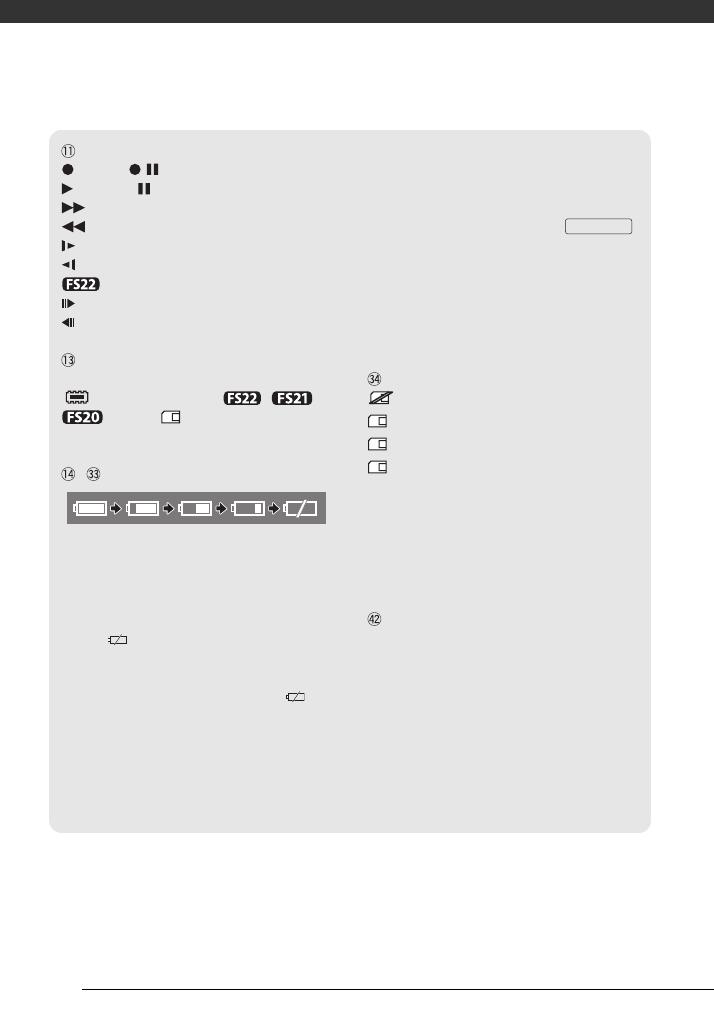
Remaining recording time
When there is no more free space on the memory,
[ END] (built-in memory, / /
only) or [ END] (memory card) will
be displayed and the recording will stop.
, Remaining battery time
• The icon shows a rough estimate of the
remaining charge as a percentage of the full
charge of the battery pack. The remaining
recording/playback time of the battery pack is
displayed, in minutes, next to the icon.
• When is displayed in red, replace the
battery pack with a fully charged one.
• When you attach an empty battery pack, the
power may turn off without displaying .
• The first time you use a battery pack, fully
charge it and then use the camcorder until the
battery pack is completely exhausted. Doing so
will ensure that the remaining recording time
will be displayed accurately.
• Depending on the conditions under which the
camcorder and the battery pack are used, the
actual battery charge may not be indicated
accurately.
• When the camcorder is off, press
to display the charge status of a battery pack.
The Intelligent System will display the charge
status (as a percentage) and the remaining
recording time (in minutes) for 5 seconds. If the
battery pack is exhausted, the battery
information may not be displayed.
Number of photos available
in red: No card
in green: 6 or more photos
in yellow: 1 to 5 photos
in red: No more photos can be recorded
• When viewing the photos, the display will
always be in green.
• Depending on the recording conditions, the
number of available photos displayed may not
decrease even after a recording has been
made, or may decrease by 2 photos at once.
Photo number
The photo number indicates the name and
location of the file on the memory card. For
example, the file name of photo 101-0107 is
“IMG_0107.JPG”, stored under the folder
“DCIM\101CANON”.
BATT.INFO


