Xmark XM-7618 Owner's manual
- Type
- Owner's manual
Xmark XM-7618 is a versatile piece of home fitness equipment that combines the functions of a lat machine and a low pulley system. It offers a wide range of exercises that target different muscle groups, including the back, shoulders, arms, and legs. Here are some of its key features and potential use cases:
-
Lat Pulldowns: Strengthen your lats, the large muscles on the back, by performing lat pulldowns using the high pulley cable. This exercise helps improve upper body strength and posture.
-
Triceps Extensions: Tone and strengthen your triceps, the muscles on the back of your upper arms, by doing triceps extensions using the high pulley cable. It's an excellent exercise for building arm strength and definition.


-
 1
1
-
 2
2
-
 3
3
-
 4
4
-
 5
5
-
 6
6
-
 7
7
-
 8
8
-
 9
9
-
 10
10
-
 11
11
-
 12
12
-
 13
13
-
 14
14
-
 15
15
-
 16
16


Xmark XM-7618 Owner's manual
- Type
- Owner's manual
Xmark XM-7618 is a versatile piece of home fitness equipment that combines the functions of a lat machine and a low pulley system. It offers a wide range of exercises that target different muscle groups, including the back, shoulders, arms, and legs. Here are some of its key features and potential use cases:
-
Lat Pulldowns: Strengthen your lats, the large muscles on the back, by performing lat pulldowns using the high pulley cable. This exercise helps improve upper body strength and posture.
-
Triceps Extensions: Tone and strengthen your triceps, the muscles on the back of your upper arms, by doing triceps extensions using the high pulley cable. It's an excellent exercise for building arm strength and definition.
Ask a question and I''ll find the answer in the document
Finding information in a document is now easier with AI
Related papers
Other documents
-
 XMark Fitness XM-7621 Owner's manual
-
 Mark Fitness XM-7629 Owner's manual
-
 XMark Fitness XM-7630 Owner's manual
-
 XMark Fitness XM-4417 Owner's manual
-
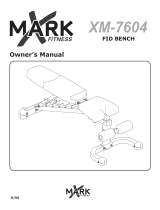 Mark Of Fitness XM-7604 User manual
-
 TKO 6630 Cable Motion Home Gym Owner's manual
-
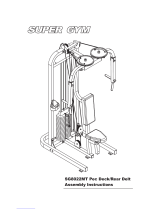 Super Gym’s SG8022MT Assembly Instructions Manual
-
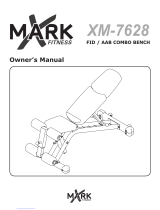 XMark Fitness XM-7628 Owner's manual
-
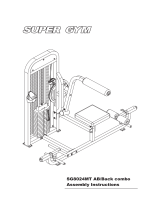 Super Gym SG8024MT Assembly Instructions Manual
-
 Mark Of Fitness XM-4419 User manual


