18
3.3 Register your Wi-Fi thermostat
After you are logged in to your Total
Connect Comfort account, register your
thermostat.
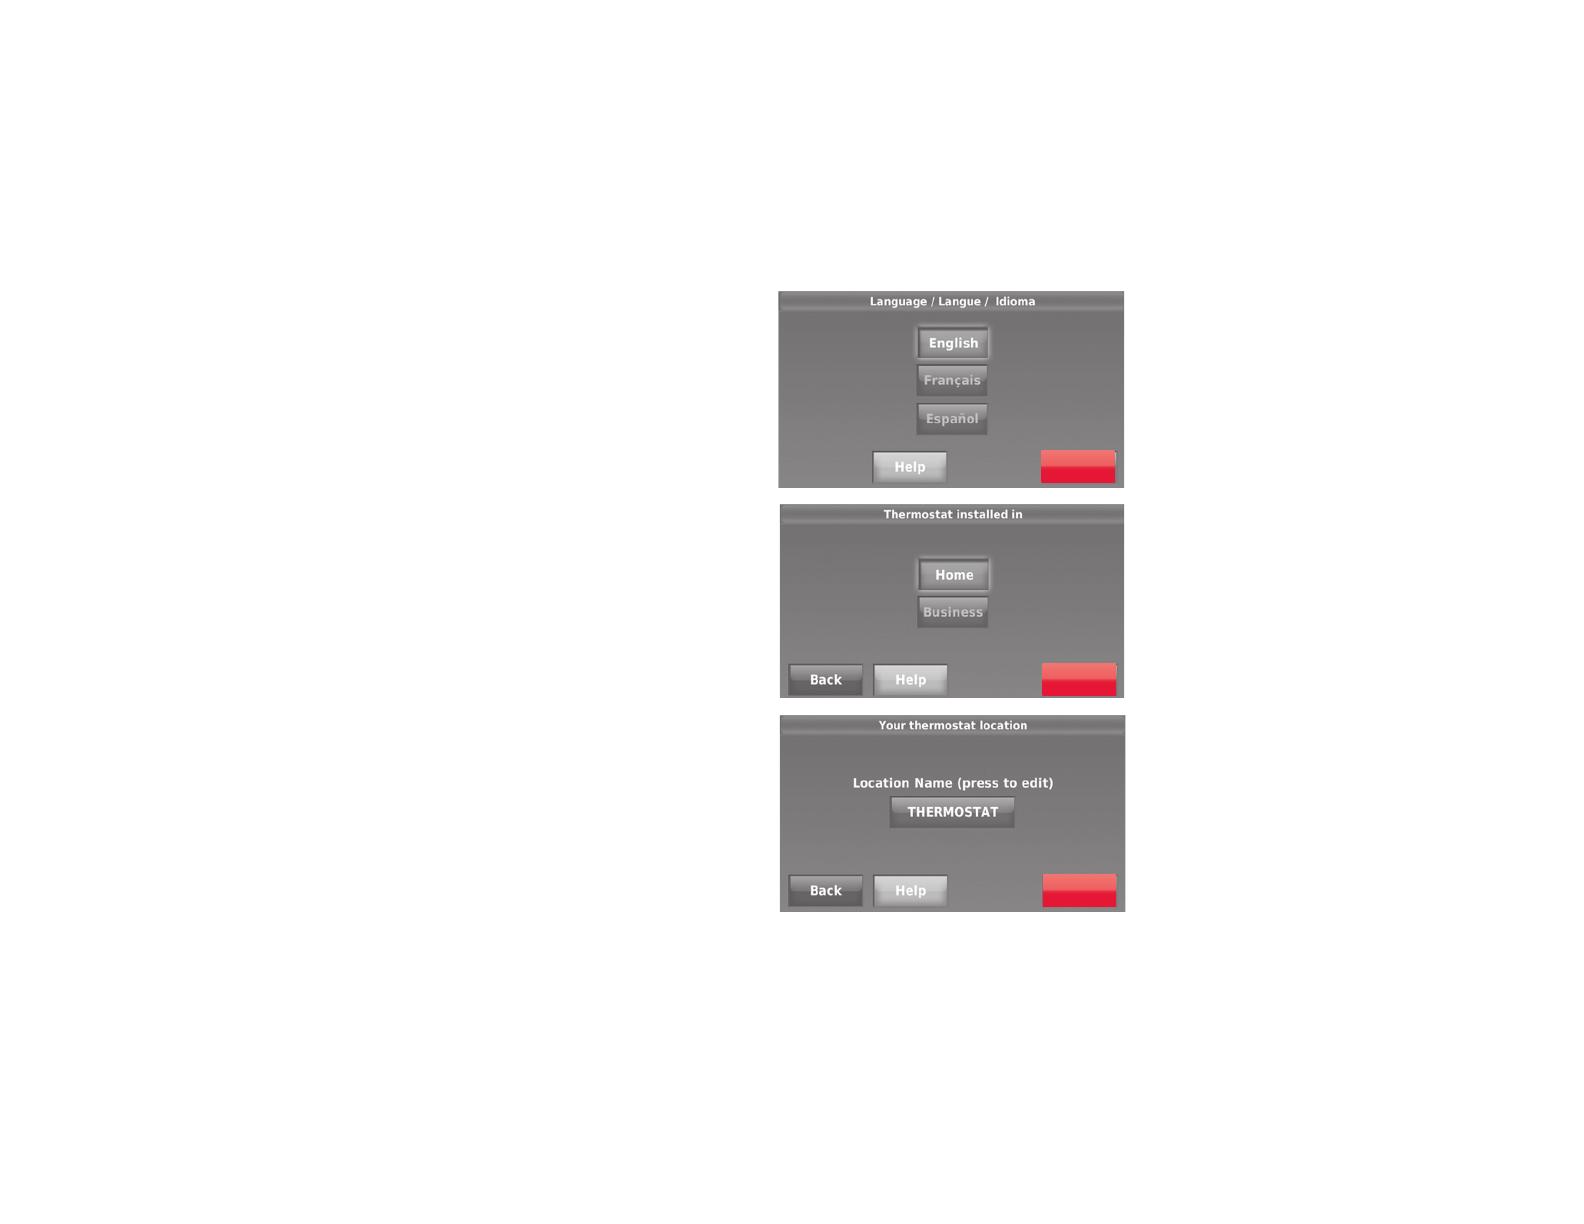
3.3a Followtheinstructionsonthe
screen. After adding your
thermostat location you must enter
your thermostat’s unique identifiers:
• MACID
• MACCRC
Note: TheseIDsarelistedon the
ThermostatIDCardincludedinthe
thermostatpackage.TheIDsarenot
case sensitive.
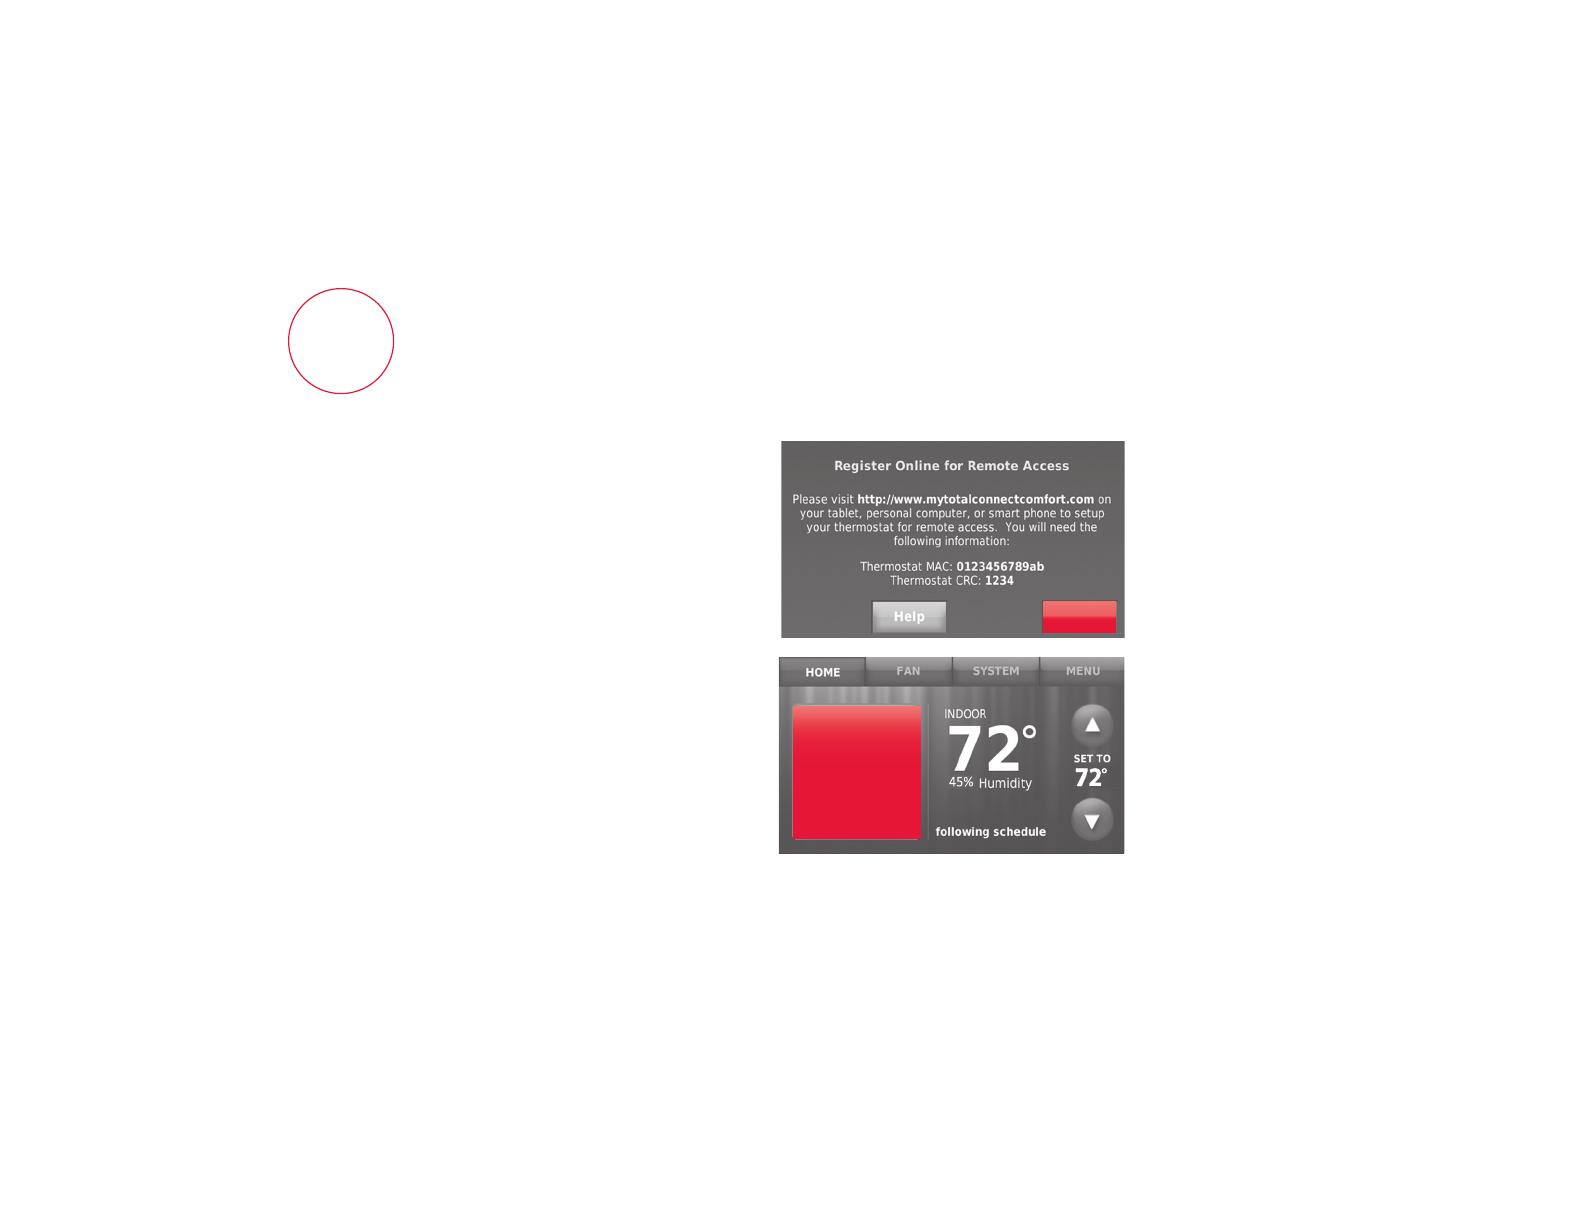
3.3b
Notice that when the thermostat is
successfully registered, the Total
Connect Comfort registration
screenwilldisplayaSUCCESS
message.
You can now control your thermostat
from anywhere through your laptop,
tablet, or smartphone.
® U.S. Registered Trademark.
© 2012 Honeywell International Inc.
69-2723EFS—01 M.S. 04-12
Printed in U.S.A.
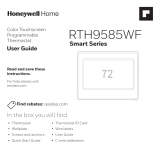
HONEYWELL MODEL: RTH8580WF
MAC ID: MAC CRC:
69-2723EFS-01
Thermostat ID Card
Use the MAC ID and CRC ID to register
this product at mytotalconnectcomfort.com
Carte d’identification de thermostat
Utilisez l’identication MAC et l’identication CRC pour
enregistrer ce produit à mytotalconnectcomfort.com
Tarjeta de identificación del termostato
Utilice la identicación MAC y la identicación CRC para
inscribir este producto en mytotalconnectcomfort.com
MACID MAC CRC