More Information:
Visit the Garmin Web site for current
updates and details about eTrex operation and accessories.
www.garmin.com
Waypoints Pointer Page Basics
QUICK START GUIDE
Important Note
Track Log
After you have used the eTrex for a few trips, the map display can
become a bit crowded from keeping track of your every move. You
can clean up the screen by clearing the track log (the lines left on the
Map Page). You might also want to save your current track log before
clearing it.
To save the current Track Log:
1. From the MENU Page, highlight ‘TRACKS’ and press ENTER. The
TRACK LOG Page appears.
2. Press the
UP or DOWN button to highlight ‘SAVE,’ then press
ENTER. The SAVE BACK THROUGH window appears giving you
a time frame for saving a track or ‘ENTIRE LOG.’
3. Press the
UP or DOWN button to select the desired option.
Press ENTER. The saved track appears on a sub-page.
4. Press the
UP or DOWN button to select ‘OK.’ Press ENTER. The
track is now saved and appears in the ‘SAVED TRACKS’ list on
the TRACK LOG Page.
To clear the Track Log:
1. Press the PAGE button to switch to the MENU Page.
2. Press the
UP or DOWN button to highlight ‘TRACKS.’
3. Press ENTER. You are now on the TRACKS Page. Press the UP
button to highlight 'CLEAR.' Press ENTER.
4. Press the DOWN button to highlight ‘YES.’ Press
ENTER. Press
the PAGE button to select any page.
Saving and Clearing The Track Log
11
Pointer Page Basics
9
Waypoints are locations that you can mark (save in memory) as
destinations to navigate to later.
To mark a waypoint:
1. Press and hold the ENTER button. The ‘MARK WAYPOINT’
page appears.
2. The eTrex automatically assigns a numeric name to the new
waypoint. With ‘OK?’ highlighted, press
ENTER. The waypoint
is now stored in the eTrex’s memory.
Marking a Waypoint
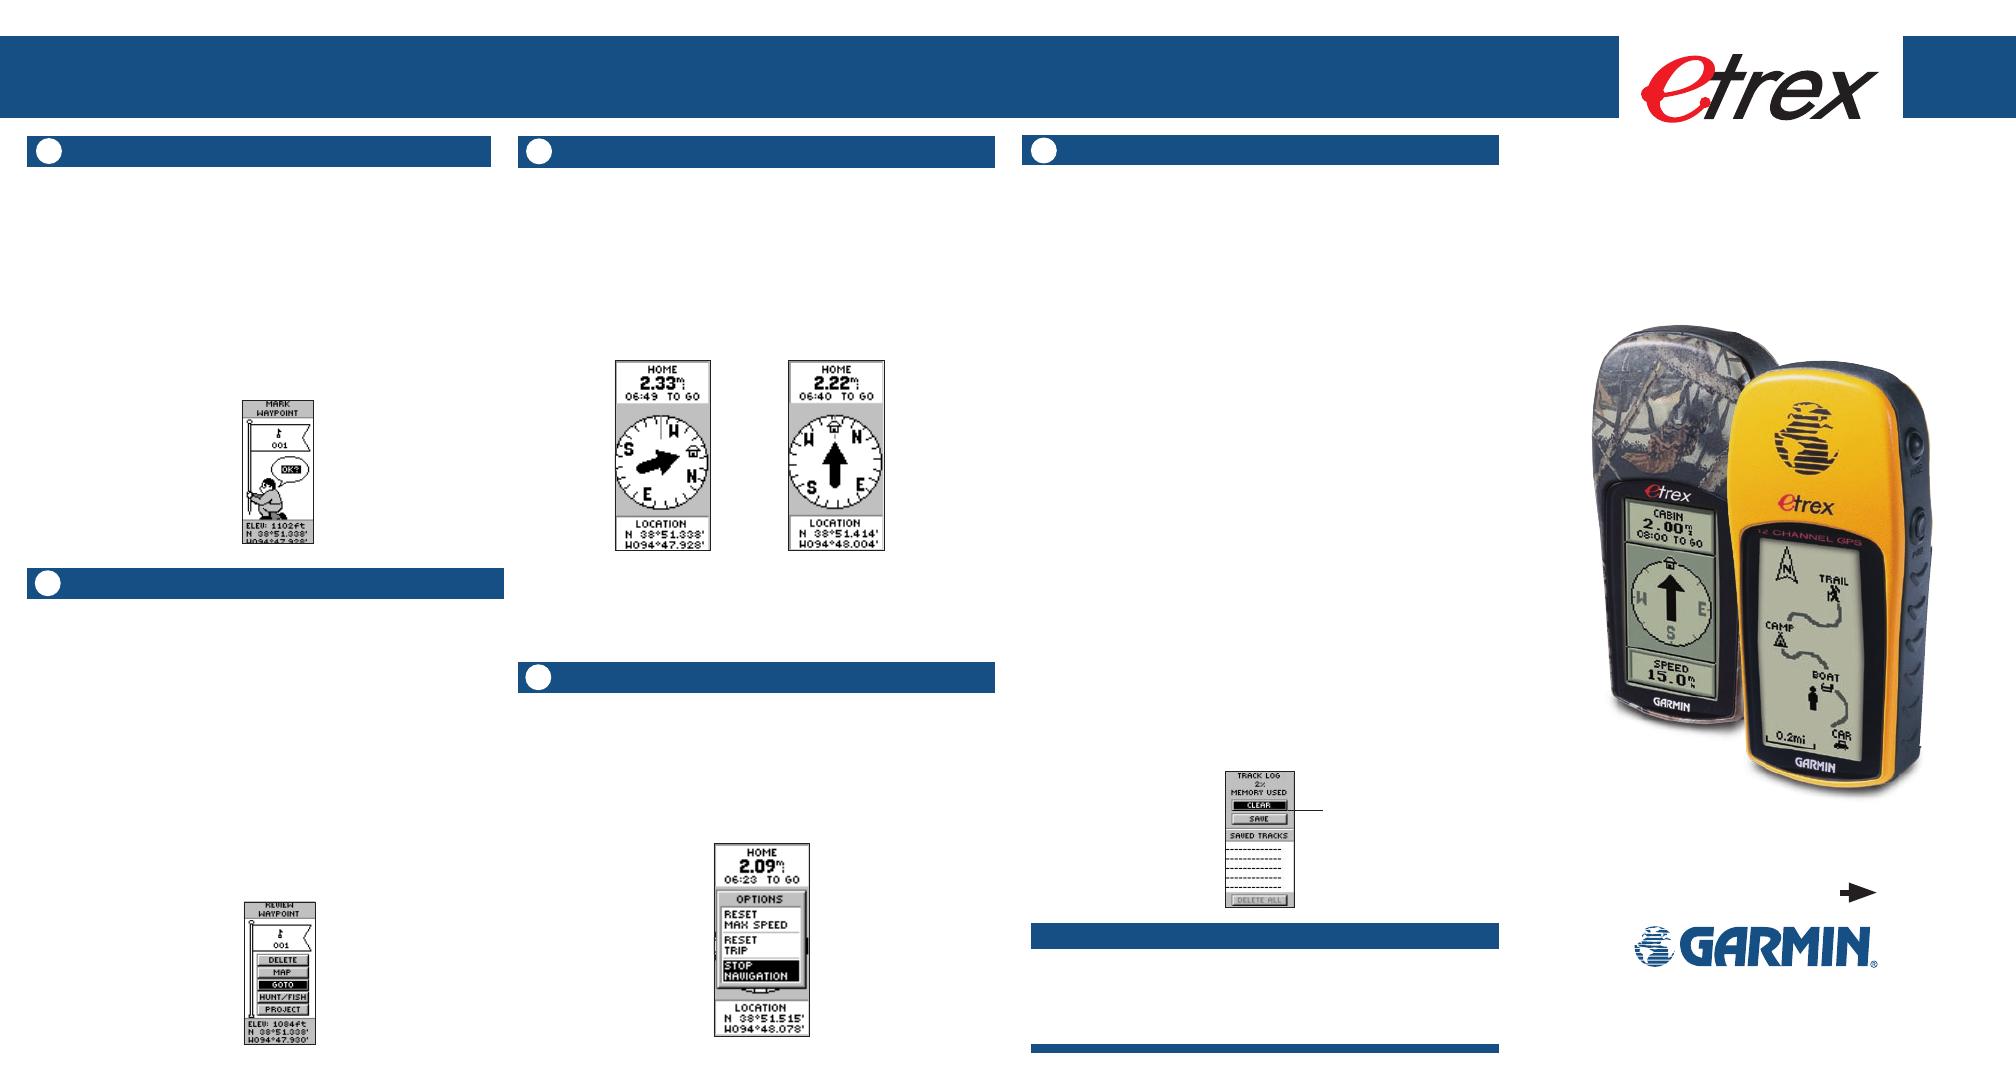
Once you select a GOTO, the eTrex will guide you to the des-
tination using the Pointer Page. The pointer (arrow) tells you the
direction to the destination waypoint. Walk in the direction the
arrow is pointing until it points at the Moving Driection Line at the
top of the compass ring. If the arrow points to the right, you need
to go right. If the arrow points to the left, go left. When the arrow
is pointing straight up, you are on the correct track!
To stop a GOTO:
1. Press the PAGE button and switch to the POINTER Page. Press
ENTER.
2. Highlight ‘STOP NAVIGATION’ on the OPTIONS Page and press
ENTER.
Stopping a GOTO
10
Track Log Page
Highlight CLEAR or SAVE
and press
ENTER
7
Step-by-Step Instructions
to Get You Started
(Turn this page and begin with Step 1)
© 2004 Garmin Ltd. or its subsidiaries
Garmin International, Inc. 1200 E. 151st St., Olathe, KS 66062 USA
Part Number 190-00395-01 Rev. B
The eTrex guides you to a waypoint using a GOTO (GOTO means
GOing TO a destination in a direct line).
To start a GOTO:
1. Press the PAGE button to switch to the MENU Page. Press the
the UP or DOWN button to highlight ‘WAYPOINTS’ and press
ENTER. The REVIEW WAYPOINT Page appears.
2. Press the
UP or DOWN button to select the tab containing the
desired waypoint name, then press ENTER. Press the UP or
DOWN button to select the desired waypoint name, then press
ENTER. The Review Waypoint page for that waypoint appears.
3. Press the
UP or DOWN button to highlight ‘GOTO,’ then press
ENTER.
Going To A Waypoint
8
Mark Waypoint
Page
Review Waypoint
Page
Go right until the arrow
points straight up.
You're on target!
eTrex / eTrex Camo