12
EC MEASUREMENT & CALIBRATION
Rinse the electrode off well with
distilled or deionized water. Shake
off excess droplets. PLace the probe
in the sample to be tested. Use plastic
beakers or containers to minimize any
electromagnetic interference. Tap the probe lightly on the
bottom of the beaker or container to remove air bubbles that
may be trapped inside the tip. Wait for a few minutes for
the temperature sensor to reach thermal equilibrium, when
the
tag disappears. The LCD displays the EC or TDS value
(automatically compensated for temperature) on the primary
LCD, while the secondary LCD displays the sample temperature.
If measurements are taken in different samples successively,
rinse the probe tip thoroughly in distilled or deionized water
to eliminate cross‑contamination.
EC calibration
Before calibration, rinse the sensor
tip with a heavy stream of distilled
or deionized water. Shake off excess
droplets.
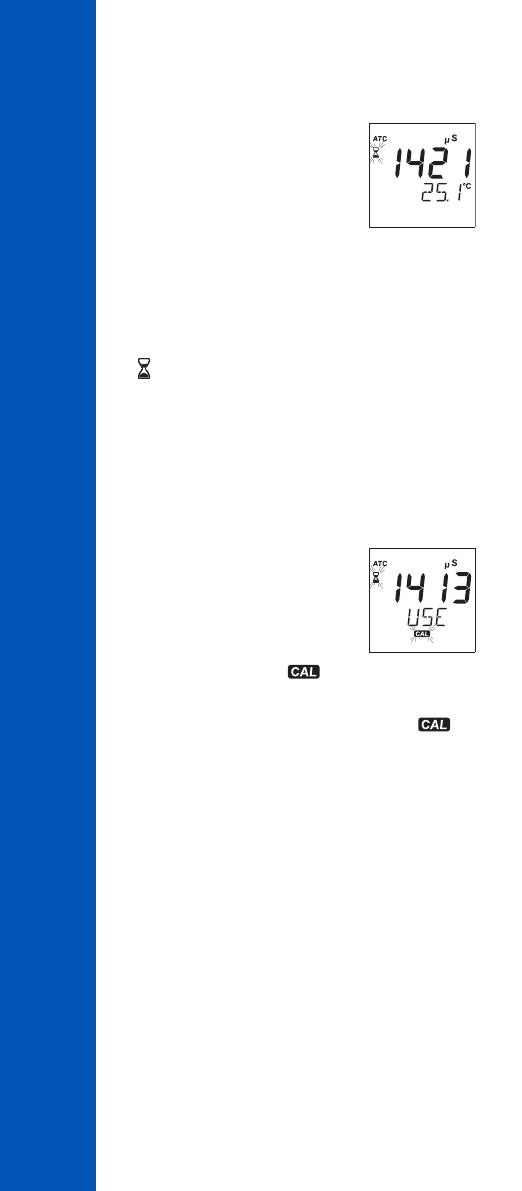
Select calibration “STD“
. The meter enters the
calibration mode and “μS 1.41 USE” (HI99300) or
“mS 12.88 USE“ (HI99301) is displayed with tag
blinking. Place the sensor in calibration solution. If the
standard value is recognized first “REC“ then “WAIT“
is displayed until the calibration is accepted. The LCD
will display “SAVE” for 1 second and return to normal
measurement mode. If the standard is not recognized or the
reading is out of accepted range “--- WRONG“ is displayed.
After the calibration procedure has been completed, the
“CAL“ is displayed.
Note: - β should be set to 1.9 during calibration.
- There is a known relationship between the EC and
TDS readings, it is not necessary to calibrate the meter
in TDS. The meter will allow a calibration in TDS using
HI70032
or
HI70038
TDS calibration solution.
OPERATIONAL GUIDE


