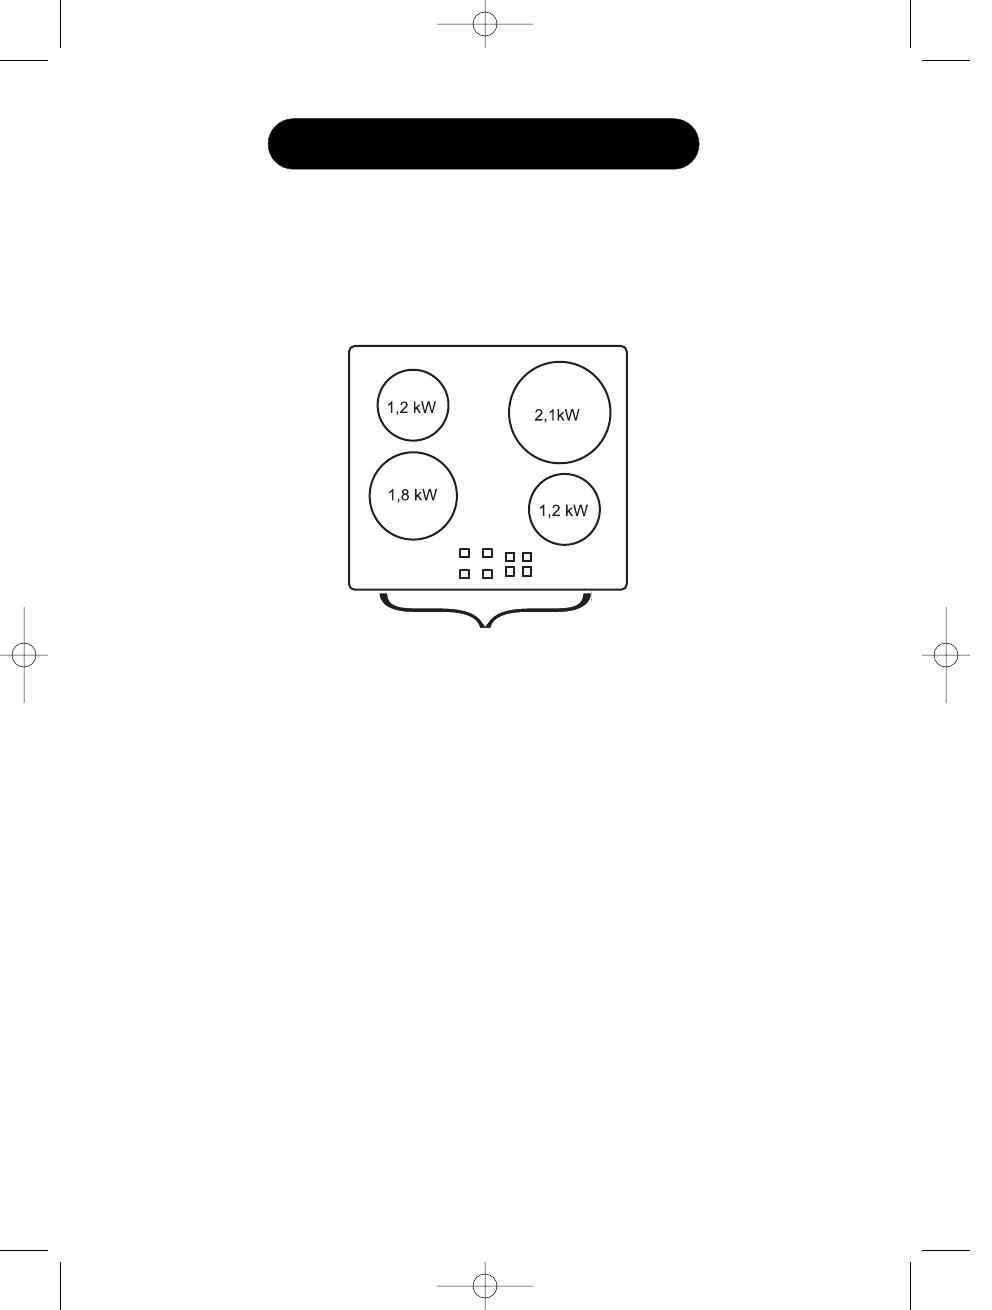
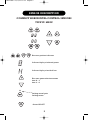
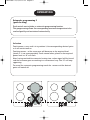
Groupe Brandt H60TC is a compact horizontal control sensor that comes with a variety of useful features and functions. It boasts a convenient touch-sensitive control panel that allows you to effortlessly operate the hob. The hob's sensors react to the presence of a reflective object, so you can easily control it with just a touch of your finger.
Groupe Brandt H60TC also includes a handy automatic programming function that enables you to quickly reach the maximum temperature. Once the desired temperature is reached, it automatically maintains it, ensuring consistent cooking results.


-
 1
1
-
 2
2
-
 3
3
-
 4
4
-
 5
5
-
 6
6
-
 7
7
-
 8
8
-
 9
9
-
 10
10
-
 11
11
-
 12
12
-
 13
13
-
 14
14
-
 15
15
-
 16
16


Groupe Brandt H60TC is a compact horizontal control sensor that comes with a variety of useful features and functions. It boasts a convenient touch-sensitive control panel that allows you to effortlessly operate the hob. The hob's sensors react to the presence of a reflective object, so you can easily control it with just a touch of your finger.
Groupe Brandt H60TC also includes a handy automatic programming function that enables you to quickly reach the maximum temperature. Once the desired temperature is reached, it automatically maintains it, ensuring consistent cooking results.
Ask a question and I''ll find the answer in the document
Finding information in a document is now easier with AI
Related papers
Other documents
-
 Lebensstil Kollektion LKRH-3102P User manual
-
Fagor VFA-78 S User manual
-
Groupe Brandt 2FI-4EB Owner's manual
-
Beko HII94400FT User manual
-
Candy FCO 104 N User manual
-
Amica PH3200ZT User manual
-
-
Siemens EH675TK11E Repair Instruction
-
Baumatic BSIH64 User manual
-
Bertazzoni PM36 3 I0 X Installation guide
