v
GB
About the
NEX-5T
Index
(NEX-5T)
• When [Airplane Mode] is set to [On], you cannot connect the camera and the Smartphone. Set [Airplane
Mode] to [Off].
• RAW images are converted to JPEG format when they are sent.
• You cannot send AVCHD format movies.
1 MENU t [Playback] t [Send to Smartphone] t desired mode.
• When you press (Send to Smartphone) on the camera, proceed to step 1 of [Select on This
Device].
• The NFC function is available only when the (N mark) is displayed on the camera.
• Touch the Smartphone to the camera for more than two seconds until “PlayMemories Mobile”
launches.
• If you cannot find an N mark on the Smartphone, confirm the touch-point by referring to the
instruction manual of the Smartphone.
• You can select an image size to be sent to the Smartphone from [Original], [2M] or [VGA].
To change the image size: For Android, select [Image quality] from the “PlayMemories Mobile”
menu, and for iPhone, select the setting menu t “PlayMemories Mobile” t [Image quality].
Notes
Sending images without using the NFC function
Select on This Device Selects images to be sent to the Smartphone from the camera.
1Select a mode from [This Image], [All Images on This
Date], [All Movie(MP4) on Date], or [Multiple Images].
2[OK] t z on the control wheel
If you select [Multiple Images], select the desired images
using z on the control wheel, then press [OK] t z.
Select on Smartphone Displays all images recorded on the camera’s memory card
on the Smartphone.
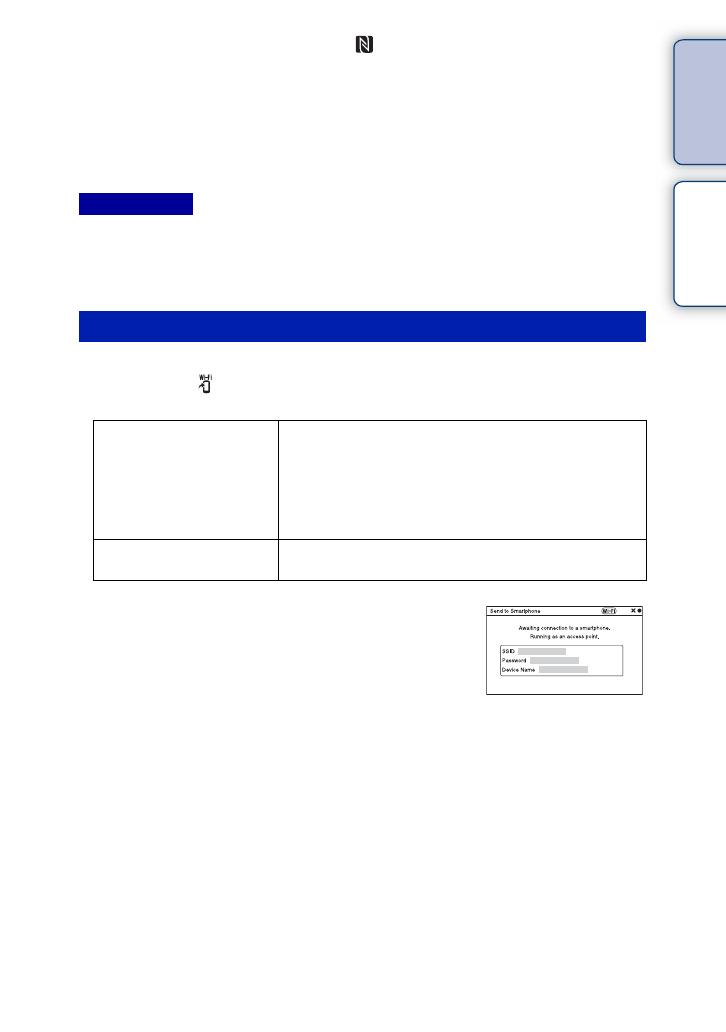
When the camera is ready for the connection, the
information screen appears.
2 Connect the Smartphone and the camera using the SSID and password
on the information screen.
• You can select an image size to be sent to the Smartphone from [Original], [2M] or [VGA].
To change the image size: For Android, select [Image quality] from the “PlayMemories Mobile”
menu, and for iPhone, select the setting menu t “PlayMemories Mobile” t [Image quality].
[For Android]
[For iPhone]
Continued r


