22
21
Ara Kablo Kurulum Kılavuzu
Kasa ışık bağlantısı
USB 2.0 bağlantısı
Ses Bağlantısı
Ara Kablo Kurulum Kılavuzu
/ Kasanın ön kısmında bazı ışıklar ve anahtar ara kabloları görebilirsiniz. Lütfen anakart üreticinizin
sağladığı kullanım kılavuzuna bakın ve daha sonra, bu ara kabloları, anakart üzerindeki panel bağlantı noktalarına bağlayın.
USB 2.0 bağlantısı / Lütfen anakart kılavuzunuzun “USB bağlantısı” bölümüne bakın.
USB 3.0 Bağlantısı /
1. Ana kartınızın dahili USB 3.0 bağlantısını desteklediğinden emin olun.
2. USB 3.0 kablosunu, bilgisayarınızdaki kullanılabilir USB 3.0 bağlantı noktasına bağlayın.
Ses Bağlantısı / Lütfen aşağıdaki Ses konektörü resmine ve anakartınızın kullanım kılavuzuna bakın. Lütfen AC’97 veya HD
Audio(Azalia) spesifikasyonunu kullanan bir anakart seçin (ses sisteminizin AC’97 veya HD Audio (Azalia) spesifikasyonunu
desteklediğini unutmayın); aksi takdirde, aygıt(lar)ınız zarar görür.
Kasa ışık bağlantısı
คู่มือการติดตั้งสายไฟ
การเชื่อมต่อไฟ LED ของเคส
กรุณาศึกษารายละเอียดจากคู่มือผู้ใช้ของผู้ผลิตแผงวงจรหลักของคุณ
จากนั้นให้เชื่อมต่อสายไฟเหล่านี้เข้ากับส่วนหัวของแผงบนแผงวงจรหลัก
การเชื่อมต่อ USB 2.0 / กรุณาศึกษารายละเอียดจากคู่มือผู้ใช้ของผู้ผลิตแผงวงจรหลักของคุณ ในหัวข้อ "การเชื่อมต่อ
USB"
การเชื่อมต่อ USB 3.0 /
1. ตรวจดูให้แน่ใจว่าแผงวงจรหลักของคุณรองรับการเชื่อมต่อ USB 3.0 ภายใน
2. เชื่อมต่อสาย USB 3.0 เข้ากับพอร์ต USB 3.0 ที่สามารถใช้งานได้บนคอมพิวเตอร์ของคุณ
การเชื่อมต่ออุปกรณ์รับส่งสัญญาณเสียง/ กรุณาดูรายละเอียดจากภาพประกอบของตัวเชื่อมต่อสัญญาณเสียงต่อไปนี้
และคู่มือผู้ใช้ของผู้ผลิตแผงวงจรหลักของคุณ
กรุณาเลือกแผงวงจรหลักที่ใช้ AC’97 หรือ HD Audio(Azalia)
(กรุณาตรวจสอบให้แน่ใจว่าอุปกรณ์รับส่งสัญญาณเสียงของคุณรองรับ AC’97 หรือ HD Audio (Azalia))
มิฉะนั้นอุปกรณ์ของคุณอาจเสียหายได้
/ ที่ด้านหน้าของเคส คุณจะเห็นไฟ LED และสายไฟของสวิตซ์
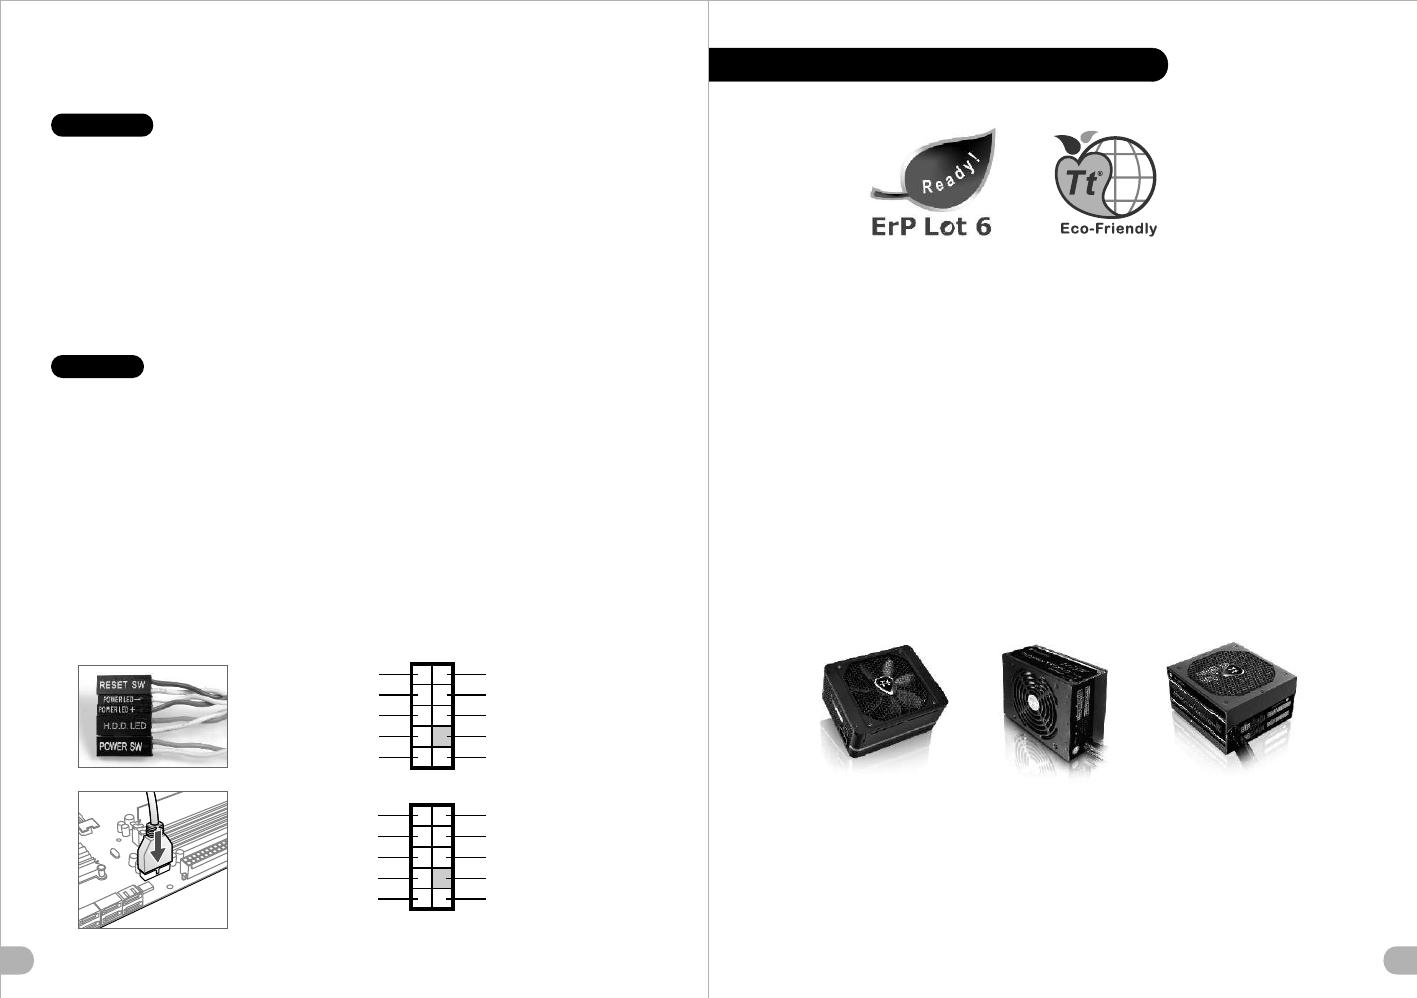
Thermaltake Power Supply Series (Optional)
As today’s technology updates rapidly, consumers are always requesting for higher and higher PC
performance, which also increases loads to power supplies. Therefore, selecting a suitable and reliable
power supply becomes a necessary lesson for all PC users.
Why Choose Thermaltake Power Supply?
Quality From Within
Every power supply units from Thermaltake should pass a very strict quality control before sent to
customers, including BIT(Burn-in-test) for over 8 continuous hour in a 45℃ room to test if a unit can run
normally under usual scene, and Hipot test to ensure the power supply unit can survive and protect both
users and their systems when the voltage volume surges.
Less is more
In order to prevent wasted energy, all of Thermaltake’s products should have at least 80% of
transforming efficiency, and we’re also one of the manufacturers that have the most 80 PLUS
certificates. Because Thermaltake knows how to save for the earth and customers; we know what makes
less to be more.
Being Supportive By All Means
A product with better quality can have longer life and working hours but less pollution. Thermaltake
obeys and respects all environmental clauses in all countries and make sure all of our products are both
user and environmental-friendly. Therefore we show our supports by giving 2 to7-year warranties, which
is not only a quality commitment to the users, but also love to this planet by reducing resources and
wastes.
Thermaltake has several power supply product lines;
please refer to our official website and Facebook Fan Page for more detail information!
Brand official website:
http://www.thermaltake.com/
Global Facebook :
https://www.facebook.com/ThermaltakeInc
Taiwan Facebook
https://www.facebook.com/ThermaltakeTW
Türkçe
ภาษาไทย
AUDIO AC'97 Function
GROUND
L-RET
R-RET
NC
BROWN
RED
MIC IN
MIC POWER
KEY
BLUE
NC
BLUE
L-OUT
YELLOW
R-OUT
BLACK
YELLOW
PRESENCE#
BLACK
SENSE1_RETURN
AUD GND
SENSE2_RETURN
YELLOW
BROWN
RED
PORT1 R
PORT2 R
PORT1 L
BLUE
PORT2 L
SENSE_SEND
KEY
PURPLE
GREEN
ORANGE
BLACK
AUDIO AZALIA Function
藍色線條為尺寸標示,請勿印刷上去!
產品料號
V P 2 0 0 0 S e r i e s
C h a s e r A 4 1 說明書 12/1 1 /0 1 A
產品名稱
印刷項目
子件料號
發稿日期
版本
騎馬釘2 4 8 0
XXXXX
書寫紙
單色 無無
其他特殊處理效果表面處理
2
厚度(g/m )
裝訂方式 材質頁數 印刷色彩
規格樣式
整本
MARKETING CHECK DESIGN
PRODUCT GM
其他特殊處理效果表面處理
2
厚度(g/m )
材質印刷色彩
封面樣式(當封面與內頁 樣式不 同時尚 須填寫)
Peipei
刀模線
125 mm
176 mm


