8
US
About language setting
The on-screen displays in each local language
are used for illustrating the operating
procedures. Change the screen language before
u
sin
g the camcorder if necessary (p. 22).
On recording
Before starting to record, test the recording
function to make sure the image and sound are
recorded without any problems.
Compensation for the contents of recordings
cannot be provided, even if recording or
playback is not possible due to a malfunction of
the camcorder, recording media, etc.
TV color systems differ depending on the
country/region. To view your recordings on a
TV, you need an NTSC system-based TV.
Television programs, films, video tapes,
and other materials may be copyrighted.
Unauthorized recording of such materials may
be contrary to the copyright laws.
Viewing 3D movies
Some people may experience discomfort (such as
eye strain, fatigue, or nausea) while watching 3D
video images. Sony recommends that all viewers
take regular breaks while watching 3D video
images. The length and frequency of necessary
breaks will vary from person to person. You
must decide what works best. If you experience
any discomfort, you should stop watching the
3D video images until the discomfort ends;
consult a doctor if you believe necessary. You
should also review the instruction manual of any
other device or media used with this product.
The vision of young children (especially those
under six years old) is still under development.
Consult your doctor (such as a pediatrician or
eye doctor) before allowing young children to
watch 3D video images. Adults should supervise
young children to ensure they follow the
recommendations listed above.
Notes on use
Do not do any of the following. Otherwise, the
recording media may be damaged, recorded
images may be impossible to play back or may
be lost, or other malfunctions could occur.
ejecting the memory card when the access
lamp (p. 24) is lit or flashing
removing the battery pack or AC Adaptor
from the camcorder, or applying mechanical
shock or vibration to the camcorder when the
(Movie)/ (Photo) lamps (p. 26) or the
access lamp (p. 24) are lit or flashing
When the camcorder is connected to other
devices through a USB connection and the
power of the camcorder is turned on, do not
close the LCD panel. The image data that has
been recorded may be lost.
Use the camcorder in accordance with local
regulations.
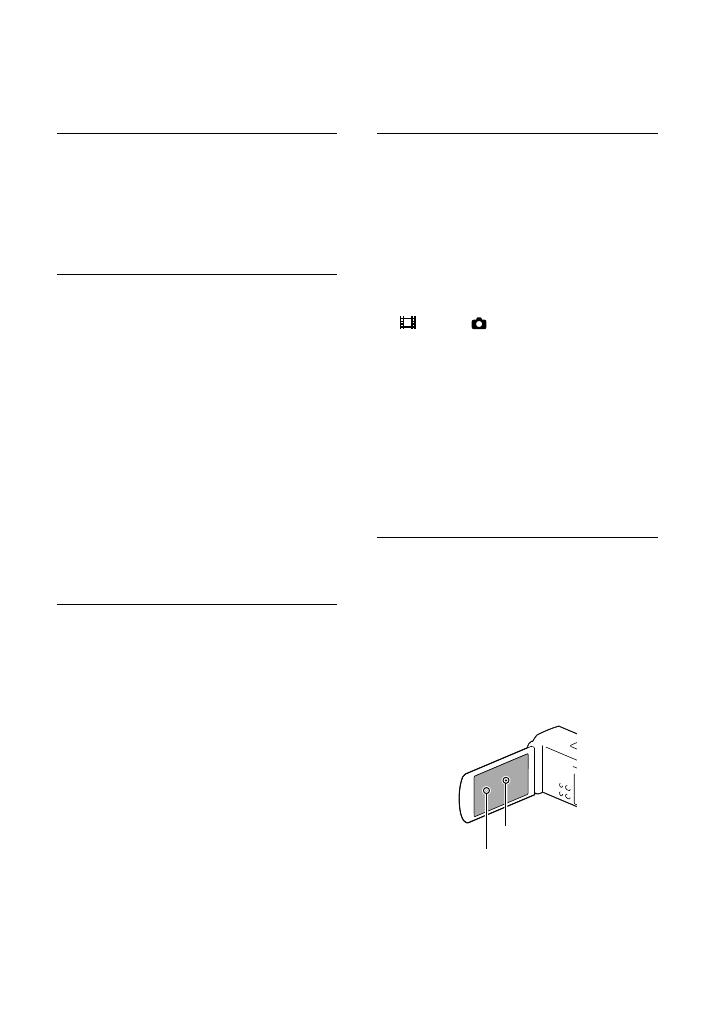
LCD Panel
The LCD screen is manufactured using
extremely high-precision technology, so over
99.99% of the pixels are operational for effective
use. However, there may be some tiny black
points and/or bright points (white, red, blue,
or green in color) that appear constantly on the
LCD screen. These points are normal results of
the manufacturing process and do not affect the
recording in any way.
Black points
White, red, blue or green points


