16 INSTALLATION
Cooker installation
Cooker packaging removal and
transportation
CAUTION
•
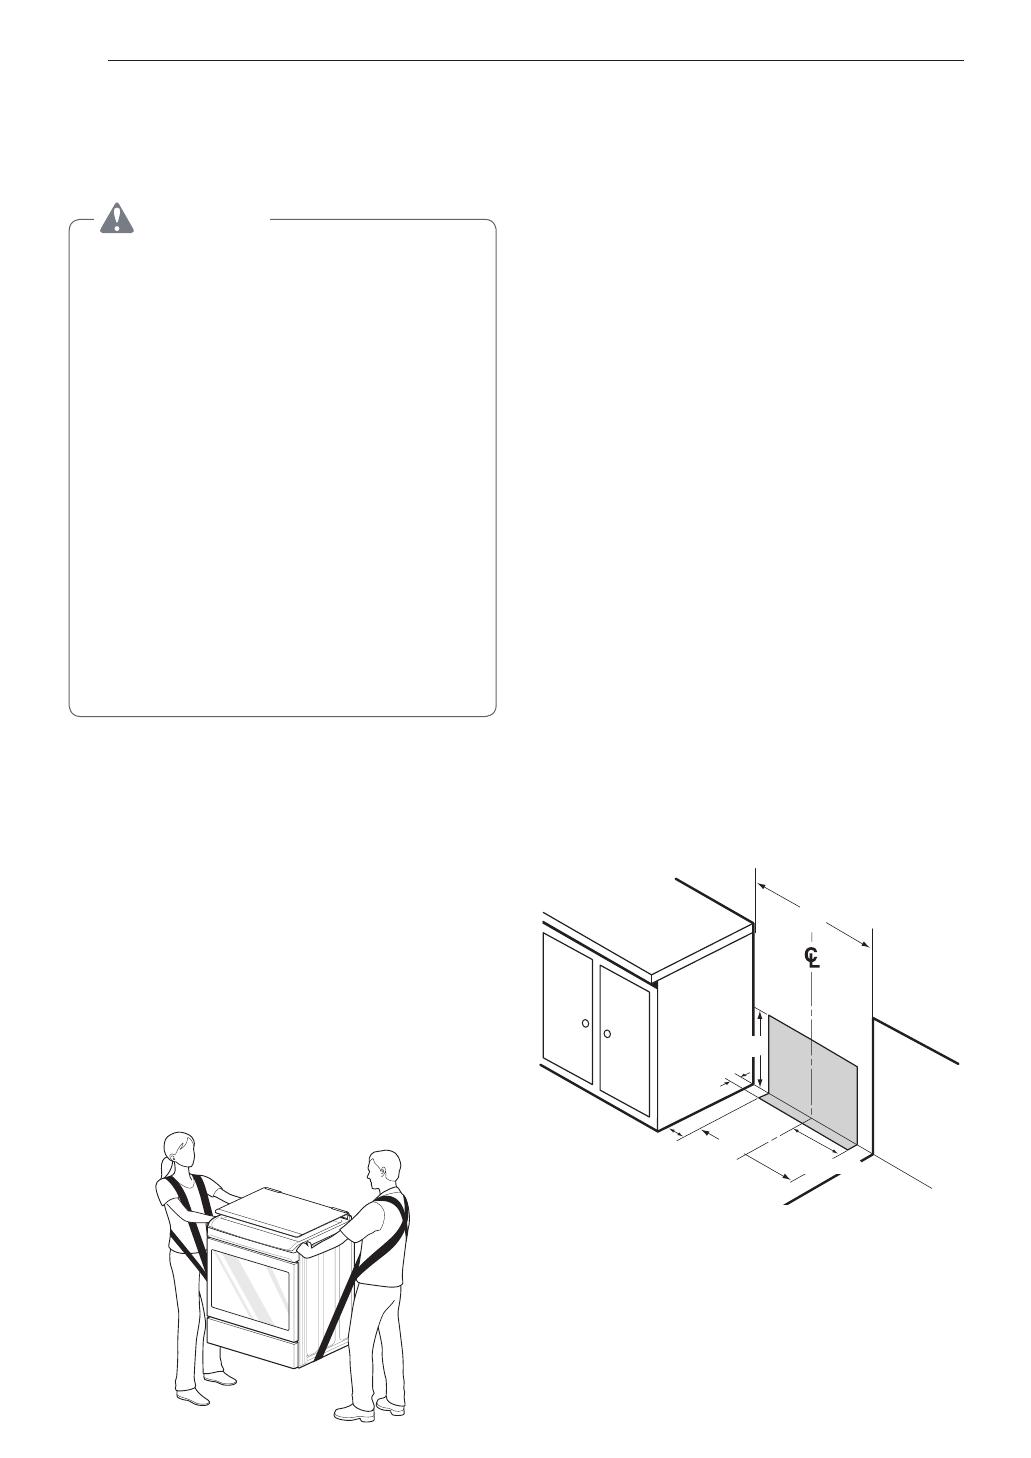
TWO OR MORE PEOPLE
ARE NEEDED TO MOVE
AND INSTALL THE COOKER
(EXCESSIVE WEIGHT
HAZARD). FAILURE TO
COMPLY WITH THIS MAY
CAUSE BACK PROBLEMS AND
OTHER INJURIES.
•
DO NOT USE DOOR HANDLES
TO PUSH OR PULL COOKER
DURING INSTALLATION
OR WHILE MOVING THE
COOKER FOR CLEANING OR
MAINTENANCE. DOING SO
MAY CAUSE SEVERE DAMAGE
TO COOKER DOOR.
Remove all tape, packaging and tags from the cooker
before using it.
To remove the remaining tape or glue, scrub area
with your thumb. Remaining tape or glue is easy to
remove by rubbing a small amount of dish soap over
the adhesive with your fingers. Rinse with warm water
and dry.
Do not use sharp instruments, rubbing alcohol,
flammable liquids or abrasive cleaners to remove
tape or glue. These products may harm the cooker
surface.
Do not install the cooker over vinyl tiles or linoleum,
because they cannot resist this use. Never install
directly over the kitchen carpet. Use a belt to move
the cooker, to avoid floor damage, or slide cooker
over a piece of cardboard or plywood to avoid floor
covering damage.
Selecting proper location
Do not locate your cooker where it may be subject to
strong drafts. Any openings in the floor or wall behind
the cooker should be sealed. Make sure the openings
around the base of the cooker that supply fresh air
for combustion and ventilation are not blocked by
carpeting or woodwork.
Your cooker, like many other household units, is
heavy and cannot be installed on soft floor coverings
such as cushioned vinyl or carpeting.
This cooker may not be installed with a ventilation
system sending air downwards, directed to the
cooker. This kind of ventilation system may cause
ignition and combusting problems for the appliance,
which may cause bodily injury and malfunction.
When the floor covering ends at the front of the
cooker, the area that the cooker will be installed on
should be raised with plywood to the same level or
higher than the floor covering. This will allow the
cooker to be moved for cleaning and servicing, as
well as proper air flow to the cooker
Also, make sure the floor covering can resist 194°F
(90°C).
Make sure the wall coverings around your cooker
can resist the heat generated (up to 203°F/95°C) by
the cooker. See the Installation Safety Instructions
included in this manual.
Gas pipe and electrical outlet
locations
90 cm
13.3 cm
66.2 cm
34.5 cm
7.0 cm
56.5 cm


