SVB Seatec Blizzard Pro User manual
- Category
- Bicycles
- Type
- User manual
SVB Seatec Blizzard Pro is an electric bike with 4 levels of pedaling assistance and pushing aid. It comes with a 20-inch wheel and an intuitive display attached to the handlebar, allowing you to quickly switch between different support modes.
- Modus ZERO (0): No electric support, all display functions are available
- Modus ECO (1): Efficient electric support at a high performance for a high reach
- Modus TOUR (2): Balanced support for long tours
- Modus SPORT (3): Powerful support for city and mountain rides
- Modus RACE (4): Maximum support for ambitious and athletic cycling


-
 1
1
-
 2
2
-
 3
3
-
 4
4
-
 5
5
-
 6
6
-
 7
7
-
 8
8
-
 9
9
-
 10
10
-
 11
11
-
 12
12
-
 13
13
-
 14
14
-
 15
15
-
 16
16
-
 17
17
-
 18
18
-
 19
19
-
 20
20
-
 21
21
-
 22
22


SVB Seatec Blizzard Pro User manual
- Category
- Bicycles
- Type
- User manual
SVB Seatec Blizzard Pro is an electric bike with 4 levels of pedaling assistance and pushing aid. It comes with a 20-inch wheel and an intuitive display attached to the handlebar, allowing you to quickly switch between different support modes.
- Modus ZERO (0): No electric support, all display functions are available
- Modus ECO (1): Efficient electric support at a high performance for a high reach
- Modus TOUR (2): Balanced support for long tours
- Modus SPORT (3): Powerful support for city and mountain rides
- Modus RACE (4): Maximum support for ambitious and athletic cycling
Ask a question and I''ll find the answer in the document
Finding information in a document is now easier with AI
Other documents
-
CMACEWHEEL RX20 Operating instructions
-
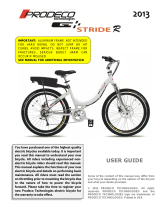 Prodeco Technologies Stride 500 User manual
-
BAFANG BT F15.655.C User manual
-
Genesis Racing User manual
-
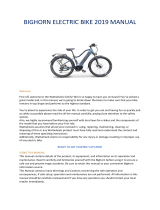 WattWheels BIGHORN 2019 User manual
-
Sigma QUINTESSENTIAL Owner's manual
-
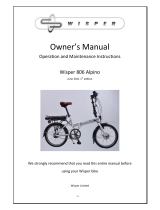 Wisper 806 Alpino Owner's manual
-
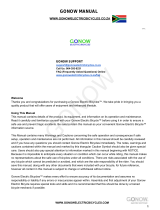 Gonow electric bicycle User manual
-
 Wisper 806Torque 2017 Owner's manual
-
Trek S-series Owner's manual


