Quick Setup Guide
NID-7012 | NID-9006 | NID-1006
Thank you for purchasing a Core Internet tablet from Naxa Electronics.
Before using your tablet, take the time to read the User’s Guide and save it
for your reference. Then, read this guide to learn how to get started quickly
with your new tablet.
This guide covers: 1) How to turn the tablet on; 2) How to unlock the screen; 3) How
to get around; 4) How to connect to the Internet, and 5) How to add an account.
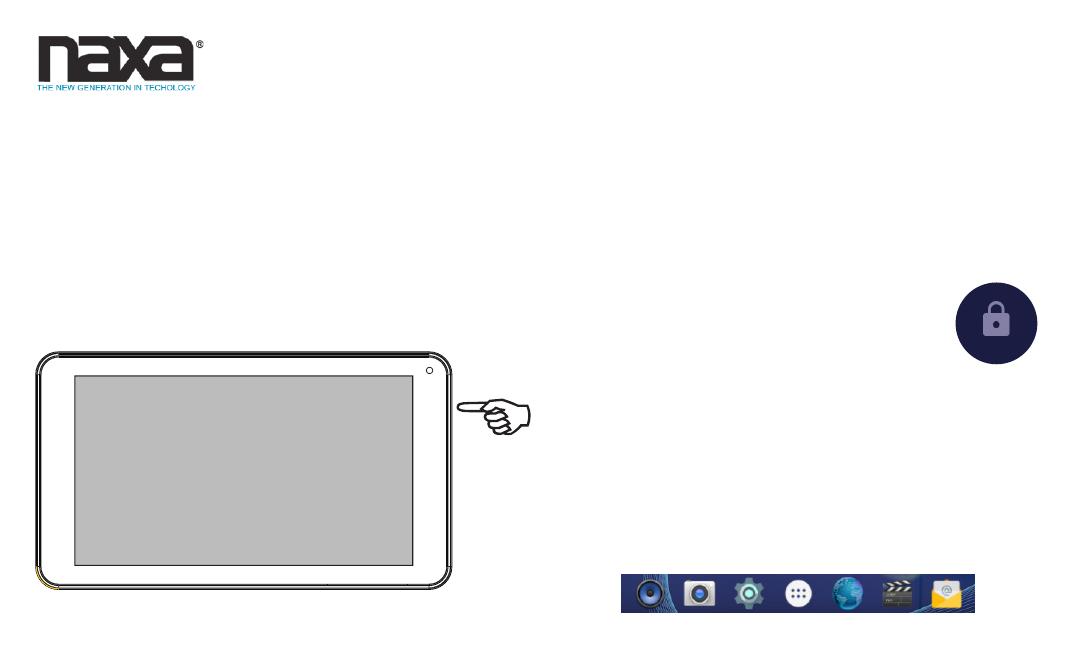
1) How to turn the tablet on
Press and hold the power button for 3 seconds until the screen turns on. It
will take a while until the tablet is ready to be used.
The rst time you start your tablet, you will see a Welcome screen. The tab-
let will guide you through the intial setup process and teach you a little bit
about your tablet. You will have an opportunity to sign in with your Google
account during this process. If you do not have a Google account, you will
have an opportunity to create one. (You may choose to skip this process and
create an account later.)
IMPORTANT: It is best to have a Wi-Fi connection available to complete the
setup process.
Signing in with a Google account will immediately grant you access to
everything associated with your Google account (e.g., Gmail).
2) How to unlock the screen
By default, the tablet will turn off the screen when it is inac-
tive to save battery power. Press the power button once to
wake the tablet and turn the screen back on.
When the tablet is woken from sleep, the screen will be locked.
To unlock the screen, simply tap and hold the lock icon, then swipe your
nger up the screen.
3) How to get around
After the initial welcome screen, the Home screen will appear. You can
add icons and widgets to the Home screen; you can move between Home
screens by swiping left and right.
The Favorites tray appears on every Home screen and provides another way
to quickly launch your apps.


