RADWAG HX7.30.H3 User manual

Type
User manual
2
MAY 2020
3
CONTENTS
1. WEIGHING INDICATOR SETTINGS - CONFIGURATION ............................................................................ 4
2. DATA STRUCTURE ...................................................................................................................................... 4
2.1. Input Address ........................................................................................................................................... 4
2.2. Input Registers ......................................................................................................................................... 5
2.3. Output Address ........................................................................................................................................ 7
2.4. Output Registers ...................................................................................................................................... 7
3. CONFIGURATION OF PROFINET MODULE IN TIA PORTAL V14 ENVIRONMENT ................................. 10
3.1. Import GSD ............................................................................................................................................ 10
3.2. Module Configuration ............................................................................................................................. 12
4. DIAGNOSTICS APP .................................................................................................................................... 16
4
1. WEIGHING INDICATOR SETTINGS - CONFIGURATION
To set indicator communication via PROFINET protocol go to <SETUP /
Peripherals/ Anybus module>. For detailed description of settings
configuration read „PUE HX7 Weighing Indicator” user manual.
2. DATA STRUCTURE
2.1. Input Address
Input variables:
Variable
Offset
Length
[WORD]
Data type
Platform 1 mass
0
2
float
Platform 1 tare
4
2
float
Platform 1 unit
8
1
word
Platform 1 status
10
1
word
Platform 1 LO threshold
12
2
float
Platform 2 mass
16
2
float
Platform 2 tare
20
2
float
Platform 2 unit
24
1
word
Platform 2 status
26
1
word
Platform 2 LO threshold
28
2
float
Process status (Stop, Start)
64
1
word
Input status
66
1
word
Min
68
2
float
Max
72
2
float
Lot number
84
2
dword
Operator
88
1
word
Product
90
1
word
Customer
92
1
word
Packaging
94
1
word
Formulation
100
1
word
Dosing process
102
1
word
5
2.2. Input Registers
Platform mass returns platform mass in current unit.
Platform tare returns platform tare in an adjustment unit.
Platform unit determines current mass unit of a given platform.
Unit bits
0
gram [g]
1
kilogram [kg]
2
carat [ct]
3
pound [lb]
4
ounce [oz]
5
Newton [N]
Example:
Read HEX value: 0x02. Binary form:
B1/6
B1/5
B1/4
B1/3
B1/2
B1/1
B1/0
B0/7
B0/6
B0/5
B0/4
B0/3
B0/2
B0/1
B0/0
0
0
0
0
0
0
0
0
0
0
0
0
0
1
0
The unit of the weighing instrument is kilogram [kg].
Platform status determines state of a given weighing platform.
Status bits
0
Measurement correct (the weighing instrument does not report any error)
1
Measurement stable
2
Weighing instrument indicates zero
3
Weighing instrument tared
4
Weighing instrument in II weighing range
5
Weighing instrument in III weighing range
6
Weighing instrument reports NULL error
7
Weighing instrument reports LH error
8
Weighing instrument reports FULL error
6
Example:
Read HEX value: 0x13
B1/6
B1/5
B1/4
B1/3
B1/2
B1/1
B1/0
B0/7
B0/6
B0/5
B0/4
B0/3
B0/2
B0/1
B0/0
0
0
0
0
0
0
0
0
0
0
1
0
0
1
1
The weighing instrument does not report any error, measurement stable in II
weighing range.
LO threshold returns value of platform's LO threshold in an adjustment unit.
Process status determines dosing or formulations process status:
0x00 process disabled
0x01 process stopped
0x02 process aborted
0x03 process finished
Input state bitmask of indicator inputs. The first 4 least significant bits
represent weighing terminal inputs.
Example:
Read HEX value: 0x000B
B1/6
B1/5
B1/4
B1/3
B1/2
B1/1
B1/0
B0/7
B0/6
B0/5
B0/4
B0/3
B0/2
B0/1
B0/0
0
0
0
0
0
0
0
0
0
0
0
1
0
1
1
Inputs 1, 2 and 3 of the weighing indicator take HI state.
MIN - response: MIN threshold value (in current unit).
MAX - response: MAX threshold value (in current unit).
Lot number response: lot number. Only numerical values are accepted! All
other characters are skipped.
Operator response: code of logged in operator.
Product response: code of selected product.
Customer response: code of selected customer.
Packaging response: code of selected packaging.
Formulation response: code of selected formulation.
Dosing process response: code of selected dosing process.
7
2.3. Output Address
Input variables:
Variable
Offset
Length [WORD]
Data type
Command
0
1
word
Command with parameter
2
1
word
Platform
4
1
word
Tare
6
2
float
LO threshold
10
2
float
Output state
14
1
word
Min
16
2
float
Max
20
2
float
Lot number
32
2
dword
Operator
36
1
word
Product
38
1
word
Customer
40
1
word
Packaging
42
1
word
Formulation
48
1
word
Dosing process
50
1
word
2.4. Output Registers
Basic command writing the register with respective value triggers the
following actions:
Bit No.
Operation
0
Zero the platform
1
Tare the platform
2
Delete statistics
3
Save/Print
4
Process start
5
Process stop
Example:
Writing the register with value 0x02
8
B1/6
B1/5
B1/4
B1/3
B1/2
B1/1
B1/0
B0/7
B0/6
B0/5
B0/4
B0/3
B0/2
B0/1
B0/0
0
0
0
0
0
0
0
0
0
0
0
0
0
1
0
This causes scale taring.
A command is executed once upon detecting that its bit has
been set. If the command is to be executed more than once,
it is necessary to zero the bit first, and reset it to the
required value next.
Complex command setting a respective value results with performance of a
given task, see the table:
Bit No.
Operation
0
Setting tare value for a given platform
1
Setting LO threshold value for a given platform
2
Setting lot number
3
Setting outputs status
4
Operator selection
5
Product selection
6
Packaging selection
7
Setting MIN threshold value
8
Customer selection
9
Source warehouse selection
10
Target warehouse selection
11
Dosing process selection
12
Setting MAX threshold value
Complex command requires setting a respective parameter
(offset from 4 to 50 refer to output registers table)
A command with a parameter is executed once upon
detecting that its bit has been set. If the command is to be
executed more than once, it is necessary to zero the bit first,
and reset it to the required value next.
Example:
Sending tare of 1.0 value for the 1
st
platform.
Carrying out the command requires writing 3 registers:
9
offset 2 command with parameter - value 0x01 i.e. tare setting.
offset 4 number of a weighing platform to which the tare is to be written -
0x01 value for the 1st first platform.
offset 6 tare value in float format - 1.0.
Platform complex command parameter: weighing platform number (1 or 2).
Tare complex command parameter: tare value (in an adjustment unit).
LO threshold complex command parameter: LO threshold value (in an
adjustment unit).
Output state complex command parameter: determines state of the
weighing indicator and communication module outputs.
Example:
Setting high state to outputs 1 and 3 of the weighing indicator.
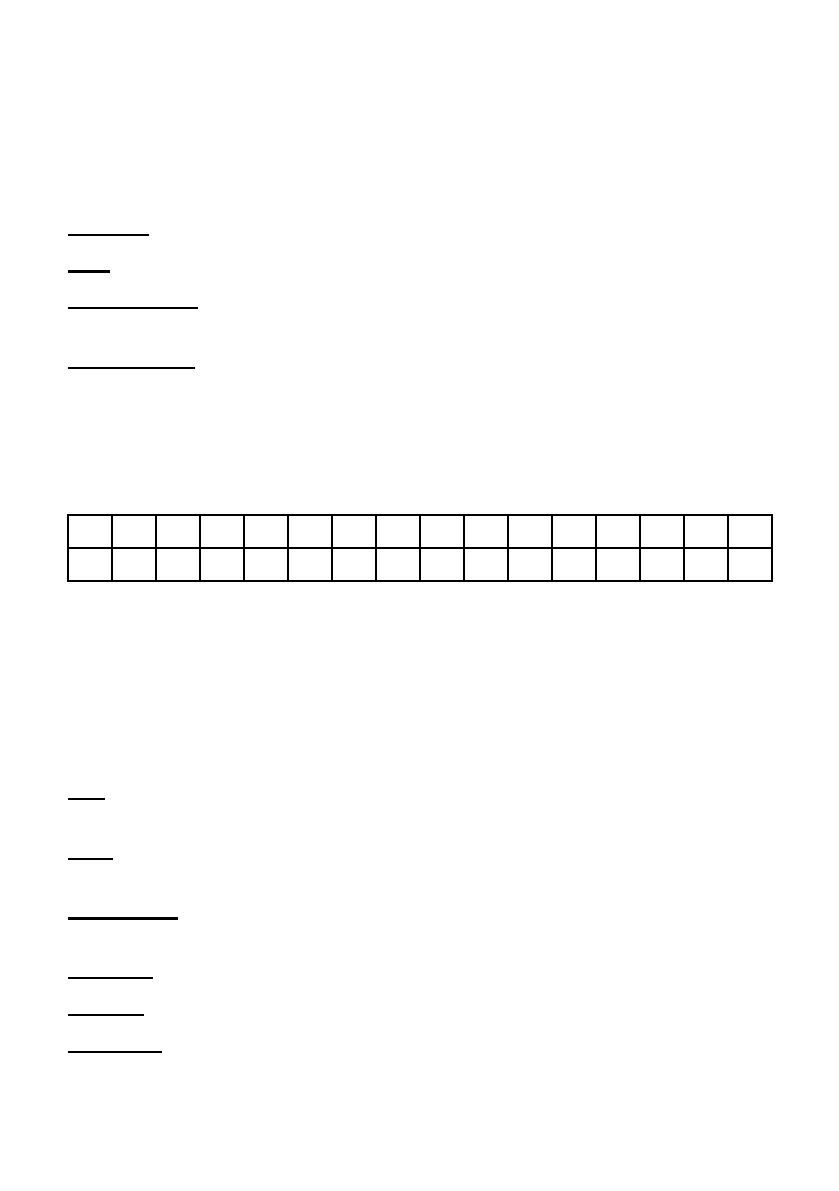
Output mask has the following format:
B1/6
B1/5
B1/4
B1/3
B1/2
B1/1
B1/0
B0/7
B0/6
B0/5
B0/4
B0/3
B0/2
B0/1
B0/0
0
0
0
0
0
0
0
0
0
0
0
0
1
0
1
After conversion to HEX the result is 0x05
Carrying out the command requires writing 2 registers:
offset 2 command with parameter - value 0x08 i.e. record of outputs state.
offset 14 outputs mask 0x05
As a result, outputs number 1 and 3 take high state.
MIN complex command parameter: MIN threshold value (in a unit of current
working mode).
MAX complex command parameter: MAX threshold value (in a unit of current
working mode).
Lot number complex command parameter: lot number value. Only numerical
values are accepted! All other characters are skipped.
Operator complex command parameter: operator code (digits only).
Product complex command parameter: product code (digits only).
Customer complex command parameter: customer code (digits only).
10
Packaging complex command parameter: packaging code (digits only)
Formulation complex command parameter: formulation code (digits only).
Dosing process complex command parameter: dosing process code (digits
only).
3. CONFIGURATION OF PROFINET MODULE IN TIA PORTAL V14
ENVIRONMENT
Start operation in the environment by setting up a new project, where topology
of PROFIBUS network with MASTER controller will be specified, in this case
the MASTER controller is SIEMENS controller of S7-1200 series.
3.1. Import GSD
Using a delivered configuration file (GSD), add a new device into the
environment.
11
Open OPTIONS tab, next click MANAGE GENERAL STATION DESCRIPTION
FILES (GSD) entry and select access path to the GSD file.
With the file successfully added, the ABIC-PRT module is displayed on the list
of the devices.
12
Now you can make a network comprising a MASTER controller and a newly
added SLAVE module.
3.2. Module Configuration
At this stage, it is necessary to create a network consisting of MASTER
controller and SLAVE device (scale). Upon connecting to the mains, use
ACCESSIBLE DEVICES function to search for devices in the environment.
As a result, MASTER and SLAVE modules can be found on the list:
13
Now, specify the module IP address and its name in the PROFINET network.
After selecting the module in the PROPERTIES tab, find the PROFINET
INTERFACE submenu and enter the IP address and a name. Make sure that
the setting is accordant with the parameters set in the scale menu. Make sure
that IP SLAVE address is in the same subnet as the MASTER address.
Next configure the module. First specify input and output registers size, define
their start addresses. From the list of available INPUT and OUTPUT modules
select such modules as presented in the screenshot below. Maximum size
of input data is 116 bytes, maximum size of output data is 116 bytes too.
In the project, default start addresses have been used 68 for the INPUT
module and 64 for the OUTPUT module:
14
15
At this stage it is possible to upload the hardware configuration into the
controller, and to start data upload.
Upon successful compilation and code reading, the MASTER and SLAVE shall
establish communication. It can be verified via ONLINE connection. The result
should be as presented below:
16
Now proceed to the process of program code making.
4. DIAGNOSTICS APP
Start creating the app by defining names of symbolic input and output registers.
For this purpose, use a branch of the PLC TAGS tree. For the purpose of this
example, tag tables have been created as presented below:
17
INPUT and OUTPUT tables refer to physical inputs/outputs of the MASTER
controller and are not relevant in this application. ProfinetInput and
ProfinetOutput blocks represent input/output registers of the scale's PROFINET
module. See the screenshots below (names and addresses are examples
only):
18
In order not to operate using module's physical inputs/outputs create data
blocks containing representations of these registers and functions rewriting
values between them. Create HARDWARE group in the PROGRAM BLOCKS
branch and determine data blocks as below:
19
HD_OUTPUT and HD_INPUT blocks represent physical input/output registers
of the MASTER controller and are not relevant in this project.
HD_ProfinetOutput and HD_ProfinetInput blocks represent input/output
registers of the scale's PROFINET module. See the screenshots below:
Functions rewriting the values between module's physical inputs/outputs may
look as presented below.
20
Now, in the main program loop, trigger required functions.
  • Page 1 1
  • Page 2 2
  • Page 3 3
  • Page 4 4
  • Page 5 5
  • Page 6 6
  • Page 7 7
  • Page 8 8
  • Page 9 9
  • Page 10 10
  • Page 11 11
  • Page 12 12
  • Page 13 13
  • Page 14 14
  • Page 15 15
  • Page 16 16
  • Page 17 17
  • Page 18 18
  • Page 19 19
  • Page 20 20
  • Page 21 21
  • Page 22 22

RADWAG HX7.30.H3 User manual

Type
User manual

Ask a question and I''ll find the answer in the document

Finding information in a document is now easier with AI