2
Select Manuals.
3
Follow the on-screen instructions to select your product.
Registering Your Device
Help us better support you by completing our online registration
today.
• Go to http://my.garmin.com.
• Keep the original sales receipt, or a photocopy, in a safe
place.
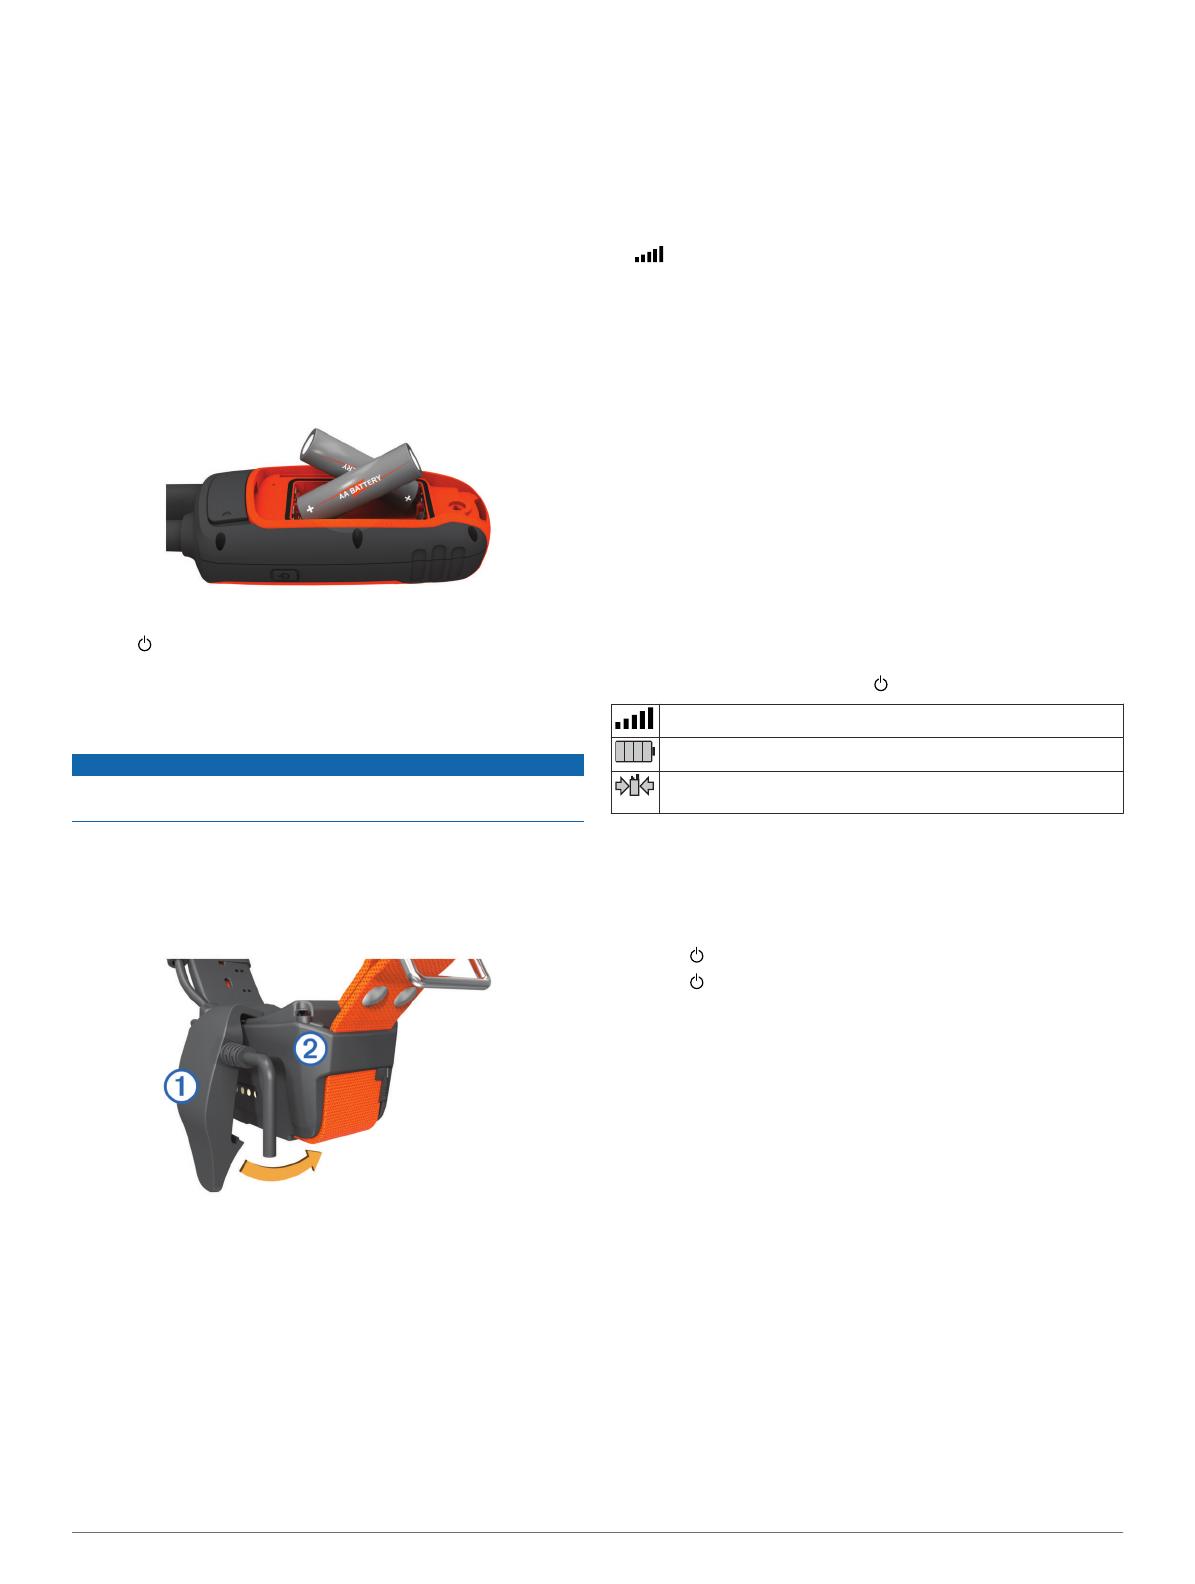
Installing Batteries
The handheld device operates on two AA batteries (not
included). Use NiMH or lithium batteries for best results.
1
Turn the D-ring counter-clockwise, and pull up to remove the
cover.
2
Insert two AA batteries, observing polarity.
3
Replace the battery cover, and turn the D-ring clockwise.
4
Hold .
5
Select Setup > System > Battery Type.
6
Select Alkaline, Lithium, or Rechargeable NiMH.
Charging the Dog Collar Device
NOTICE
To prevent corrosion, thoroughly dry the contacts on the collar
and the surrounding area before connecting the charging clip.
You should fully charge the battery before you use the device
for the first time. Charging a fully depleted battery takes about
five hours. The device will not charge when outside the
temperature range of 32° to 113°F (0° to 45°C).
1
Snap the charging clip
À
onto the device
Á
.
2
Plug the power cable into a power source.
The status LED is solid red when the collar is charging.
3
After the status LED turns solid green, remove the charging
clip from the collar.
Turning On the Devices
• On the handheld device, hold the power key until the
LCD display turns on.
• On the dog collar device, hold the power key until the status
LED flashes and the collar beeps.
Acquiring Satellite Signals
Both the collar and handheld device must acquire satellite
signals before you put the collar on your dog. Acquiring
satellites can take a few minutes.
1
Go outdoors to an open area.
2
Turn on both devices (Turning On the Devices).
3
Select the power key on the handheld device.
shows the GPS signal strength.
When the collar has acquired satellite signals, the status LED
flashes a double-blink or triple-blink in green.
Adding a Dog
The handheld device can track up to 10 dogs with dog collar
devices. If you purchase additional dog collar devices, you can
link them to the handheld device. To link, the handheld device
must be close enough to the dog collar device to touch it, or you
must know the dog collar device ID number.
1
Select DOG.
2
Select Add Dog.
3
Follow the on-screen instructions.
By default, the new dog is named “Dog” and an ID number is
randomly assigned.
An error message could appear if there is a conflict with the
ID number of another dog.
Status Information
Satellite signal and battery status information is provided on the
main menu and when you select .
Indicates the satellite signal strength.
Indicates the remaining battery power.
Blinks when the device detects a signal (for example, a dog
collar device) on the channel it is receiving.
Adjusting the Backlight Brightness
NOTE: The backlight brightness may be limited when the
battery strength is low.
Extensive use of screen backlighting can significantly reduce
battery life.
1
Select .
2
Select to cycle through the brightness levels.
3
Select ENTER.
Marking Your Vehicle Location
You can mark the location of your vehicle so you can navigate
back to your vehicle after a hunt.
1
From the main menu, select Start New Hunt.
2
Follow the on-screen instructions.
Dog Tracking
The handheld device allows you to track your dog, up to 9 miles
(14.48 km) away, using the dog tracking compass or map. The
map displays your location and your dog's location and tracks.
On the dog-tracking compass, the pointer indicates the direction
of the dog's current location.
NOTE: Both the collar and the handheld device must acquire
satellites before you can track the dog on the handheld device.
Fitting the Collar on Your Dog
Before you put the collar on the dog, you must pair the
handheld device and collar (Adding a Dog), and acquire satellite
signals (Acquiring Satellite Signals).
1
Position the collar with the VHF whip antenna pointing up,
the GPS antenna facing up, and the LEDs facing forward.
2
Place the collar around the middle of the dog's neck.
3


