10
ENGLISH
(Original instructions)
u
As the collection bag lls, the power of the suction will
decrease, switch off the unit and unplug from the mains
power supply.
u
Remove the collection bag (8) from the power head, unzip
the bag to empty the contents.
u
Re-assemble before continuing to operate.
Warning! Never remove the collection bag without rst turning
off and unplugging the unit.
Note: If the suction decreases and the bag is not full, the
vacuum tube is probably clogged with debris. Turn off and
unplug the vacuum to clear the tube before continuing.
Removing the vacuum tube
u
To disconnect the vacuum tube (5) press the vacuum tube
release button (14) and pull the tube off, making sure that
the tube does not fall to the ground.
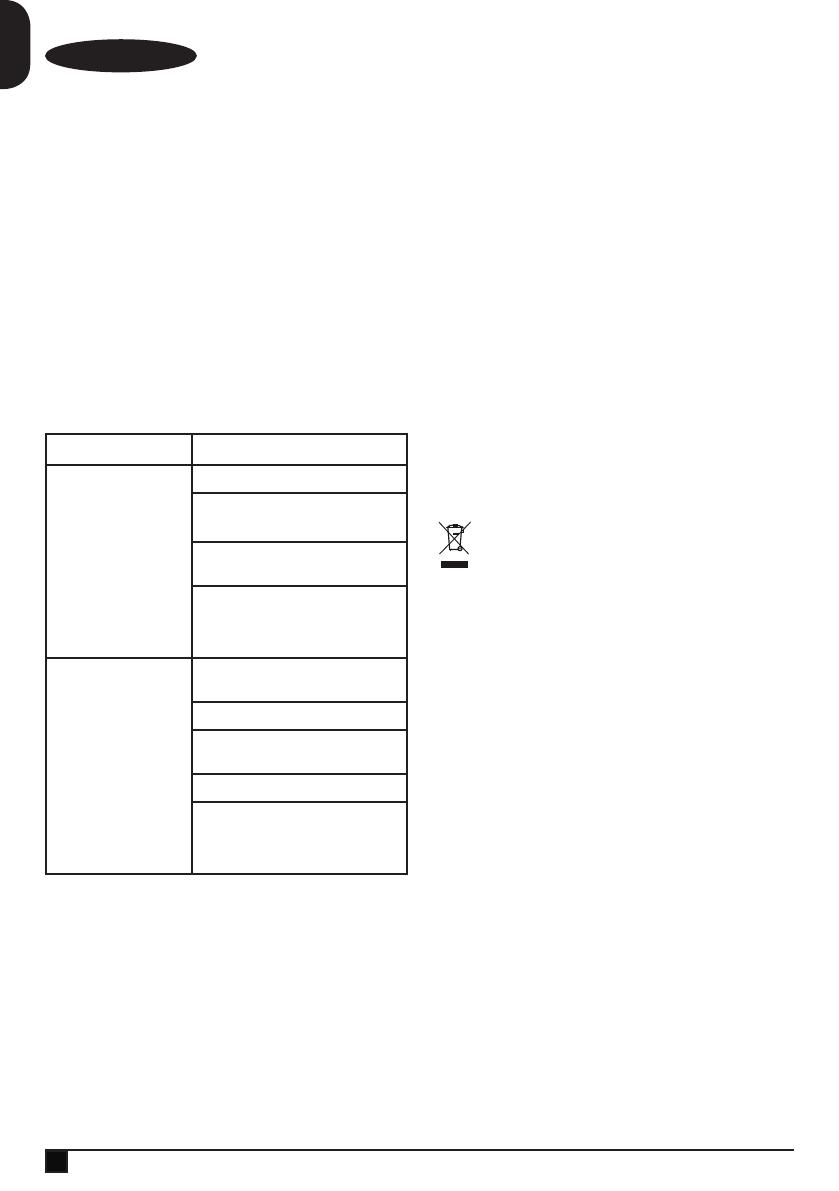
Troubleshooting
Problem Possible sollution
Failure to operate Check the connection to the power supply.
Check the fuse in the plug, if blown, replace
(UK only).
Check that the blow/vacuum tube assembly is
correctly tted to the powerhead
If the fuse continues to blow - immediately
disconnect from the mains power supply and
consult your local Black & Decker authorised
repair agent.
Poor vacuum/high pitched
whine
Switch off - disconnect from the mains power
supply, debris should fall clear of the tube.
Remove and empty the collection bag.
Check that both the inlet and exit ports on the
vacuum tube are clear.
Remove any debris from the fan area.
If poor vacuuming continues - immediately
disconnect from the mains power supply and
consult your local Black & Decker authorised
repair agent.
Maintenance
Your Black & Decker appliance has been designed to operate
over a long period of time with a minimum of maintenance.
Continuous satisfactory operation depends upon proper appli-
ance care and regular cleaning.
u
Keep the appliance clean and dry.
u
Remove any leaves stuck to the inside of the vacuum
tube.
u
Regularly clean the ventilation slots with a clean, dry paint
brush.
u
Regularly clean the collection bag and ensure that it is
clean and empty after each use.
u
To clean the appliance, use only mild soap and a damp
cloth. Never let any liquid get inside the tool and never
immerse any part of the tool into liquid. Do not use any
abrasive or solvent-based cleaner.
u
Self lubricating bearings are used in your product, there-
fore lubrication is not required.
Mains plug replacement (U.K. & Ireland only)
If a new mains plug needs to be tted:
u
Safely dispose of the old plug.
u
Connect the brown lead to the live terminal in the new
plug.
u
Connect the blue lead to the neutral terminal.
Warning! No connection is to be made to the earth terminal.
Follow the tting instructions supplied with good quality plugs.
Recommended fuse: 13 A.
Protecting the environment
Separate collection. This product must not be
disposed of with normal household waste.
Should you nd one day that your Black & Decker product
needs replacement, or if it is of no further use to you, do not
dispose of it with household waste. Make this product avail-
able for separate collection.
z
Separate collection of used products and
packaging allows materials to be recycled and
used again. Re-use of recycled materials helps
prevent environmental pollution and reduces the
demand for raw materials.
Local regulations may provide for separate collection of elec-
trical products from the household, at municipal waste sites or
by the retailer when you purchase a new product.
Black & Decker provides a facility for the collection and
recycling of Black & Decker products once they have reached
the end of their working life. To take advantage of this service
please return your product to any authorised repair agent who
will collect them on our behalf.
You can check the location of your nearest authorised repair
agent by contacting your local Black & Decker ofce at
the address indicated in this manual. Alternatively, a list of
authorised Black & Decker repair agents and full details of our
after-sales service and contacts are available on the Internet
at: www.2helpU.com


