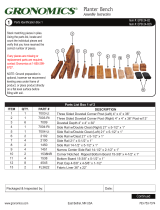
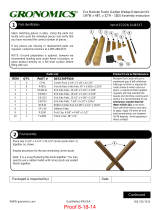
Page is loading ...

www.gronomics.com East Bethel, MN USA 763-753-7374
Continued
If any pieces are missing or replacement parts are required, contact Gronomics
at 1-855-299-6727.
NOTE: The vertical garden stand can be equipped
with a self watering system, contact Gronomics at
1-855-299-6727.
Vertical Garden Stand
Assembly Instruction
Parts List
ITEM QTY.
1 1
2 4
PART # DESCRIPTION
VGS3323 Vertical Garden Stand
RSS10-2ZY Screw, #10 x 2”
1
Parts Identifi cation Item #: VGS 33-23
1
Packaged & Inspected by: Date:
Torx® T25
2
NOTE: Ground preparation is optional,
however we recommend leveling area
under frame of product, or place product
directly on a flat level surface before
filling with soil.
Product Care & Maintenance - Western Red Cedar will turn a weathered grey if left unfinished. Although no finish is required
for cedar products when used outdoors, a natural oil finish applied regularly will help maintain the beauty and minimize cracking
and drying. It is recommended to use Gronomics Garden Bed Oil (Item # GBO-1Q), a non-toxic, food safe finish that is very easy
to apply. Apply Oil when air and wind temperatures are between 50-90degrees. Avoid applying in direct sunlight.

www.gronomics.com East Bethel, MN USA 763-753-7374
Lower the vertical garden bed into the garden stand
(Item 1).
Fasten the vertical garden bed to the garden stand
with four 10 x 1-1/2” screws (Item 2).
Installing The Vertical Garden Bed
2
1
2
Vertical Garden Bed
Install Screws
Into The Pre-
drilled holes
Install Screws
Into The Pre-
drilled holes
2
2
NOTE: Before adding the soil mix, verify that the vertical
garden stand is secure and stable. Verify that all back rails
and shelf rails are completely installed.
Slowly place the soil mix into the top of the vertical garden.
Add soil mix until it is approximately one inch below the top
back and shelf rails.
3
Soil Mix
/


