Bresser 7007410GYE000 Owner's manual

Type
Owner's manual
English......................
4
Deutsch ....................
10
Français....................
16
Español.....................
23
Italiano ......................
30
Magyarul...................
36
русский ....................
43
4
Contents
1 Imprint .....................................................................................5
2 About this Instruction Manual...............................................6
3 Parts overview and scope of delivery ..................................6
4 Screen display ........................................................................7
5 Setting up power supply........................................................8
6 Automatic measurement display ..........................................8
7 Disposal ..................................................................................9
8 EC Declaration of Conformity ...............................................9
5 / 52
1 Imprint
Bresser GmbH
Gutenbergstr. 2
46414 Rhede
Germany
http://www.bresser.de
If you wish to submit a warranty claim or service request,
please refer to the “Warranty” and “Service” information in
this document. Please be aware that any requests or sub-
missions sent directly to the manufacturer cannot be pro-
cessed.
Errors excepted. Subject to technical modifications.
© 2019 Bresser GmbH
All rights reserved.
Reproduction of this document, including extracts, in any
form (photocopied, printed etc.) or the use and distribution
of this document by electronic means (image file, website
etc.) is not permitted without the prior written consent of the
manufacturer.
The terms and brand names of the respective companies
used in this document are protected by brand, patent or
product law in Germany, the European Union and/or other
countries.
6 / 52
2 About this Instruction Manual
3 Parts overview and scope of
delivery
1
2
3
4
5
6
7
8
9
A
B
Illustration1: Hygrometer parts overview
1 Display 2 SET/DEW POINT touch
button (change display
or alarm setting)
3 ON/OFF touch button
(turn on/off the alarm)
4 Light signal when alarm
is activated
5 C/F touch button
(change between °C and
°F, value setting down-
wards or alarm setting)
6 MAX.MIN touch button
(change between
macimum and minimum
value display or delete
all values)
7 Battery compartment
cover
8 Battery compartment
9 stand clip (removable)
7 / 52
Scope of delivery
Thermo/Hygrometer (A), stand clip (B)
Recommended batteries (not included)
2 pcs. Micro batteries (1.5V, AAA type)
4 Screen display
4
1
5
2
3
6
7
8
9
10
12
11
14
13
Illustration2: Hygrometer screen display
1 Mould alert symbol (will
be displayed when up-
per limit value is ex-
ceeded)
2 Humidity value bar dis-
play
3 Value axis for humidity 4 Upper value limit / bor-
derline
5 Lower value limit / bor-
derline
6 24-hours history for hu-
midity
8 / 52
7 Humidity value (in %)
(display mode select-
able)
8 Dew point symbol (will
be displayed when dew
point level is reached)
9 MIN symbol (will be dis-
played when lowest
value is reached)
10 ALERT symbol (will be
displayed on alarm set-
ting)
11 MAX symbol (will be
displayed when highest
value is reached)
12 Temperature value (dis-
play mode selectable)
13 Temperature unit (°C or
°F selectable)
14 Indoor climate indicator
5 Setting up power supply
1. Remove the stand clip.
2. Remove the battery compartment cover.
3. Insert the batteries into the battery compartment. En-
sure that the battery polarity (+/-) is correct.
4. Replace the battery compartment cover.
5. Re-attach the stand clip.
6 Automatic measurement display
Measurements for the indoor area will be displayed on the
device once power supply was enabled.
Read the detailed manual for more information about read-
ings (see download information on page 2).
9 / 52
7 Disposal
Dispose of the packaging materials properly, accord-
ing to their type, such as paper or cardboard. Contact
your local waste-disposal service or environmental au-
thority for information on the proper disposal.
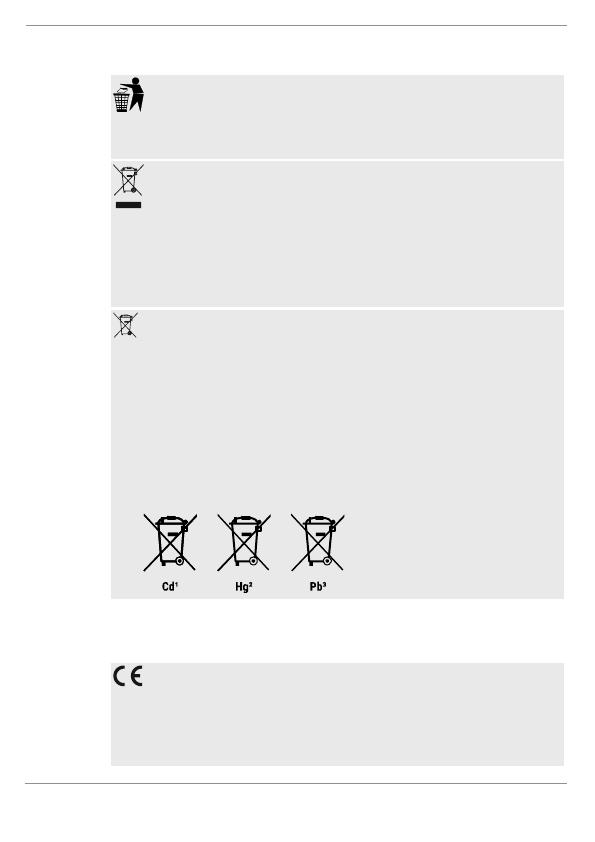
Do not dispose of electronic devices in the household
garbage!
As per Directive 2012/19/EC of the European Parlia-
ment on waste electrical and electronic equipment and
its adaptation into German law, used electronic
devices must be collected separately and recycled in
an environmentally friendly manner.
Do not dispose of batteries and rechargeable batteries
with the household waste. You are legally required to
return used batteries and rechargeable batteries. After
they are used, the batteries can be returned free of
charge to our point of sale or to a nearby location (for
example, retailers or municipal collecting points).
Batteries and rechargeable batteries are marked with a
symbol of a crossed-out dustbin and the chemical sym-
bol of the pollutant. “Cd” stands for Cadmium, “Hg”
stands for mercury and “Pb” stands for lead.
8 EC Declaration of Conformity
Bresser GmbH has issued a "Declaration of Conform-
ity" in accordance with applicable guidelines and cor-
responding standards. This can be viewed any time
upon request. http://www.bresser.de •
  • Page 1 1
  • Page 2 2
  • Page 3 3
  • Page 4 4
  • Page 5 5
  • Page 6 6
  • Page 7 7
  • Page 8 8
  • Page 9 9
  • Page 10 10
  • Page 11 11
  • Page 12 12
  • Page 13 13
  • Page 14 14
  • Page 15 15
  • Page 16 16
  • Page 17 17
  • Page 18 18
  • Page 19 19
  • Page 20 20
  • Page 21 21
  • Page 22 22
  • Page 23 23
  • Page 24 24
  • Page 25 25
  • Page 26 26
  • Page 27 27
  • Page 28 28
  • Page 29 29
  • Page 30 30
  • Page 31 31
  • Page 32 32
  • Page 33 33
  • Page 34 34
  • Page 35 35
  • Page 36 36
  • Page 37 37
  • Page 38 38
  • Page 39 39
  • Page 40 40
  • Page 41 41
  • Page 42 42
  • Page 43 43
  • Page 44 44
  • Page 45 45
  • Page 46 46
  • Page 47 47
  • Page 48 48
  • Page 49 49
  • Page 50 50
  • Page 51 51
  • Page 52 52

Bresser 7007410GYE000 Owner's manual

Type
Owner's manual

Ask a question and I''ll find the answer in the document

Finding information in a document is now easier with AI