GB
8
About water-proof, dust-proof, and shock-proof
performance of the camera
This camera has enhanced water-proof, dust-proof and shock-proof protection.
Damage caused from misuse, abuse or failure to properly maintain the camera
is not covered by the limited warranty.
• This camera is water-proof/dust-proof equivalent to IEC60529 IP68. The
camera is operable up to a water depth of 10 m (33 ft.) for 60 minutes.
• Do not subject the camera to pressurized water, such as from a tap.
• Do not use in hot springs.
• Use the camera in the recommended operating water temperature range of
0°C to +40°C (32 °F to 104 °F).
• As for shock-proof performance, this product has passed our in-company
testing, which conforms to MIL-STD 810F Method 516.5-Shock (U.S.
Department of Defense test method standard for shock), by dropping this
product from a height of 1.5 m (5 ft.) above a 5-cm (2 inches) thick plywood
board
*
.
* Depending on use conditions and circumstances, no guarantee is made regarding
damage to, malfunction of, or the water-proof performance of this camera.
• As for dust-proof/shock-proof performance, there is no guarantee that the
camera will not become scratched or dented.
• Sometimes water-proof performance is lost if the camera is subjected to a
strong shock such as from being dropped. We recommend the camera be
inspected at an authorized repair shop for a fee.
• Accessories supplied do not meet water-proof, dust-proof, and shock-proof
specifications.
Notes before using the camera under/near water
• Make sure that no foreign matter such as sand, hair, or dirt gets inside the
battery/memory card cover. Even a small amount of foreign matter may lead
to water entering the camera.
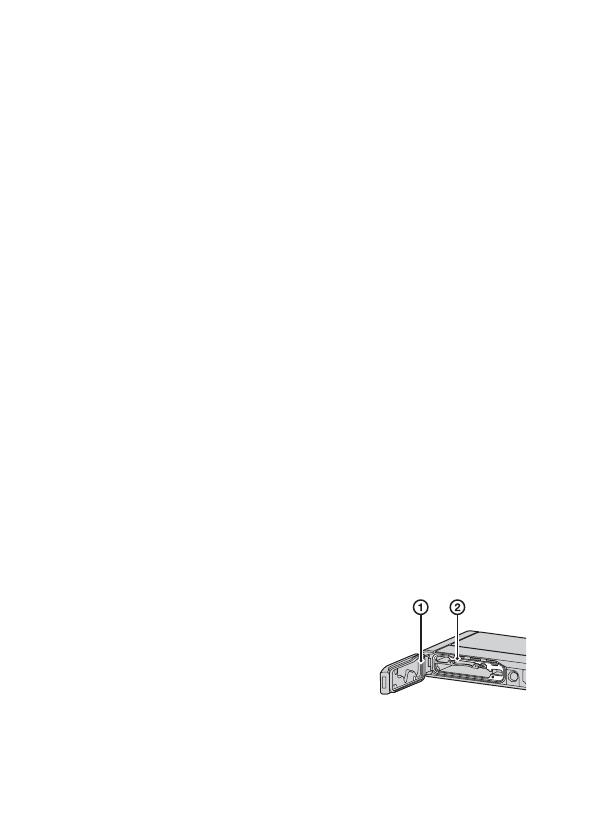
• Confirm that the sealing gasket and its mating
surfaces have not become scratched. Even a
small scratch may lead to water entering the
camera. If the sealing gasket or its mating
surfaces become scratched, take the camera to
an authorized repair shop to have the sealing
gasket replaced for a fee.
1 Sealing gasket
2 Surface contacting
the sealing gasket


