12 About Your Monitor
5 DisplayPort connector Connect your computer with DP cable.
6 HDMI (MHL) connector Connect your computer with HDMI cable.
Connect your MHL devices with MHL cable.
7 USB Down Stream Port
(Power Charging Port)
Connect your USB devices.
This USB port supports BC 1.2 compliance
charging devices, at 1.5A (power capability 2A
max) for fast charging.
8 USB Down Stream Port Connect your USB devices.
9 USB upstream port Connect the USB cable that came with your
monitor to the computer. Once this cable is
connected, you can use the USB connectors on
the monitor.
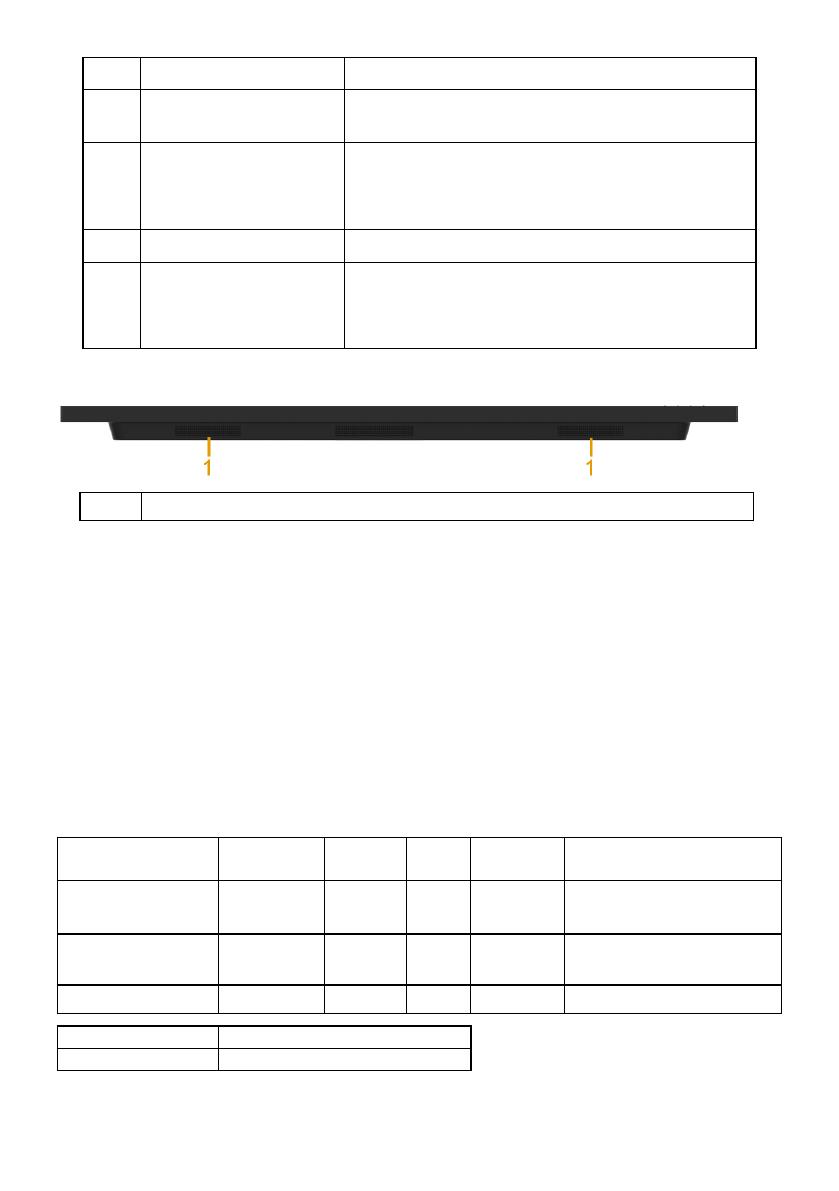
Bottom View
1 Speakers
Monitor Specifications
The following sections give you information about the various power management
modes and pin assignments for the various connectors of your monitor.
Power Management Modes
If you have VESA’s DPM compliance display card or software installed in your PC, the
monitor automatically reduces its power consumption when not in use. This is referred
to as Power Save Mode. If the computer detects input from keyboard, mouse, or other
input devices, the monitor automatically resumes functioning. The following table
shows the power consumption and signaling of this automatic power-saving feature:
VESA Modes
Horizontal
Sync
Vertical
Sync
Video
Power
Indicator
Power Consumption
Normal operation Active Active Active White 220 W (Maximum)**
142 W (Typical)
Active-off mode Inactive Inactive Blank Glowing
white
Less than 0.4 W
Switch off - - Off Less than 0.3 W *
Energy Star Power Consumption
On Mode
114 W***


