Celestron Power Seeker 50 User manual

Category
Telescopes
Type
User manual

This manual is also suitable for

P
P
o
o
w
w
e
e
r
r
S
S
e
e
e
e
k
k
e
e
r
r
5
5
0
0
I
I
N
N
S
S
T
T
R
R
U
U
C
C
T
T
I
I
O
O
N
N
M
M
A
A
N
N
U
U
A
A
L
L
#
#
2
2
1
1
0
0
3
3
9
9
2
INTRODUCTION
Congratulations on your purchase and welcome to the Celestron world of amateur astronomy. Some of the terms
and parts described in these instructions may be new to you, so a few commonly used terms you’ll want to be
familiar with are defined below.
Altazimuth mount - the simplest type of mount, with two motions: altitude (up and down) and azimuth (side-to-
side). “Mount” refers to the part of the telescope that support the tube, which carries all the telescope’s optics.
Altitude lock - allows the telescope tube to be locked into place once a focused image has been set up, by tightening
the two screws on the outside of the altazimuth mount.
Focal length - the distance from the optical center of the lens to the point where the incoming light rays converge,
creating a clear, focused image.
Objective lens - the front lens of the telescope. It gathers incoming light to create a sharply focused image.
Refracting telescope - a long, thin tube where light passes in a straight line from the front objective lens directly to
the eyepiece at the opposite end of the tube.
First, you need to take the time to familiarize yourself with the parts of your PowerSeeker telescope, then assemble
it, following the easy instructions provided. Next, read over the operating instructions and become familiar with how
your telescope works, to prepare for hours of viewing enjoyment.
CAUTION: READ THIS SECTION BEFORE USING YOUR TELESCOPE
Your PowerSeeker telescope is designed to give you hours of fun and rewarding observing. However, there are a
few things to be aware of before using your telescope that will ensure your safety and protect your equipment.
NEVER LOOK DIRECTLY AT THE SUN WITH THE NAKED EYE OR WITH A TELESCOPE. NEVER POINT
YOUR TELESCOPE AT THE SUN UNLESS YOU’RE USING THE PROPER SOLAR FILTER. PERMANENT
AND IRREVERSIBLE EYE DAMAGE MAY RESULT.
NEVER USE YOUR TELESCOPE TO PROJECT AN IMAGE OF THE SUN ONTO ANY SURFACE, OR USE AN
EYEPIECE SOLAR FILTER OR A HERSCHEL WEDGE. INTERNAL HEAT BUILD-UP CAN DAMAGE THE
TELESCOPE AND/OR ANY ACCESSORIES THAT MAY BE ATTACHED TO IT.
NEVER LEAVE YOUR TELESCOPE UNSUPERVISED, ESPECIALLY WHEN CHILDREN ARE PRESENT.
THIS ALSO HOLDS TRUE FOR ADULTS WHO MAY NOT BE FAMILIAR WITH THE CORRECT
OPERATING PROCEDURES FOR YOUR TELESCOPE.
ALWAYS COVER THE FINDERSCOPE WHEN USING YOUR TELESCOPE WITH THE CORRECT SOLAR
FILTER. ALTHOUGH SMALL IN APERTURE, THIS INSTRUMENT HAS ENOUGH LIGHT GATHERING
POWER TO CAUSE PERMANENT AND IRREVERSIBLE EYE DAMAGE. THE IMAGE PROJECTED BY THE
FINDERSCOPE IS HOT ENOUGH TO BURN SKIN OR CLOTHING.
3
Q
Q
u
u
i
i
c
c
k
k
S
S
e
e
t
t
u
u
p
p
1
3
5
7
9
10
8
6
2
4
11
4
T
T
H
H
E
E
P
P
O
O
W
W
E
E
R
R
S
S
E
E
E
E
K
K
E
E
R
R
5
5
0
0
R
R
E
E
F
F
R
R
A
A
C
C
T
T
O
O
R
R
The PowerSeeker is a classical, two element refracting telescope that comes on an altazimuth mount. This section
instructs you on the proper assembly and use of your PowerSeeker telescope, which is shipped in one box, containing
all the parts you need to assemble it. Unpack and lay out all of the parts in a large, clear area where you’ll have room
to work. Keeping track of the parts, use the list below and the telescope diagram to confirm you have, and can identify
each part.
1. Objective Lens
2. Telescope Mounting Plate
3. Altitude locking screw
4. Tripod Head
5. Tripod legs with a collapsible center leg brace
6. Focus Knob
7. 90° diagonal .96"
8. Eyepiece .96"
9. Finderscope Bracket
10. 5x24 Finderscope
11. Telescope Optical Tube
A
A
s
s
s
s
e
e
m
m
b
b
l
l
i
i
n
n
g
g
Y
Y
o
o
u
u
r
r
T
T
e
e
l
l
e
e
s
s
c
c
o
o
p
p
e
e
To set up the tripod, locate the tripod legs (5) and the telescope optical tube (11).
Remove the tripod from the box and spread the legs apart until the center leg brace is fully extended.
1. Extend the inner portion of each of the three tripod legs to the desired height. Tighten the thumb screw on the
side of each tripod leg to secure them in place. See Figure 1
2. After all the screws have been hand-tightened, you are ready to attach the telescope tube to the mount.
Remove the altitude locking screw (3) from the tripod head (4).
3. Place the telescope tube on the altazimuth mount so that the hole in the mounting platform (2) lines up with
the holes in the tripod head (4).
4. Insert the altitude locking screw (3) through the tripod head (4) and mounting platform (2) and tighten the
retaining nut to the other side of the screw.
A
A
t
t
t
t
a
a
c
c
h
h
i
i
n
n
g
g
t
t
h
h
e
e
A
A
c
c
c
c
e
e
s
s
s
s
o
o
r
r
i
i
e
e
s
s
Your telescope comes with the following optical accessories:
Star Diagonal .96"
20mm eyepieces .96"
12mm eyepieces .96"
4mm eyepiece .96 "
3x Barlow Lens .96"
1. Remove the caps from the focuser and the diagonal .
2. Insert the chrome end of the diagonal into the focuser (Figure 3) and lock into place by tightening the thumb
screws on the focuser.
3. Remove caps from the eyepiece and place it into the diagonal (Figure 4). Lock it into place with the thumb
screw.
4. Your telescope also comes with a 3x Barlow lens which triples the magnifying power of each eyepiece (see
Magnification section of the manual). To use the barlow lens, remove the diagonal and insert the barlow lens
directly into the focuser. Then start by using the low power eyepiece such as the 20mm, and insert it either
directly into the barlow lens or into the diagonal. See Figure 5.
5
A
A
t
t
t
t
a
a
c
c
h
h
i
i
n
n
g
g
t
t
h
h
e
e
F
F
i
i
n
n
d
d
e
e
r
r
s
s
c
c
o
o
p
p
e
e
1. Remove the two small, silver thumbscrews located at the back of the telescope tube. See Figure 2.
2. Place the finderscope bracket over the two holes in the telescope tube, lining up the holes on the finderscope
bracket with those in the telescope tube.
3. Insert the thumbscrews through the finderscope bracket and thread them into the telescope tube.
A
A
l
l
i
i
g
g
n
n
i
i
n
n
g
g
t
t
h
h
e
e
F
F
i
i
n
n
d
d
e
e
r
r
s
s
c
c
o
o
p
p
e
e
1. Locate a distant daytime object and center it in a low power eyepiece in the main telescope.
2. Look through the finderscope and take notice of the position of the same object.
3. Without moving the main telescope, turn the adjustment thumb screws located around the finderscope bracket
until the crosshairs of the finder are centered on the alignment object.
F
F
i
i
n
n
d
d
i
i
n
n
g
g
O
O
b
b
j
j
e
e
c
c
t
t
s
s
1. Loosen the altitude locking screw (3) on the base of tripod head (4), then move the telescope in the desired
direction.
2. Look through the finderscope and pan the telescope until the object appears in the field of view. Once it’s in
the field, tighten the altitude and azimuth locks.
F
F
o
o
c
c
u
u
s
s
i
i
n
n
g
g
1. Once you have found an object in the telescope, turn the focusing knob (6) until the image is sharp.
2. To focus on an object that is nearer than your current target, turn the focusing knob toward the eyepiece (i.e.,
so that the focusing tube moves away from the front of the telescope). For more distant objects, turn the
focusing knob in the opposite direction.
3. To achieve a truly sharp focus, never look through glass windows or across objects that produce heat waves,
such as asphalt parking lots.
I
I
m
m
a
a
g
g
e
e
O
O
r
r
i
i
e
e
n
n
t
t
a
a
t
t
i
i
o
o
n
n
1. When observing with a diagonal, the image will be right side up, but reversed from left to right.
2. When observing straight through, with the eyepiece inserted directly into the telescope, the image will be
inverted. Also, the image in the finderscope is inverted.
M
M
a
a
g
g
n
n
i
i
f
f
i
i
c
c
a
a
t
t
i
i
o
o
n
n
The magnification (or power) of a telescope varies depending upon the focal length of the eyepiece being used and the
focal length of the telescope.
The PowerSeeker 50 telescope has a focal length of 600mm and comes with a 20mm 1¼" eyepiece. To calculate
magnification, use the following formula, in which FL = focal length:
Therefore, if you use the 20mm eyepiece your magnification is 600/20 = 30x. The same formula can be applied to any
of your eyepieces.
Magnification through any telescope has its limits. These limits are determined by the laws of optics and the nature of
the human eye. Most of your viewing will be done in the range of 30x to 100x. Higher powers are used mainly for
lunar and sometimes planetary observing where you can greatly enlarge the image and the atmospheric conditions are
near perfect. The images at extremely high powers magnify the image, but remember that the contrast will be very low
due to the high magnification. For the brightest images with the most contrast, start by using the lower power eyepiece
with a smaller image scale.
Magnification =
FL (telescope) in mm
FL (eyepiece) in mm
Important!
6
The following magnification levels can be achieved when using the standard eyepiece in conjunction with the 3x
Barlow lens:
Eyepiece Magnification Mag. with 3x Barlow
Lens
20mm 30x 90x
12mm 50x 150x
4mm 150x 450x
T
T
E
E
L
L
E
E
S
S
C
C
O
O
P
P
E
E
M
M
A
A
I
I
N
N
T
T
E
E
N
N
A
A
N
N
C
C
E
E
With proper care, your telescope should rarely need any maintenance work. To maintain your telescope in the best
possible condition, observe the follow suggestions:
1. When your telescope isn’t in use, replace all lens covers to keep dust and contaminants off the optical surfaces.
2. A small amount of dust on any optical surface isn’t a problem and doesn’t need to be removed. If the dust builds
up, then use a can of compressed air and a camels hair brush to remove the dust. To remove fingerprints or other
contaminants, use an optical cleaning kit or the Celestron Lens Pen (#93575).
3. If the inside of the objective lens needs cleaning, it should be done by a professional. Either have your instrument
serviced by a telescope repair facility or return it to the factory for servicing.
S
S
P
P
E
E
C
C
I
I
F
F
I
I
C
C
A
A
T
T
I
I
O
O
N
N
S
S
PowerSeeker 50’s
Aperture 50mm
Focal Length 600mm
Focal Ratio f/12
Mounting Altazimuth
Tripod Adjustable Aluminum Tripod
NOTE: Specifications are subject to change without notice.
7
O
O
p
p
t
t
i
i
o
o
n
n
a
a
l
l
A
A
c
c
c
c
e
e
s
s
s
s
o
o
r
r
i
i
e
e
s
s
Celestron offers a full line of optional accessories for your telescope. Please refer to the Celestron Accessory Catalog
(#93685) for a complete description, or logon to our web site at www.celestron.com
.
Diagonal, Hybrid Mirror 90° (.96 to 1¼") #94106 - The economy Hybrid Mirror Diagonal (90°) provides a cost
effective way to upgrade telescopes supplied with .96" eyepieces, to higher quality 1¼" eyepieces.
Diagonal, Erect Image # 94113-A -An Amici prism design that allows you to look into the telescope at a 45° angle, at
images that are oriented properly, meaning the image is upright and correct from left to right.
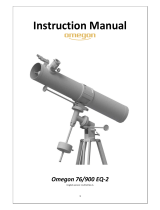
Eyepieces – An assortment of 1¼” eyepieces are available to give you a wide range of
magnifications.
OMNI Plössl - Plössl eyepieces have a 4-element lens designed for low-to-high power observing.
The Plössls offer razor sharp views across the entire field, even at the edges! In the 1-1/4" barrel
diameter, they are available in the following focal lengths: 4mm, 6mm, 9mm, 12.5mm, 15mm,
20mm, 25mm, 32mm and 40mm.
Ultima Ultima is not really a design, but a trade name for our 5-element, wide field
eyepieces. In the 1-1/4” barrel diameter, they are available in the following focal lengths:
5mm, 7.5mm, 10mm, 12.5mm, 18mm, 24mm, 30mm, 35mm, and 42mm. These eyepieces
are all parfocal. The 35mm Ultima gives the widest possible field of view with a 1-1/4”
diagonal.
Filters, Eyepiece - To enhance your visual observations of solar system objects, Celestron offers a wide range of
colored eyepiece filter sets that thread into the 1-1/4" oculars. Available sets are:
#94119-10 – Orange, Light Blue, ND13%T, Polarizing (#s 21, 80A, 96ND-13, Polarizing)
#94119-20 - Deep Yellow, Red, Light Green, ND25% T (#s 12, 25, 56, 96ND-25)
#94119-30 - Light Red, Blue, Green, ND50% T (#s 23A, 38A, 58, 96ND-50)
#94119-40 - Yellow, Deep Yellow, Violet, Pale Blue (#s 8, 15, 47, 82A)
Flashlights - #93588 LED (light emitting diode) flashlights conveniently allow you to read star maps without
diminishing your night vision. Both feature adjustable brightness and are small and lightweight, (#93592 is only 6 inches
long, and weighs in at a only 3 ounces).
Light Pollution Reduction (LPR) Filter (#94126A) - A 1¼” filter that threads into a 1¼” eyepiece, designed to
enhance your views of deep-sky astronomical objects when observed from urban areas. The LPR filter selectively
reduces the transmission of certain wavelengths of light, specifically those produced by artificial lights. This includes
mercury, and high and low pressure sodium vapor lights. Additionally, it blocks unwanted natural light (also known as
sky glow).
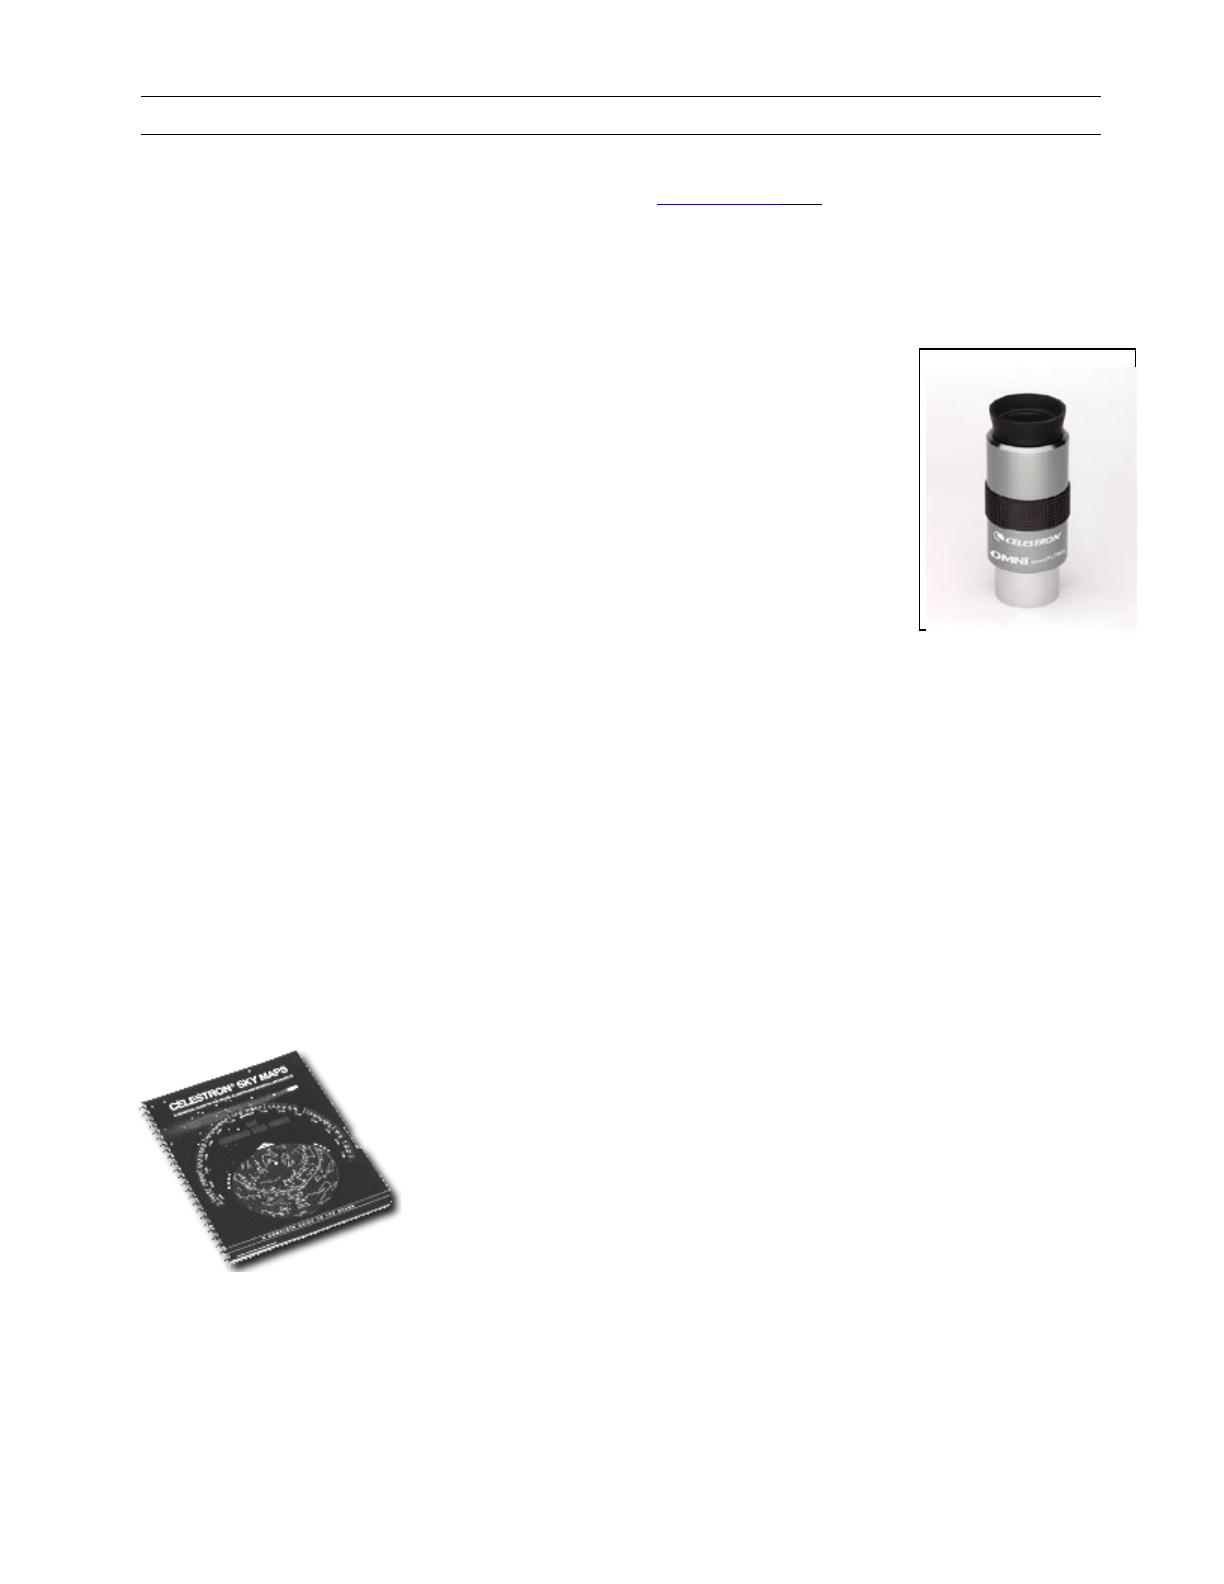
Sky Maps (#93722) – When learning the night sky, Celestron Sky Maps offer just the
guidance you need. The maps show all the constellations and brighter deep-sky objects
and are printed on heavy, moisture-resistant paper for durability. The front cover
features a rotating planisphere, indicating when specific constellations are visible.
Peterson First Guides® - Astronomy (#93728)
A simplified field guide to the stars, the planets and the universe featuring full color maps showing the positions of the
stars throughout the year. This useful guide also includes beautiful constellation paintings, photographs, and clear,
concise descriptions of stars, the planets, the sun, the moon, comets, black holes, galaxies and more.
CELESTRON TWO YEAR WARRANTY
a. Celestron warrants this telescope to be free from defects in materials and workmanship for two years. Celestron will repair or
replace such product or part thereof which, upon inspection by Celestron, is found to be defective in materials or workmanship. As a
condition to the obligation of Celestron to repair or replace such product, the product must be returned to Celestron together with
proof-of-purchase satisfactory to Celestron.
b. The Proper Return Authorization Number must be obtained from Celestron in advance of return. Call Celestron at (310) 328-9560 to
receive the number to be displayed on the outside of your shipping container.
All returns must be accompanied by a written statement setting forth the name, address, and daytime telephone number of the owner,
together with a brief description of any claimed defects. Parts or product for which replacement is made shall become the property of
Celestron.
The customer shall be responsible for all costs of transportation and insurance, both to and from the factory of Celestron, and
shall be required to prepay such costs.
Celestron shall use reasonable efforts to repair or replace any telescope covered by this warranty within thirty days of receipt. In the event
repair or replacement shall require more than thirty days, Celestron shall notify the customer accordingly. Celestron reserves the right to
replace any product which has been discontinued from its product line with a new product of comparable value and function.
This warranty shall be void and of no force of effect in the event a covered product has been modified in design or function, or
subjected to abuse, misuse, mishandling or unauthorized repair. Further, product malfunction or deterioration due to normal
wear is not covered by this warranty.
CELESTRON DISCLAIMS ANY WARRANTIES, EXPRESS OR IMPLIED, WHETHER OF MERCHANTABILITY OF FITNESS FOR
A PARTICULAR USE, EXCEPT AS EXPRESSLY SET FORTH HEREIN.
THE SOLE OBLIGATION OF CELESTRON UNDER THIS LIMITED WARRANTY SHALL BE TO REPAIR OR REPLACE THE
COVERED PRODUCT, IN ACCORDANCE WITH THE TERMS SET FORTH HEREIN. CELESTRON EXPRESSLY DISCLAIMS
ANY LOST PROFITS, GENERAL, SPECIAL, INDIRECT OR CONSEQUENTIAL DAMAGES WHICH MAY RESULT FROM
BREACH OF ANY WARRANTY, OR ARISING OUT OF THE USE OR INABILITY TO USE ANY CELESTRON PRODUCT. ANY
WARRANTIES WHICH ARE IMPLIED AND WHICH CANNOT BE DISCLAIMED SHALL BE LIMITED IN DURATION TO A
TERM OF TWO YEARS FROM THE DATE OF ORIGINAL RETAIL PURCHASE.
Some states do not allow the exclusion or limitation of incidental or consequential damages or limitation on how long an implied warranty
lasts, so the above limitations and exclusions may not apply to you.
This warranty gives you specific legal rights, and you may also have other rights which vary from state to state.
Celestron reserves the right to modify or discontinue, without prior notice to you, any model or style telescope.
If warranty problems arise, or if you need assistance in using your telescope contact:
Celestron
Customer Service Department
2835 Columbia Street
Torrance, CA 90503 U.S.A.
Tel. (310) 328-9560
Fax. (310) 212-5835
Monday-Friday 8AM-4PM PST
This warranty supersedes all other product warranties.
NOTE: This warranty is valid to U.S.A. and Canadian customers who have purchased this product from an Authorized Celestron
Dealer in the U.S.A. or Canada. Warranty outside the U.S.A. and Canada is valid only to customers who purchased from a Celestron
Distributor or Authorized Celestron Dealer in the specific country and please contact them for any warranty service.
Printed
in China #21039-INST
04-03
  • Page 1 1
  • Page 2 2
  • Page 3 3
  • Page 4 4
  • Page 5 5
  • Page 6 6
  • Page 7 7
  • Page 8 8

Celestron Power Seeker 50 User manual

Category
Telescopes
Type
User manual
This manual is also suitable for

Ask a question and I''ll find the answer in the document

Finding information in a document is now easier with AI