Model Name QM85N QM98N
Panel
Size 214.7 cm 247.7 cm
Display area
1872.0 mm (H) x 1053.0 mm (V) 2158.848 mm (H) x 1214.352 mm (V)
Power Supply
AC100-240V~ 50/60Hz
Refer to the label at the back of the product as the standard voltage can vary in different countries.
Environmental
considerations
Operating
Temperature: 0 °C – 40 °C (32 °F – 104 °F)
Humidity: 10% – 80%, non-condensing
Storage
Temperature: -20 °C – 45 °C (-4 °F – 113 °F)
Humidity: 5% – 95%, non-condensing
* This is a class A product. In a domestic environment this product may cause radio interference in which case the user may be required to
take adequate measures.
* For detailed device specifications, visit the Samsung Electronics website.
* The PVC Free (except for accessory cables) logo is the self-declared trademark of Samsung.
- Accessory cables: signal cables and power cords
Warning! Important Safety Instructions
If you have any questions or comments relating to Samsung products, please contact the SAMSUNG customer care centre.
Tel. 1800 40 SAMSUNG (1800 40 7267864) (Toll-Free)
www.samsung.com/in/support
Contact SAMSUNG WORLD WIDE
Please read the appropriate section that corresponds to the marking on your Samsung product before attempting to install the product.
CAUTION
RISK OF ELECTRIC SHOCK DO NOT OPEN
CAUTION: TO REDUCE THE RISK OF ELECTRIC SHOCK, DO NOT
REMOVE COVER (OR BACK). THERE ARE NO USER SERVICEABLE
PARTS INSIDE. REFER ALL SERVICING TO QUALIFIED PERSONNEL.
This symbol indicates that high voltage is present
inside. It is dangerous to make any kind of contact with
any internal part of this product.
This symbol indicates that this product has
included important literature concerning
operation and maintenance.
This product is RoHS compliant.
This marking on the product, accessories or literature indicates that the product and its electronic accessories (e.g. charger,
headset, USB cable) should not be disposed of with other household waste at the end of their working life. To prevent
possible harm to the environment or human health from uncontrolled waste disposal, please separate these items from
other types of waste and recycle them responsibly to promote the sustainable reuse of material resources.
For more information on safe disposal and recycling visit our website www.samsung.com/in or contact our Helpline numbers
- 1800 40 SAMSUNG(1800 40 7267864) (Toll-Free)
ꞏ If your equipment uses an AC adapter:
‐Only use the AC adapter with your product by
Samsung.
‐Do not use the power cord with other products.
ꞏ Do not install this equipment in a confined space such as a case or
similar.
ꞏ The slots and openings in the cabinet and in the back or bottom
are provided for necessary ventilation. The slots and openings
must never be blocked or covered.
ꞏ The product should be located away from heat sources such as
radiators, heat registers, or other products that produce heat.
ꞏ Do not place a water containing vessel (vases etc.) on this
apparatus, as this can result in a risk of fire or electric shock.
(Apparatus shall not be exposed to dripping or splashing)
ꞏ The apparatus must be connected to an earthed MAINS socket-
outlet (Class l Equipment only). Or Use only a properly grounded
plug and receptacle (Class l Equipment only).
ꞏ To disconnect the apparatus from the mains, the plug must be
pulled out from the mains socket, therefore the mains plug shall
be readily operable.
ꞏ As long as this unit is connected to the AC wall outlet, it is not
disconnected from the AC power source even if you turn off this
unit by POWER.
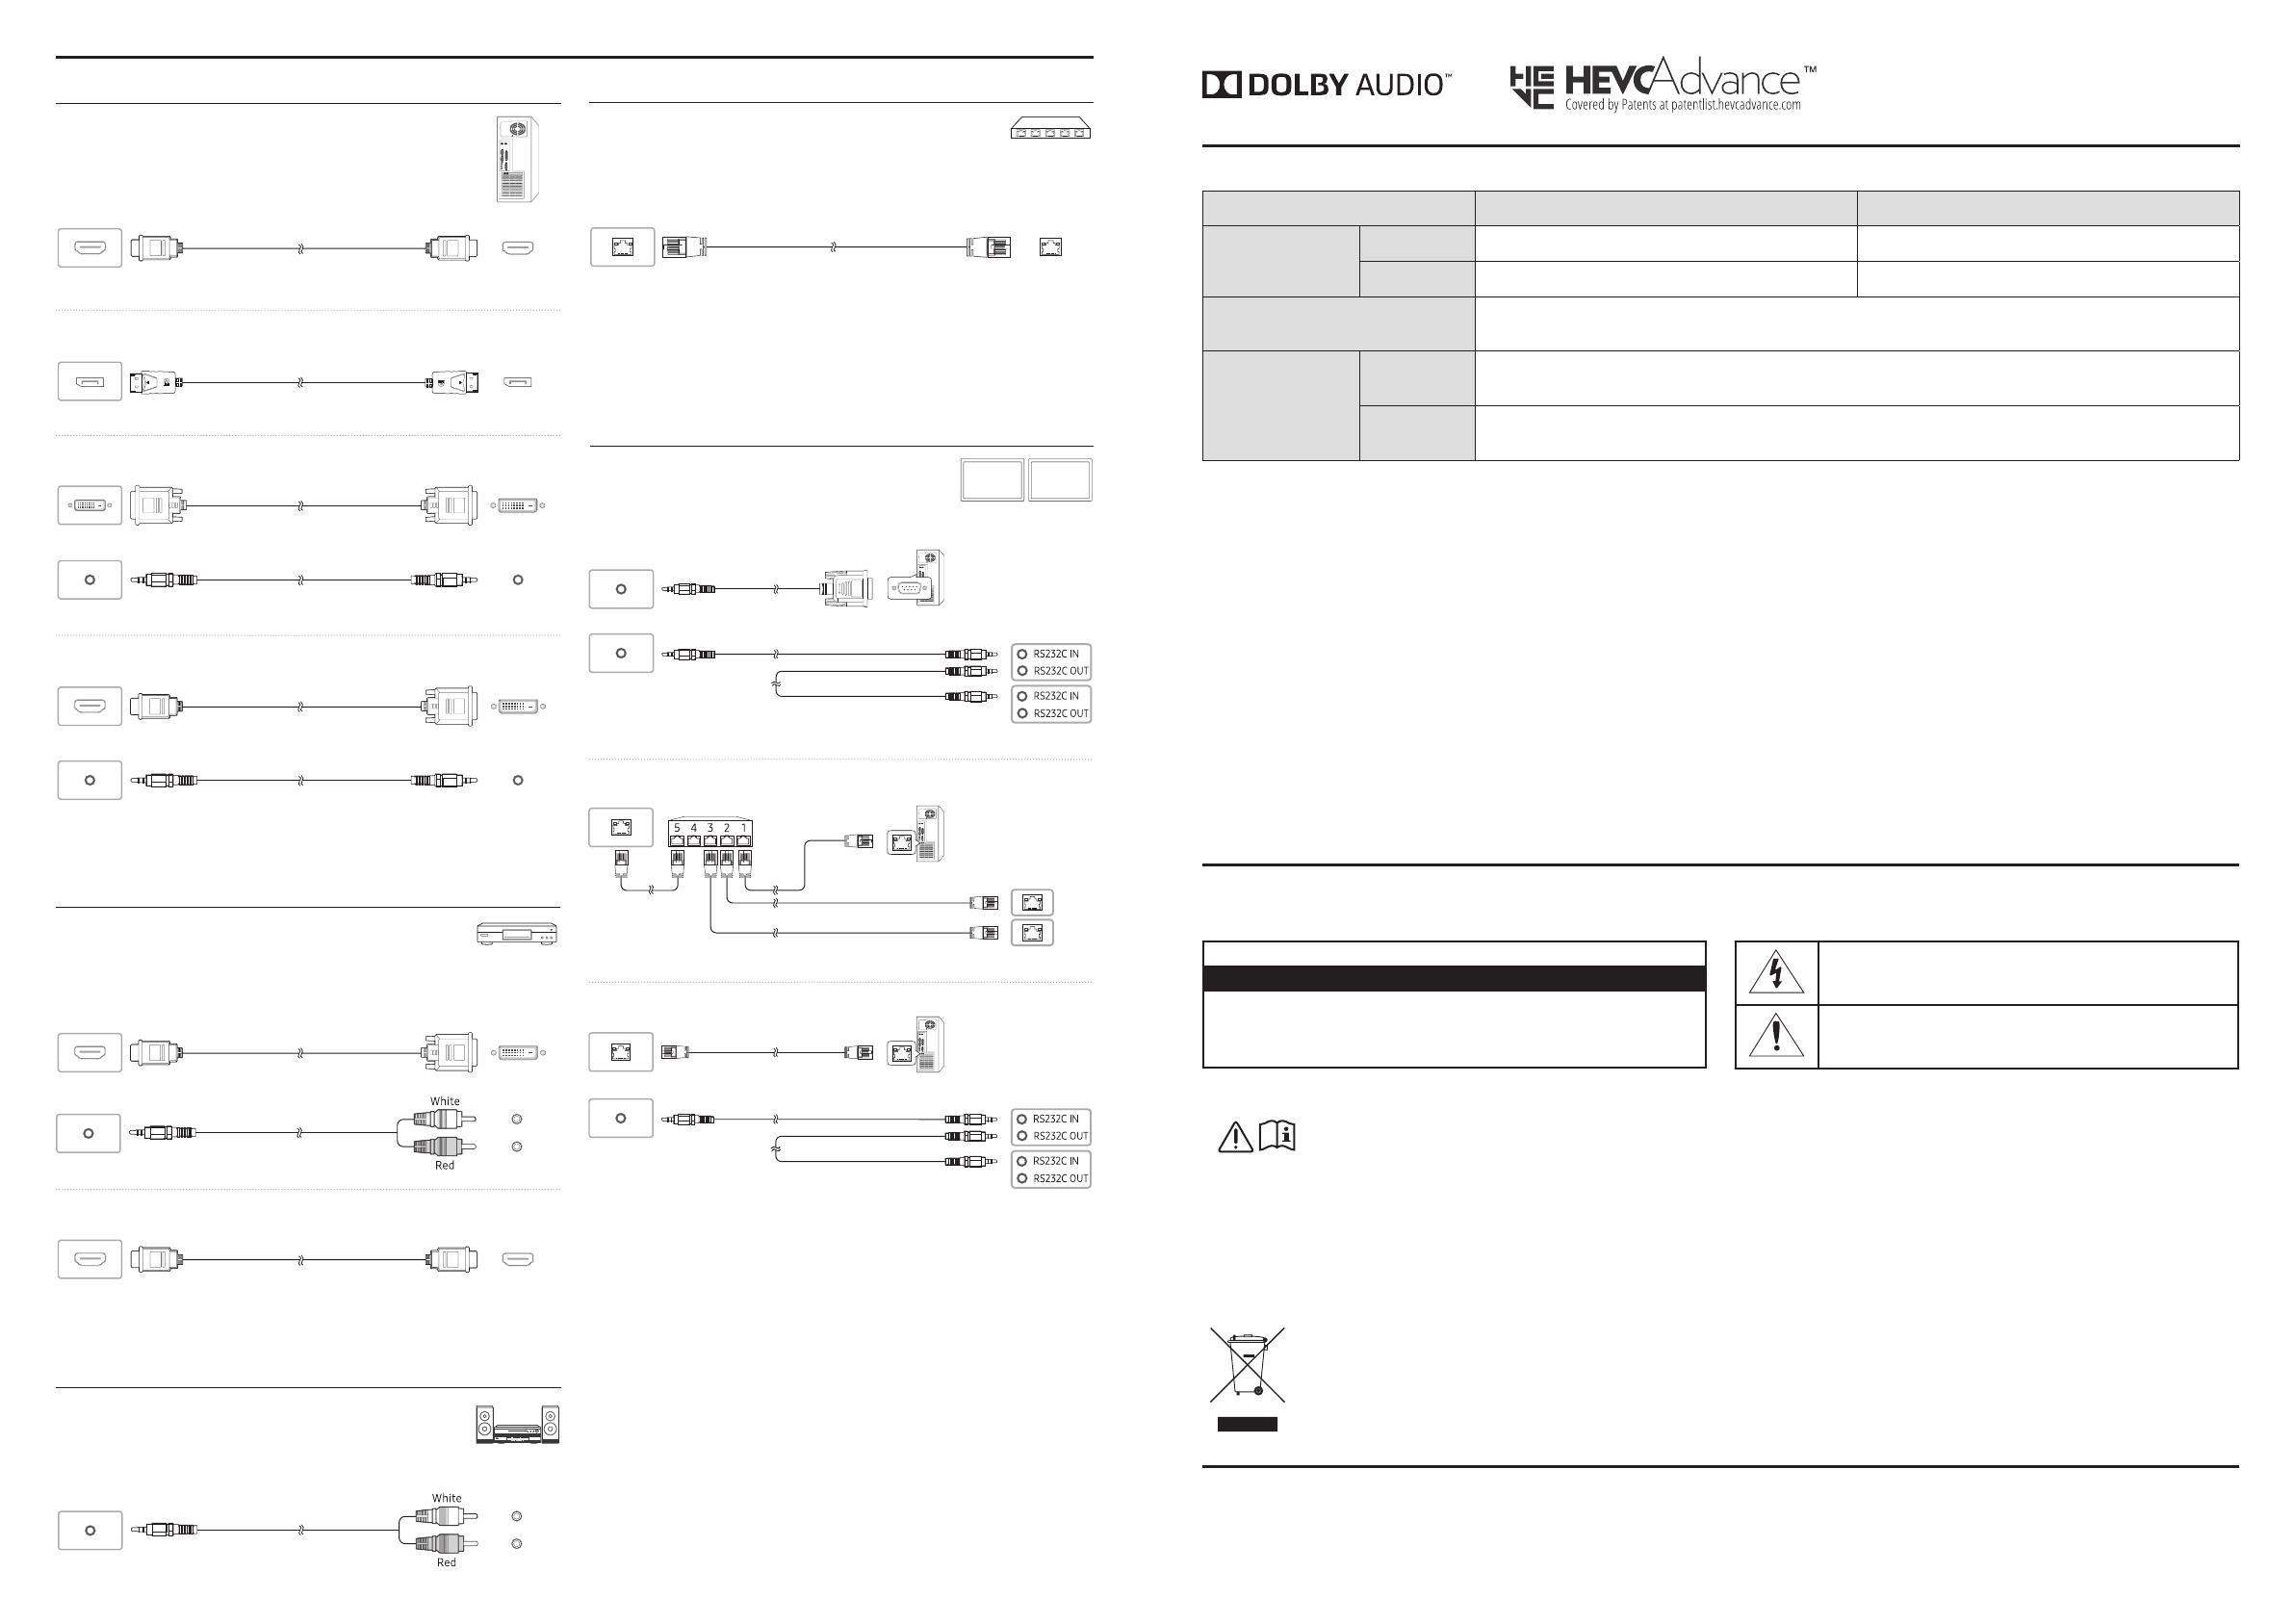
Connecting to a PC
DP IN (DAISY CHAIN IN)
HDMI IN 1 (ARC), HDMI IN 2 (DAISY CHAIN IN)
HDMI IN 1 (ARC), HDMI IN 2 (DAISY CHAIN IN)
HDMI IN
DVI/HDMI AUDIO IN
DVI/MAGICINFO IN
DVI/HDMI AUDIO IN
AUDIO OUT
DP IN (DAISY CHAIN IN)
HDMI IN 1 (ARC), HDMI IN 2 (DAISY CHAIN IN)
HDMI IN 1 (ARC), HDMI IN 2 (DAISY CHAIN IN)
HDMI IN
DVI/HDMI AUDIO IN
DVI/MAGICINFO IN
DVI/HDMI AUDIO IN
AUDIO OUT
DP IN (DAISY CHAIN IN)
HDMI IN 1 (ARC), HDMI IN 2 (DAISY CHAIN IN)
HDMI IN 1 (ARC), HDMI IN 2 (DAISY CHAIN IN)
HDMI IN
DVI/HDMI AUDIO IN
DVI/MAGICINFO IN
DVI/HDMI AUDIO IN
AUDIO OUT
DP IN (DAISY CHAIN IN)
HDMI IN 1 (ARC), HDMI IN 2 (DAISY CHAIN IN)
HDMI IN 1 (ARC), HDMI IN 2 (DAISY CHAIN IN)
HDMI IN
DVI/HDMI AUDIO IN
DVI/MAGICINFO IN
DVI/HDMI AUDIO IN
AUDIO OUT
HDMI IN 1 (ARC), HDMI IN 2 (DAISY CHAIN IN)
HDMI IN 1 (ARC), HDMI IN 2 (DAISY CHAIN IN)
HDMI IN
DVI/HDMI AUDIO IN
DVI/MAGICINFO IN
DVI/HDMI AUDIO IN
AUDIO OUT
DP IN (DAISY CHAIN IN)
HDMI IN 1 (ARC), HDMI IN 2 (DAISY CHAIN IN)
HDMI IN 1 (ARC), HDMI IN 2 (DAISY CHAIN IN)
HDMI IN
DVI/HDMI AUDIO IN
DVI/MAGICINFO IN
DVI/HDMI AUDIO IN
AUDIO OUT
Connecting to MDC
For details on how to use the MDC programme, refer to Help after
installing the programme.
The MDC programme is available on the website.
http://www.samsung.com/displaysolutions
RS232C IN
RS232C OUT
RJ45
HUB
RS232C OUT
RJ45
RS232C IN
RS232C OUT
RS232C OUT
RJ45
Connecting to a Video Device
DP IN (DAISY CHAIN IN)
HDMI IN 1 (ARC), HDMI IN 2 (DAISY CHAIN IN)
HDMI IN 1 (ARC), HDMI IN 2 (DAISY CHAIN IN)
HDMI IN
DVI/HDMI AUDIO IN
DVI/MAGICINFO IN
DVI/HDMI AUDIO IN
HDMI IN 1 (ARC), HDMI IN 2 (DAISY CHAIN IN)
HDMI IN 1 (ARC), HDMI IN 2 (DAISY CHAIN IN)
HDMI IN
DVI/HDMI AUDIO IN
DVI/MAGICINFO IN
DVI/HDMI AUDIO IN
AUDIO OUT
DP IN (DAISY CHAIN IN)
HDMI IN 1 (ARC), HDMI IN 2 (DAISY CHAIN IN)
HDMI IN 1 (ARC), HDMI IN 2 (DAISY CHAIN IN)
HDMI IN
DVI/HDMI AUDIO IN
DVI/MAGICINFO IN
DVI/HDMI AUDIO IN
AUDIO OUT
Connecting the LAN Cable
Use Cat7(*STP Type) cable for the connection. (10/100 Mbps)
*Shielded Twist Pair
DP IN
HDMI IN
HDMI IN
HDMI IN
DVI/HDMI/AUDIO IN
DVI/MAGICINFO IN
DVI/HDMI/AUDIO IN
AUDIO OUT
RJ45
Connecting to an Audio System
DP IN (DAISY CHAIN IN)
HDMI IN 1 (ARC), HDMI IN 2 (DAISY CHAIN IN)
HDMI IN 1 (ARC), HDMI IN 2 (DAISY CHAIN IN)
HDMI IN
DVI/HDMI AUDIO IN
DVI/MAGICINFO IN
DVI/HDMI AUDIO IN
AUDIO OUT
Connecting and Using a Source Device
Specifications
BN68-09316F-00_QSG_QMN_85-98_INDIA_ENG.indd 2 2018-11-20 오후 6:14:24

