Inserting the rebox
Step 5.
Position the zero clearance assembly inside the wall cavity, once the casing is
positioned check level and ensuring positioning is ush with the wall framing.
Secure to the lower rails to the oor using appropriate xing methods for the
ooring material.
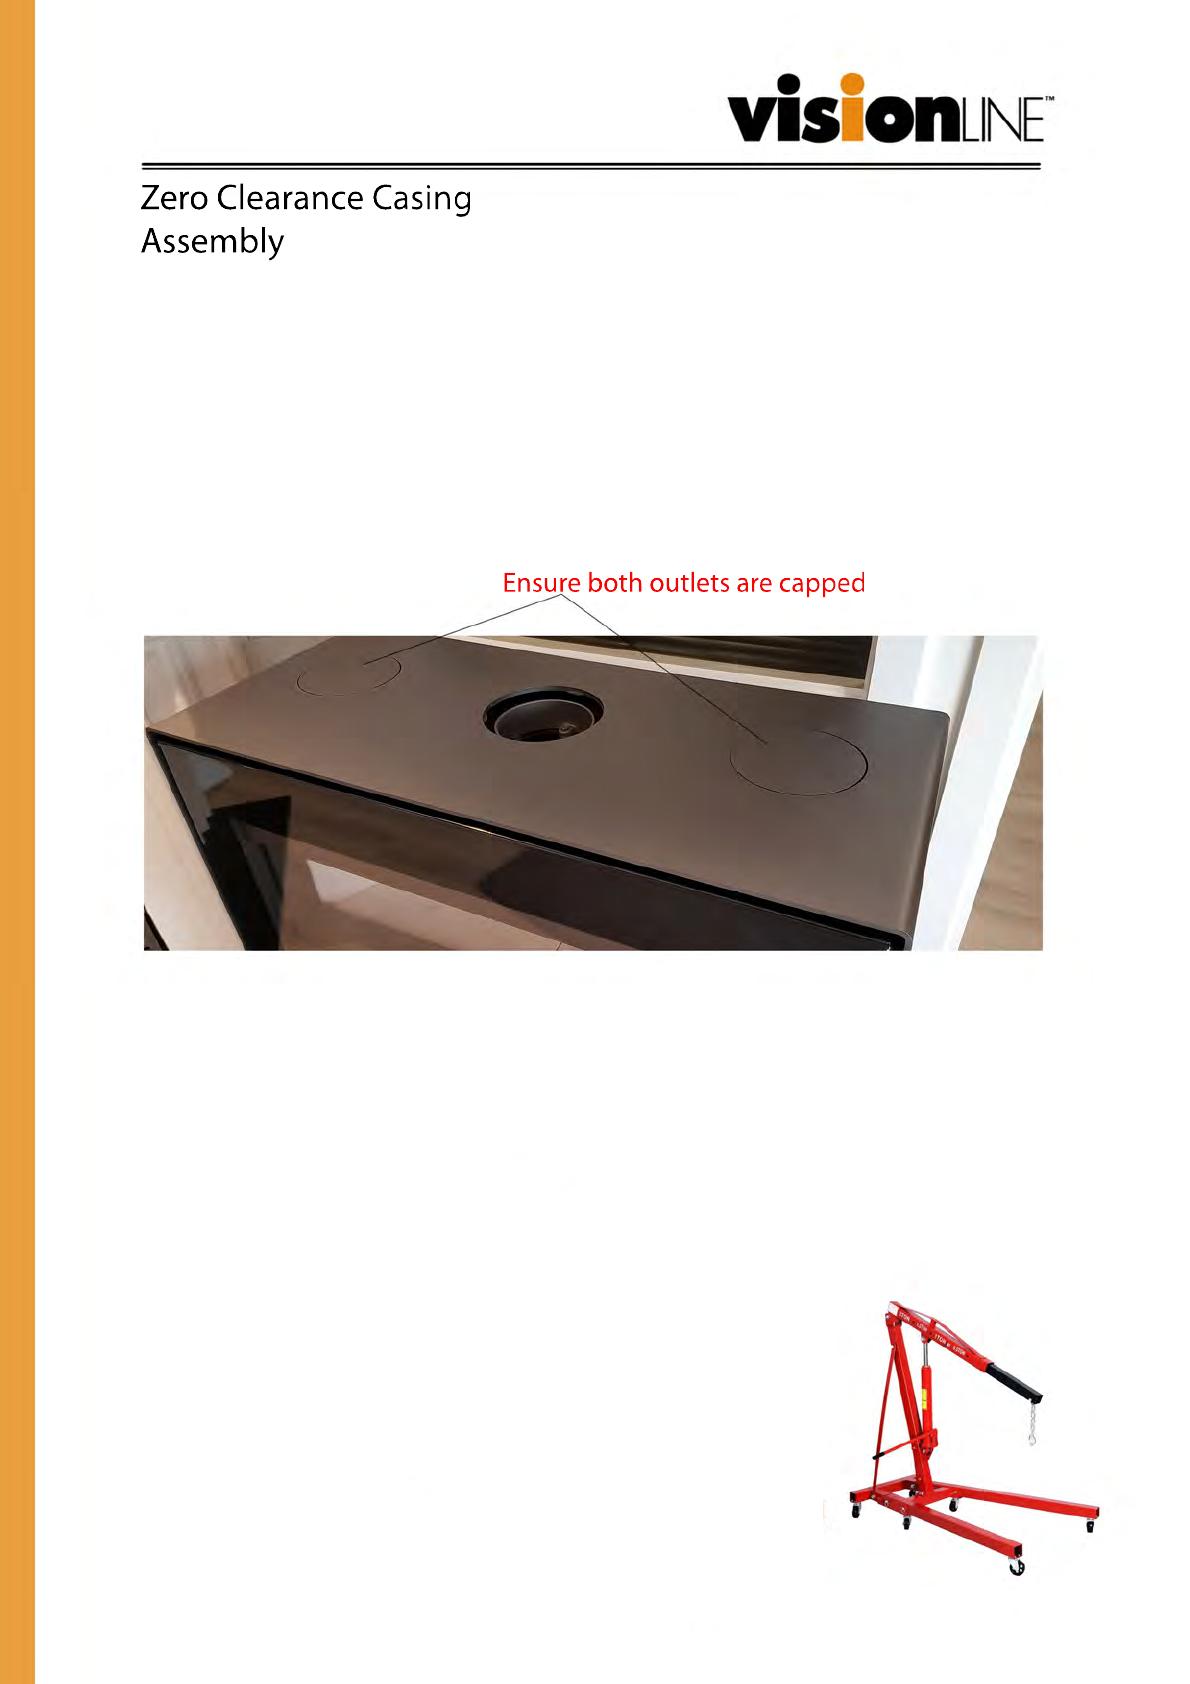
Before preparing to insert rebox into the zero clearance
casing, please ensure both heat exchange vents are capped as pictured below
(pre-2021
units only). Caps have been deleted on current series units.
Step 6.
Position the rebox inside the zero clearance casing, due to the weight of
the rebox (220kg), it is highly recommended to remove as much weight as possible from
the unit (bricks, bae and glass door) and use mechanical lifting aids.
Leaving the top panel o allows for the use of mechanical lifting
aids to help position the rebox inside the casing / wall cavity.
Applying grease or similar to the lower support brackets will aid
in sliding the rebox into the casing.
Page 11TAURUS ZC MANUAL V3


