Caution
- Never use water hotter than 80°C to rinse the shaver.
- Be careful with hot water. Always check if the water is not too hot, to
prevent your hands from getting burnt.
- The shaver and the other accessories are not dishwasher-proof.
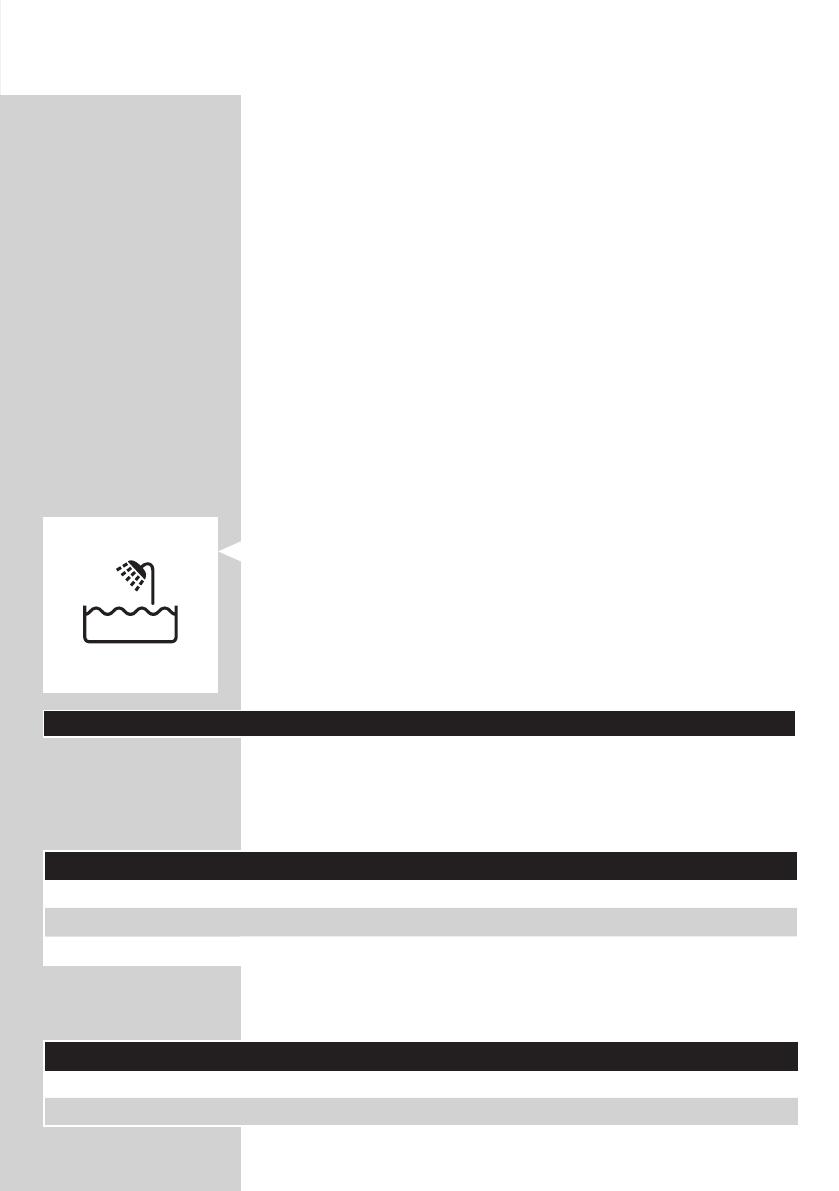
- Water may leak from the socket at the bottom of the shaver when you
rinse it. This is normal and not dangerous because all electronics are
enclosed in a sealed power unit inside the shaver.
- Do not use the shaver, adapter, charging stand or any other part if
it is damaged, as this may cause injury. Always replace a damaged
adapter or charging stand with one of the original type.
- Use, charge and store the appliance at a temperature between 10°C
and 35°C.
- Always place and use the shaver on a surface that is uid-resistant.
- Only use the adapter, charging stand and accessories supplied.
- Always put the protection cap on the shaver to protect the shaving
heads when you are travelling.
- If the shaver is subjected to a major change in temperature, pressure or
humidity, let it acclimatise for 30 minutes before you use it.
- Do not immerse the charging stand in water or any other liquid, nor
rinse it under the tap.
Compliance with standards
- This Philips appliance complies with all applicable standards and
regulations regarding electromagnetic elds (EMF).
General
- The appliance is equipped with an automatic voltage selector and is
suitable for mains voltages ranging from 100 to 240 volts.
- The adapter transforms 100-240 volts to a safe low voltage of less than
24 volts.
Charging
Note: The shaver cannot be used directly from the mains.
When you charge the shaver for the rst time or after a long period of
disuse, let it charge until the charging light lights up continuously.
See the table below for the charging time of your shaver.
Charging time 1 hour 8 hours
AT941, AT940, AT897 AT899, AT896, AT790
AT894, AT892, AT891 AT756, AT753, AT751
AT890, AT811 AT750
The shaving time may be less than stated below in the table as a result of
your shaving behaviour, your cleanings habits or your beard type.
Shaving minutes 60 min. 50 min. 45 min. 40 min.
AT941 AT897, AT894, AT892 AT899 AT790, AT756, AT753
AT940 AT891, AT890, AT811 AT896 AT751, AT750
ENGLISH 7


