Anvil DOA4001 User manual

Type
User manual

This manual is also suitable for

NB:
DECK OVENS
INSTALLATION OPERATION AND CARE OF
DECK OVENS
MODELS: DOA3001/DOA3002/DOA3003
DOA4001/DOA4002/DOA4003
REGISTER ON-LINE TODAY
Register your warranty on-line now at www.anvilworld.com
NO WEB ACCESS
If you do not have access to the web. Kindly register by completing
the warranty registration form and fax it to the anvil oce in the
country of purchase.
Failure to do so will invalidate your warranty.
4-INS-DOA3001
LIMITED WARRANTY
All equipment which is sold under ANVIL trademark and used for
commercial purposes is warranted against defects in materials and
workmanship. The warranty runs for two years from the date of
original installation and is for the benet of the original purchaser
only. All other Warranties ,expressed or implied , statutory or
otherwise, including without limitations any implied Warranty of
Merchantability or tness for purpose are excluded .The Seller shall
in no event be liable for direct,indirect or consequential damages in
connection with ANVIL commercial products.
The Sellers obligation under this Warranty is limited to the
repair of defects without charge. Defective units must be taken or
shipped,transportation charges prepaid,to ANVIL.
This Warranty is not eective if damage occurs because of
accident,carelessness,improper installation,lack of proper
set-up,supervision when required or if the equipment is installed or
operated in any manner contrary to the installation and
operating instructions. In these cases,repairs will be made at a
reasonable cost. Work performed by unauthorized personnel or
unauthorized service agencies using non Anvil spares voids this
Warranty.
GENERAL INSTALLATION AND OPERATION INSTRUCTIONS:
Anvil deck ovens have been designed for the following uses:
Baking of fresh or frozen bakery and pastry products
Cooking of gastronomy products, either fresh or frozen
1. Positioning - Install the deck oven in the most convenient location
for ease of cleaning, maintenance and general operation.
The unit should be placed a minimum distance of 100mm from any
adjacent wall. If this appliance is to be positioned in close proximity
to a wall, partitions, kitchen furniture, decorative nishes, etc it is
recommended that they be made of non–combustible materials. If
not, they shall be clad with a suitable non- combustible heat
insulating material, and the closest attention be paid to the re
prevention regulations. It is important to observe the recommended
space at the back of the oven due to the exhaust air vent duct being
positioned at the rear of the unit. Hot exhaust gas can create a re
hazard.
3. Earthing - Anvil deck ovens require a grounded, receptacle.
4. The Ovens require either a multi phase connection or a dedicated
single phase connection to the distribution board. Please consult a
qualied electrician and follow the connecting diagrams
5. Optional ceramic cooking base panels are available for cooking
pizza’s and similar products.
THESE INSTRUCTIONS MUST BE FOLLOWED FOR US TO
GUARANTEE OUR FULL SUPPORT OF YOUR CLAIM FOR
PROTECTING AGAINST LOSS FROM CONCEALED DAMAGE.
THE FORM FOR FILING SUCH A CLAIM WILL BE PROVIDED
BY THE CARRIER.
UNPACKING
Unpack the product and check for any damage incurred during
transit. This should be reported to the responsible carrier, railway or
postal authority, and a request for a damage report should be made.
1
22
The temperature range of the deck oven is thermostatically
controlled between the range of 50°C/122°F to 300°C/ 570°F. The
top knob on the control panel controls the top bank of elements, the
bottom knob controls the bottom bank of elements . A signal lamp
next to the thermostat indicates when the heating elements are
energized. The signal lamp next to the TIMER CONTROL which is
positioned centrally on the control panel indicates that the time
cycle is in operation.
SPECIFIC OPERATING INSTRUCTIONS
1. Model DOA3001 / DOA3002 / DOA3003
DOA4001 / DOA4002 / DOA4003
Set the power switch to the on position, THERMOSTAT CONTROLS to
the desired temperature and the TIMER CONTROL to the desired time
or bypass the timer to the “ON” position as marked on timer control
knob (this is done by turning the timer knob fully anti-clockwise). The
oven light is operated independently via the switch positioned on the
control panel. The pilot lights will indicate when the heating elements
are energized. The desired temperature is reached when the pilot
light switches o.
MODEL
TRIPLE DECK OVEN
DOA3003 / DOA4003
Part
No.
1 OUTER ENCLOSURE
2 LEFT SIDE PANEL
3 SHELF
4 BOTTOM ELEMENT COVER
5 SPRING BRACKET
6 7-SPRING-DOA02 SPRING
7 FRONT DOOR
8 3-HAN-DOA02-5 DELUXE DOOR HANDLE DOA3001/2/3
9 3-KNOB-LEVER LEVER KNOB
10 1-PL-GP PILOT LIGHT
11 1-RS-NI NON-ILLUMINATED ROCKER SWITCH
12 4-FACIA-DOS ROCKER SWITCH LEXAN PANEL
13 3-COLLET-S KNOB INSERT
14 4-BEZ-COA1005 THERMOSTAT BEZEL
15 1-EGO-150 THERMOSTAT
16 1-2HR-TIMER 2HR TIMER
17 1-EGO-150 THERMOSTAT
18 7-SW-175 CASTORS
19 8-DOLB-DOA0001 DECK OVEN LIGHT BRACKET
20 1-LBH-DOA0001 BULB HOLDER
21 1-LB-DOA0001 BULB
22 1-220V-CONT-32A 32 AMP CONTACTOR
23 RIGHT SIDE PANEL
24 3-CABLE-GLAND GLAND
25 5-550W-DOA0001 ELEMENT
26 BACK PANEL
27 3-CB-POA2001 CERAMIC CONNECTOR BLOCK
28 4-BEZ-DOA3001 TIMER BEZEL
29 4-BEZ-BADGE BADGE BEZEL
MODEL:TWO TRAY TRIPLE DECK OVEN
MODEL CODE :DOA0003
Description Stock Code
221
EXPLODED DIAGRAM
TRIPLE DECK OVEN
DOA3003/DOA4003
COOKING TIPS
Cooking is not an exact science due to many variables such as size
and quantity of food, temperature of food, etc. However, the
following tips may prove to be helpful:
1. As with any recipe, check the food about 5-10 minutes before
the expected nish time, due to variables such as the tempera
ture of the food when rst placed in the oven, quantity of food
in the oven, your preferred level of “doneness”, etc.
2. The more food in the oven at one time, the longer the cooking
time.
TIP : COOKING AT A HIGHER TEMPERATURE
WILL NOT REDUCE YOUR COOKING TIME !
IT WILL PRODUCE UNSATISFACTORY
BAKING AND ROASTING RESULTS.
OPERATING AND COOKING HINTS
1. ALWAYS PREHEAT OVEN FOR A MINIMUM OF 10 MINUTES.
2. For even cooking – Always space food evenly on your cooking
pans. Space pans evenly in the oven.
3. When preparing meat – Always put a sheet pan on the bottom
of the oven cavity to catch any spillage.
4. DO NOT cover any part of the oven or a sheet pan used as drip
tray with aluminium foil. This can cause the oven to overheat.
1
2
3
4
7
8
6
5
10
11
9
12
1413
15
16
17
5
6
19
18
20
21
22
23
24
25
26
27
28 14
3 20
CLEANING:
1. ALWAYS ALLOW UNIT TO COOL BEFORE CLEANING.
2. At the end of each baking cycle, clean the baking chamber using
a suitable mild detergent or ammonia solution in warm water.
Caustic based cleaners are not recommended.
3. The sheet pans may be washed in hot soapy water or in your
dishwasher.
4. Optional ceramic plates must not be cooled down or cleaned
with water as permanent damage may occur. To clean set the
thermostat to 300°C at the end of the cooking day, leave for
one hour. Cooking residue will carbonize and can be removed
with a sti brush. Stubborn residue can be removed with a
scraper.
5. Wipe o unit with a dry cloth and wait at least half an hour
before re-connecting to electrical system.
CLEAN THE STEEL PARTS WITH WATER AND SOAP.
AVOID THE USE OF DETERGENTS CONTAINING
ABRASIVE SUBSTANCES. ALWAYS RINSE WELL AND
DRY CAREFULLY AFTER CLEANING. DO NOT USE
PRODUCTS CONTAINING AGGRESSIVE CHEMICALS,
ACIDS OR CHLORINE AS THIS WILL INVALIDATE THE
WARRANTY
ALWAYS ENSURE THAT THE UNIT IS DISCONNECTED
FROM THE MAIN SUPPLY BEFORE CLEANING
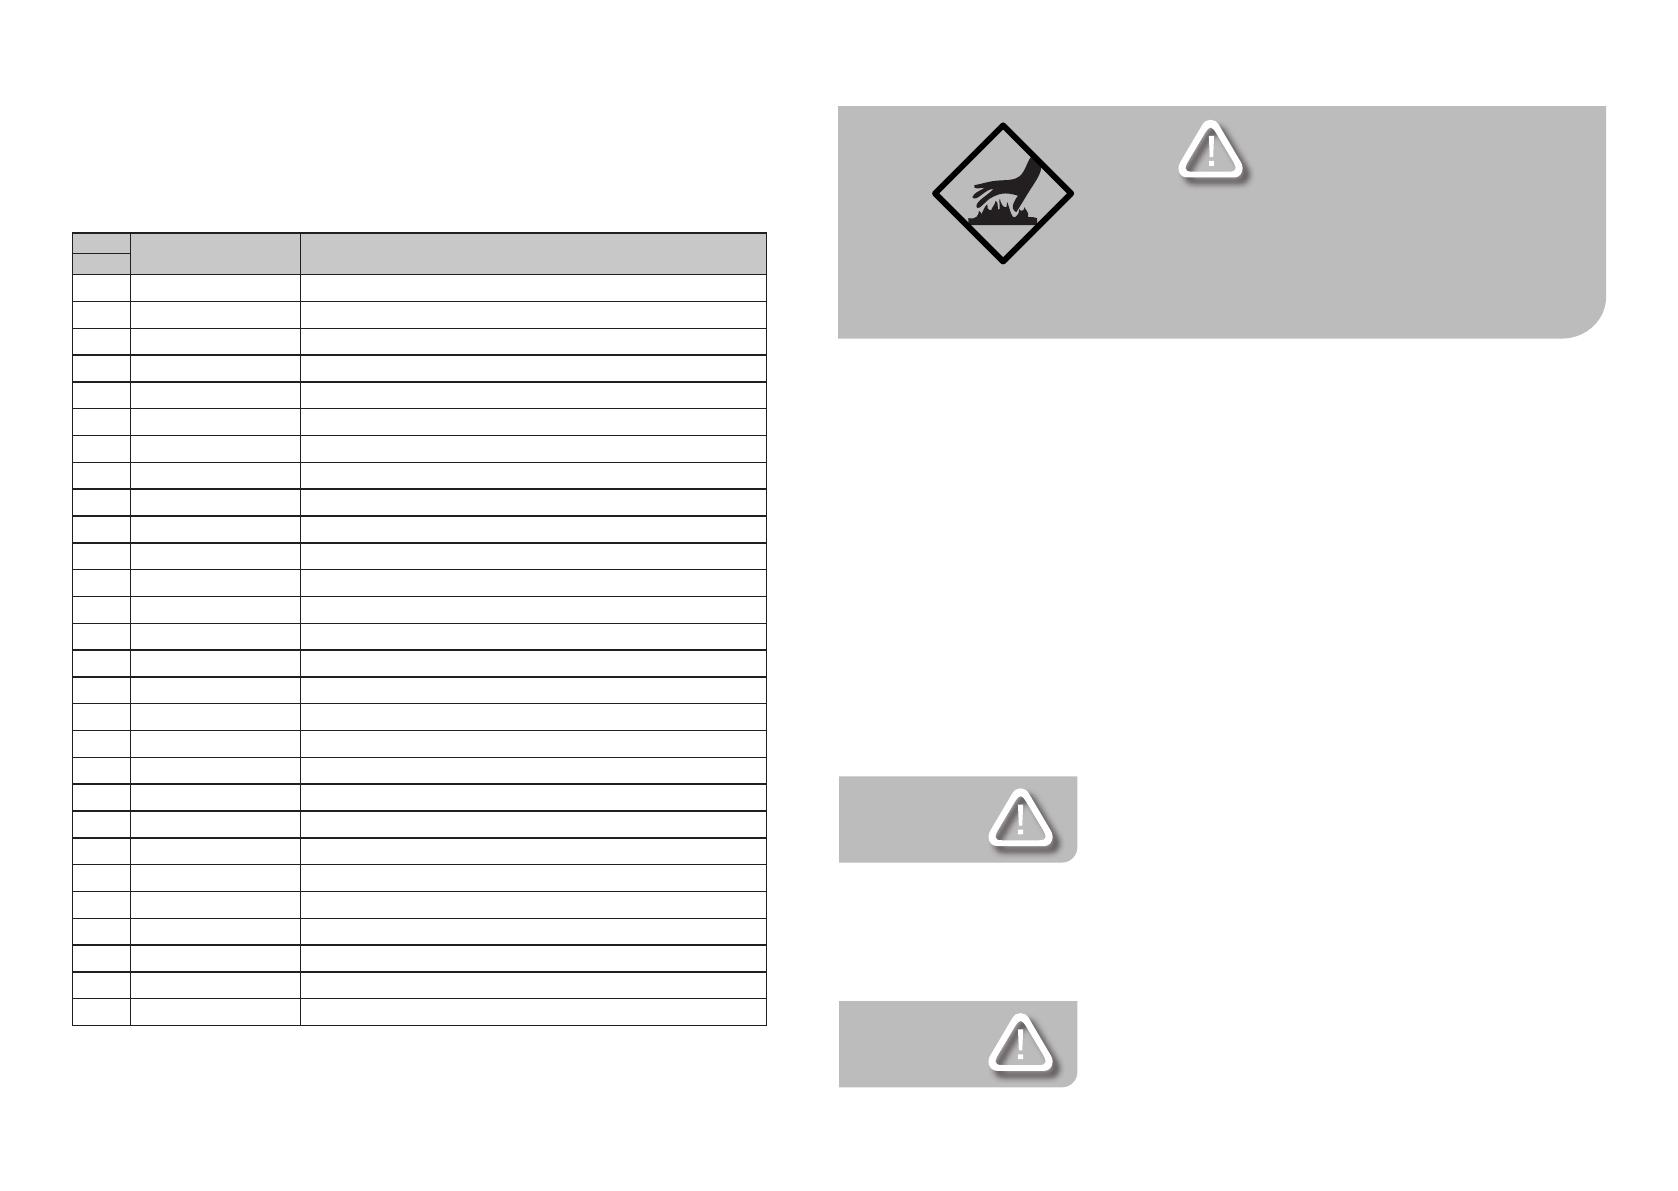
WARNING
Burn Hazard.
Do not touch hot food,liquid or heating surfaces
while equipment is heating or operating
Hot surfaces and food can burn skin. Allow the hot surfaces to cool
before handling
MODEL
DOUBLE DECK OVEN
DOA3002 / DOA4002
Part
No.
1 OUTER ENCLOSURE
2 LEFT SIDE PANEL
3 WIRE SHELF
4 BOTTOM ELEMENT COVER
5 SPRING BRACKET
6 7-SPRING-DOA02 SPRING
7 FRONT DOOR
8 3-HAN-DOA02-5 DELUXE DOOR HANDLE DOA3001/2/3
9 3-KNOB-LEVER LEVER KNOB
10 1-RS-NI NON-ILLUMINATED ROCKER SWITCH
11 3-COLLET-S KNOB INSERT
12 4-BEZ-DO A3001 TIMER BEZEL
13 1-PL-GP PILOT LIGHT
14 1-EGO-150 THERMOSTAT
15 1-2HR-TIMER 2HR TIMER
16 1-EGO-150 THERMOSTAT
17 4-BEZ-BADGE BADGE BEZEL
18 SPRING BRACKET
19 7-SPRING-DOA02 SPRING
20 8-DOLB-DOA0001 DECK OVEN LIGHT BRACKET
21 1-LB-DOA0001 BULB
22 1-LBH-DOA0001 BULB HOLDER
23 RIGHT SIDE PANEL
24 1-220V-CONT-32A 32 AMP CONTACTOR
25 3-CB-POA2001 CERAMIC CONNECTOR BLOCK
26 3-CABLE-GLAND GLAND
27 5-550W-DOA0001 ELEMENT
28 BACK PANEL
MODEL:TWO TRAY DOUBLE DECK OVEN
MODEL CODE :DOA3002
Description Stock Code
419
EXPLODED DIAGRAM
DOUBLE DECK OVEN
DOA3002/DOA4002
SAFETY
READ ALL INSTRUCTIONS BEFORE USE. FAILURE TO
FOLLOW THESE PRECAUTIONS COULD RESULT IN INJURY TO
YOURSELF AND OTHERS
1. Do not touch hot surfaces!!! Always use hot pad or holder until
unit cools.
2. To protect against electrical hazards, do not immerse cable in
water or any other liquid.
3. Do not operate any appliance with a damaged cord or plug, or if
the appliance malfunctions or has been damaged in any manner.
4. Do not use outdoors.
5. Extreme caution must be exercised when disposing of hot
grease.
6. Do not clean with metal scouring pads as metal particles can
break o the pad and touch electrical parts, creating a potential
shock hazard.
7. A re may occur if this appliance is covered, or if ammable
material touches against it.
8. Extreme caution should be exercised when using containers
other than the intended proper heat tempered metal and glass
pans for baking.
9. Do not cover any part of the oven or a sheet pan used as a drip
tray with aluminium foil as this may cause overheating of the
oven.
10. Anvil deck ovens are designed to operate on alternating current
only (A.C.).
WARNING
Electric Shock Hazard.
Keep water and other liquids from entering the inside
of the equipment. Liquid inside the equipment could
cause an electrical shock
Do not spray water or cleaning products. Liquid could contact the
electrical components and cause a short circuit or an electrical shock.
Do not use equipment if power cord is damaged or has been modied
1
2
3
4
4
5
6
7
8
9
10 11 12 11
10
14
15
16
17
18
19
20 21 22
23
24
24 25
26
27
28
7
13
5 18
POSITIONING DIAGRAM
SINGLE DECK OVEN
DOA3001 / DOA4001
A
B
C
PRODUCT CODE A B C
DOA3001 1220 570 875
DOA4001 1830 570 875
MODEL
SINGLE DECK OVEN
DOA3001 / DOA4001
Part
No.
1 OUTER ENCLOSURE
2 LEFT SIDE PANEL
3 WIRE SHELF
4 BOTTOM ELEMENT COVER
5 SPRING BRACKET
6 7-SPRING-DOA02 SPRING
7 FRONT DOOR
8 3-HAN-DOA02-5 DELUXE DOOR HANDLE DOA3001/2/3
9 1-PL-GP PILOT LIGHT
10 1-RS-NI NON-ILLUMINATED ROCKER SWITCH
11 3-KNOB-LEVER LEVER KNOB
12 3-COLLET-S KNOB INSERT
13 4-BEZ-COA1005 50 - 300 THERMOSTAT BEZEL
14 4-BEZ-DOA3001 TIMER BEZEL
15 4-BEZ-COA1005 50 - 300 THERMOSTAT BEZEL
16 1-EGO-150 THERMOSTAT
17 1-2HR-TIMER 2HR TIMER
18 4-BEZ-BADGE BADGE BEZEL
19 1-EGO-150 THERMOSTAT
20 8-DOLB-DOA0001 DECK OVEN LIGHT BRACKET
21 1-LBH-DOA0001 BULB HOLDER
22 1-LB-DOA0001 BULB
23 RIGHT SIDE PANEL
24 1-220V-CONT-32A 32 AMP CONTACTOR
25 3-CB-POA2001 CERAMIC CONNECTOR BLOCK
26 3-CABLE-GLAND GLAND
27 5-550W-DOA0001 ELEMENT
28 BACK PANEL
MODEL:TWO TRAY SINGLE DECK OVEN
MODEL CODE :DOA3001
Description Stock Code
617
EXPLODED DIAGRAM
SINGLE DECK OVEN
DOA3001/DOA4001
POSITIONING DIAGRAM
DOUBLE DECK OVEN
DOA3002/DOA4002
A
B
C
PRODUCT CODE A B C
DOA3002 1220 950 875
DOA4002 1830 950 875
2
1 28
3
5
6
4
47
8
10
11
12
9
13 14 15 16 17
18
19
5 6
20 21 22 23
27
26
24
25
24
7 16
1-RS-NI
1-RS-NI
1-2HR-TIMER
1-LB-DOA0001
5-500W-DOA0001
1-220V-CONT-32A
1-EGO-150
1-EGO-150
ROCKER SWITCH OVEN LAMP
ROCKER SWITCH MAINS
120 MIN TIMER
S1/S3/S5
T1/T2/T3
1-PL-GP
1-PL-GP
OVEN LAMP 40 W 230V
CONTROL THERMOSTAT PILOT LAMP
L1/L2/L3
H6/H8/H9
H2/H3/H5
LEGEND
DESCRIPTION
PART NUMBER
C1/C2/C3
B1/B2/B3
B4/B5/B6
H1/H4/H7
MINI CONTACTOR COIL 230V
CONTROL THERMOSTAT
CONTROL THERMOSTAT
TIMER PILOT LIGHT
1-PL-GP
C4/C5/C6
E1-E6/E13-E18/E25-E30
MINI CONTACTOR COIL 230V
DECK OVEN TOP ELEMENT 500W 230V
1-220V-CONT-32A
E7-E12/E19-E24/E31-E36
DECK OVEN BOTTOM ELEMENTS 600W 230V
5-600W-DOA0001
S2/S4/S6
WIRING DIAGRAM LEGEND
MODEL:TRIPLE DECK OVEN
MODEL CODE: DOA3003 / DOA4003
POSITIONING DIAGRAM
TRIPLE DECK OVEN
DOA3003 / DOA4003
PRODUCT CODE A B C
DOA3003 1220 1451 875
DOA4003 1830 1451 875
A
C
B
815
WIRING DIAGRAM
MODEL:TRIPLE DECK OVEN
MODEL CODE: DOA3003
DOA4003
MODEL DESCRIPTION VOLTS
(V /Hz)
POWER
(W)
DOA3001 DECK OVEN SINGLE
(2 SHEET PANS PER DECK)
240/50 6600
DOA3002 DECK OVEN DOUBLE
(2 SHEET PANS PER DECK)
400/50 13200
DOA3003 DECK OVEN TRIPLE
(2 SHEET PANS PER DECK)
400/50 19800
DOA4001 DECK OVEN SINGLE
(3 SHEET PANS PER DECK)
240/50 9000
DOA4002 DECK OVEN DOUBLE
(3 SHEET PANS PER DECK)
400/50 18000
DOA4003 DECK OVEN TRIPLE
(3 SHEET PANS PER DECK)
400/50 27000
ELECTRICAL CONNECTION INFORMATION
MAINTENANCE
Replacement of the internal lamp
1. Disconnect the appliance from the power supply and let it cool
down if hot.
2. Loosen and remove the right side panel secured with 4 screws.
3. Unscrew the lamp and replace with the correct specication
replacement 230V/ 40 W lamp.
4. Reassemble in the reverse order.
T3
T2
T1
T3
T2
T1
L3L2
L1
EARTH
E5
C1
L3
L2
L1
H2
E4
S1
E6
E2 E3
E1
B1
T1
E10
H3
L1
L2
L3
C2
E11
E12
E8 E9E7
B2
S2
L1
H1
C1
C2
C4C3
H4
L2
S4
B4
E19 E21
E20
E24E23
C4
L3
L2
L1
H6
E22
T2
B3
E13 E15E14
E18
S3
E16
H5
L1
L2
L3
C3
E17
T1
T2
T3
T1
T2
T3
TOP
BOTTOM
TOP
BOTTOM TOP
380V
E31
E30
L3
L2
T2
L3
E32
L1
E34
E29
T3
C6
B6
E26
H8
H7
C6
T3
H9
C5
T1
C5
E35
T1
B5
E27
E36
L1
E28
S6
T3
E33
L3
E25
L2
S5
T2
BOTTOM
BOTTOM
400V
9 14
C2C1
H1
L1
S2
B2
E7 E9E8
E12
E11
C2
L3
L2
L1
H3
E10
T
B1
E1 E3E2
E6
S1
E4
H2
L1
L2
L3
C1
E5
NEUTRAL
EARTH
L1
L2
L3
L1 L2
L3
TOP
BOTTOM
LIVE
BLUE
BLACK
BROWN
ORANGE
WIRING DIAGRAM LEGEND
MODEL: DOUBLE DECK OVEN
MODEL CODE: DOA3002 / DOA4002
WIRING DIAGRAM
MODEL: SINGLE DECK OVEN
MODEL CODE: DOA3001 /DOA4001
1-RS-NI
1-RS-NI
1-2HR-TIMER
1-LB-DOA0001
5-500W-DOA0001
1-220V-CONT-32A
1-EGO-150
1-EGO-150
ROCKER SWITCH OVEN LAMP
ROCKER SWITCH MAINS
120 MIN TIMER
S2/S4
S1/S3
T1/T2
1-PL-GP
1-PL-GP
OVEN LAMP 40 W 230V
CONTROL THERMOSTAT PILOT LAMP
H3/H6
H3/H6
H2/H4
LEGEND
DESCRIPTION
PART NUMBER
C1/C3
B1/B3
B2/B4
H1/H5
MINI CONTACTOR COIL 230V
CONTROL THERMOSTAT
CONTROL THERMOSTAT
TIMER PILOT LIGHT
1-PL-GP
C2/C4
E1 - E6/E13-18
MINI CONTACTOR COIL 230V
DECK OVEN TOP ELEMENT 500W 230V
1-220V-CONT-32A
E7-E12/E19-E24
DECK OVEN BOTTOM ELEMENTS 600W 230V
5-600W-DOA0001
1013
WIRING DIAGRAM LEGEND
MODEL: SINGLE DECK OVEN
MODEL CODE: DOA3001 /DOA4001
WIRING DIAGRAM
MODEL: DOUBLE DECK OVEN
MODEL CODE: DOA3002 / DOA4002
T3
T2
T1
T3
T2
T1
L3L2
L1
EARTH
NEUTRAL
E5
C1
L3
L2
L1
H2
E4
S1
E6
E2 E3
E1
B1
T1
E10
H3
L1
L2
L3
C2
E11
E12
E8 E9E7
B2
S2
L1
H1
C1
C2
C4C3
H4
L2
S4
B4
E19
E23
E21
E24
E22
C4
L3
L2
L1
H6
E20
T2
B3
E13 E17E15
E18
S3
E14
H5
L1
L2
L3
C3
E16
T1
T2
T3
T1
T2
T3
TOP
BOTTOM
TOP
BOTTOM
380V
1-RS-NI
1-RS-NI
1-2HR-TIMER
1-LB-DOA0001
5-500W-DOA0001
1-220V-CONT-32A
1-EGO-150
1-EGO-150
ROCKER SWITCH OVEN LAMP
ROCKER SWITCH MAINS
120 MIN TIMER
S2/S4
S1/S3
T1/T2
1-PL-GP
1-PL-GP
OVEN LAMP 40 W 230V
CONTROL THERMOSTAT PILOT LAMP
H3/H6
H3/H6
H2/H4
LEGEND
DESCRIPTION
PART NUMBER
C1/C3
B1/B3
B2/B4
H1/H5
MINI CONTACTOR COIL 230V
CONTROL THERMOSTAT
CONTROL THERMOSTAT
TIMER PILOT LIGHT
1-PL-GP
C2/C4
E1 - E6/E13-18
MINI CONTACTOR COIL 230V
DECK OVEN TOP ELEMENT 500W 230V
1-220V-CONT-32A
E7-E12/E19-E24
DECK OVEN BOTTOM ELEMENTS 600W 230V
5-600W-DOA0001
WIRING DIAGRAM
MODEL: DOUBLE DECK OVEN
MODEL CODE: DOA3002 / DOA4002
1-RS-NI
1-RS-NI
1-2HR-TIMER
1-LB-DOA0001
5-500W-DOA0001
1-220V-CONT-32A
1-EGO-150
1-EGO-150
ROCKER SWITCH OVEN LAMP
ROCKER SWITCH MAINS
120 MIN TIMER
S2/S4
S1/S3
T1/T2
1-PL-GP
1-PL-GP
OVEN LAMP 40 W 230V
CONTROL THERMOSTAT PILOT LAMP
H3/H6
H3/H6
H2/H4
LEGEND
DESCRIPTION
PART NUMBER
C1/C3
B1/B3
B2/B4
H1/H5
MINI CONTACTOR COIL 230V
CONTROL THERMOSTAT
CONTROL THERMOSTAT
TIMER PILOT LIGHT
1-PL-GP
C2/C4
E1 - E6/E13-18
MINI CONTACTOR COIL 230V
DECK OVEN TOP ELEMENT 500W 230V
1-220V-CONT-32A
E7-E12/E19-E24
DECK OVEN BOTTOM ELEMENTS 600W 230V
5-600W-DOA0001
400V
11 12
  • Page 1 1
  • Page 2 2
  • Page 3 3
  • Page 4 4
  • Page 5 5
  • Page 6 6
  • Page 7 7
  • Page 8 8
  • Page 9 9
  • Page 10 10
  • Page 11 11
  • Page 12 12
  • Page 13 13
  • Page 14 14

Anvil DOA4001 User manual

Type
User manual
This manual is also suitable for

Ask a question and I''ll find the answer in the document

Finding information in a document is now easier with AI