Mobotix MOVE VB1A-8-IR-VA Installation guide

Type
Installation guide
NOTE!
This guide is only valid for installing and connecting the 4K (8MP) Vandal Bullet Analytics
Camera. For more information on the camera, please refer to the other documents (see Further
Reading, p. 8).
Important Installation Notes
nThis camera must be installed by qualified personnel and the installation should conform to
all local codes.
nThis product must not be used in locations exposed to the dangers of explosion.
nDo not look directly into the infra-red LEDs that may be active on the product.
nDo not use this product in a dusty environment.
nProtect this product from moisture or water entering the housing.
nInstall this product as outlined in this document. A faulty installation can damage the
product!
nDo not replace batteries of the camera. If a battery is replaced by an incorrect type, the bat-
tery can explode.
nThis equipment is not suitable for use in locations where children are likely to be present.
nExternal power supplies must comply with the Limited Power Source (LPS) requirements and
share the same power specifications with the camera.
nWhen using a ClassI adapter, the power cord shall be connected to a socket-outlet with
proper ground connection.
nTo comply with the requirements of EN 50130-4 regarding the power supply of alarm systems
for 24/7 operation, it is highly recommended to use an uninterruptible power supply (UPS) for
backing up the power supply of this product.
V1.13_11/22/2023, Order Code: Mx-VB1A-8-IR-VA
Quick Installation
MOBOTIX MOVE 4K (8MP) Vandal Bullet Analytics Camera
Mx-VB1A-8-IR-VA
©2023 MOBOTIX AG
Quick Installation 4K (8MP) Vandal Bullet Analytics Camera
NOTE! Observe the MOBOTIX MOVE Installation Hints document to ensure optimum performance
of the camera features.
CAUTION! To prevent damage when adjusting the camera's field of view, loosen all corresponding
screws. Once finished, tighten these screws again.
NOTE! To ensure that the unit is not affected by vibration, twisting, etc. after adjusting the camera,
properly tighten all mounting screws.
All-in-One Cable
No Cable Pin Definition Remarks
1RJ-45 For network and PoE connections
2Audio I/O Green Audio Out / Mic Out
(Line Out)
Two-way audio transmission
Pink Audio In / Mic In
(Line In)
3BNC For analog video output
4Alarm I/O
(5-pin Terminal
Block)
1 Alarm In 2+ Alarm connection
Do NOT connect external
power supply to the alarm
I/O connector of the IP cam-
era!
2 Alarm In -
3 Alarm In 1+
4 Alarm Out -
5 Alarm Out +
2 / 9
No Cable Pin Definition Remarks
5Power
(AC24V/DC12V)
(2-pin Terminal
Block)
1 AC 24V 1 DC 12V Power connection
2 AC 24V 2 DC 12V +
Desiccants Removal
Before installation, remove the desiccants package that covers the vent at the bottom of the cam-
era body. The location of the desiccants package is shown below.
CAUTION! Removing the desiccants package will activate the venting system and humidity can
enter the camera housing if the camera is not powered up immediately after installing!
NOTE!
nWhen installing the camera at low temperatures and/or high humidity, it is highly recom-
mended to remove the desiccants package only right before powering up the camera. This
will prevent condensation of moisture behind the front glass.
nIf condensed moisture has accumulated behind the front glass, the moisture will vanish
after some hours of operation; activating the integrated IR lights will speed up the process.
microSD Card Slot/Reset Button
CAUTION! Always power down the camera before performing the following steps!
Quick Installation 4K (8MP) Vandal Bullet Analytics Camera
3 / 9
Quick Installation 4K (8MP) Vandal Bullet Analytics Camera
The positions of microSD card slot and reset button are shown below.
microSD Card Slot
CAUTION! Always power down the camera before performing the following steps!
Insert a microSD card into the card slot to store videos and snapshots.
NOTE!
nIt is not recommended to record with the microSD card for 24/7 continuously, as it may not
be able to support long term continuous data read/write. Contact the manufacturer of the
microSD card for information regarding the reliability and the life expectancy.
nRemember to format a new microSD card as shown in Formatting Storage Media below.
Reset Button
Press the reset button with a proper tool for at least 20 seconds to restore the system.
Connecting Power
Using Power over Ethernet (PoE)
Use a PoE switch (Class0) and connect the Ethernet cable to the RJ-45 port of the camera.
Using AC or DC
To power up the camera, connect either the AC or the DC power adapter to the power connector of
the camera and the power outlet.
CAUTION! Never connect both AC and DC power since this will cause unforeseeable damage.
4 / 9
Ethernet Cable Connection
Connect one end of the Ethernet cable to the RJ-45 connector of the camera and plug the other end
of the cable into the network switch or PC.
NOTE!
nThe length of the Ethernet cable should not exceed 100m/300ft.
nCheck the status of the link indicator and the activity indicator LEDs of the switch. If the
LEDs are unlit, please check the LAN connection.
nIn some cases, an Ethernet crossover cable may be needed when connecting the camera dir-
ectly to the PC.
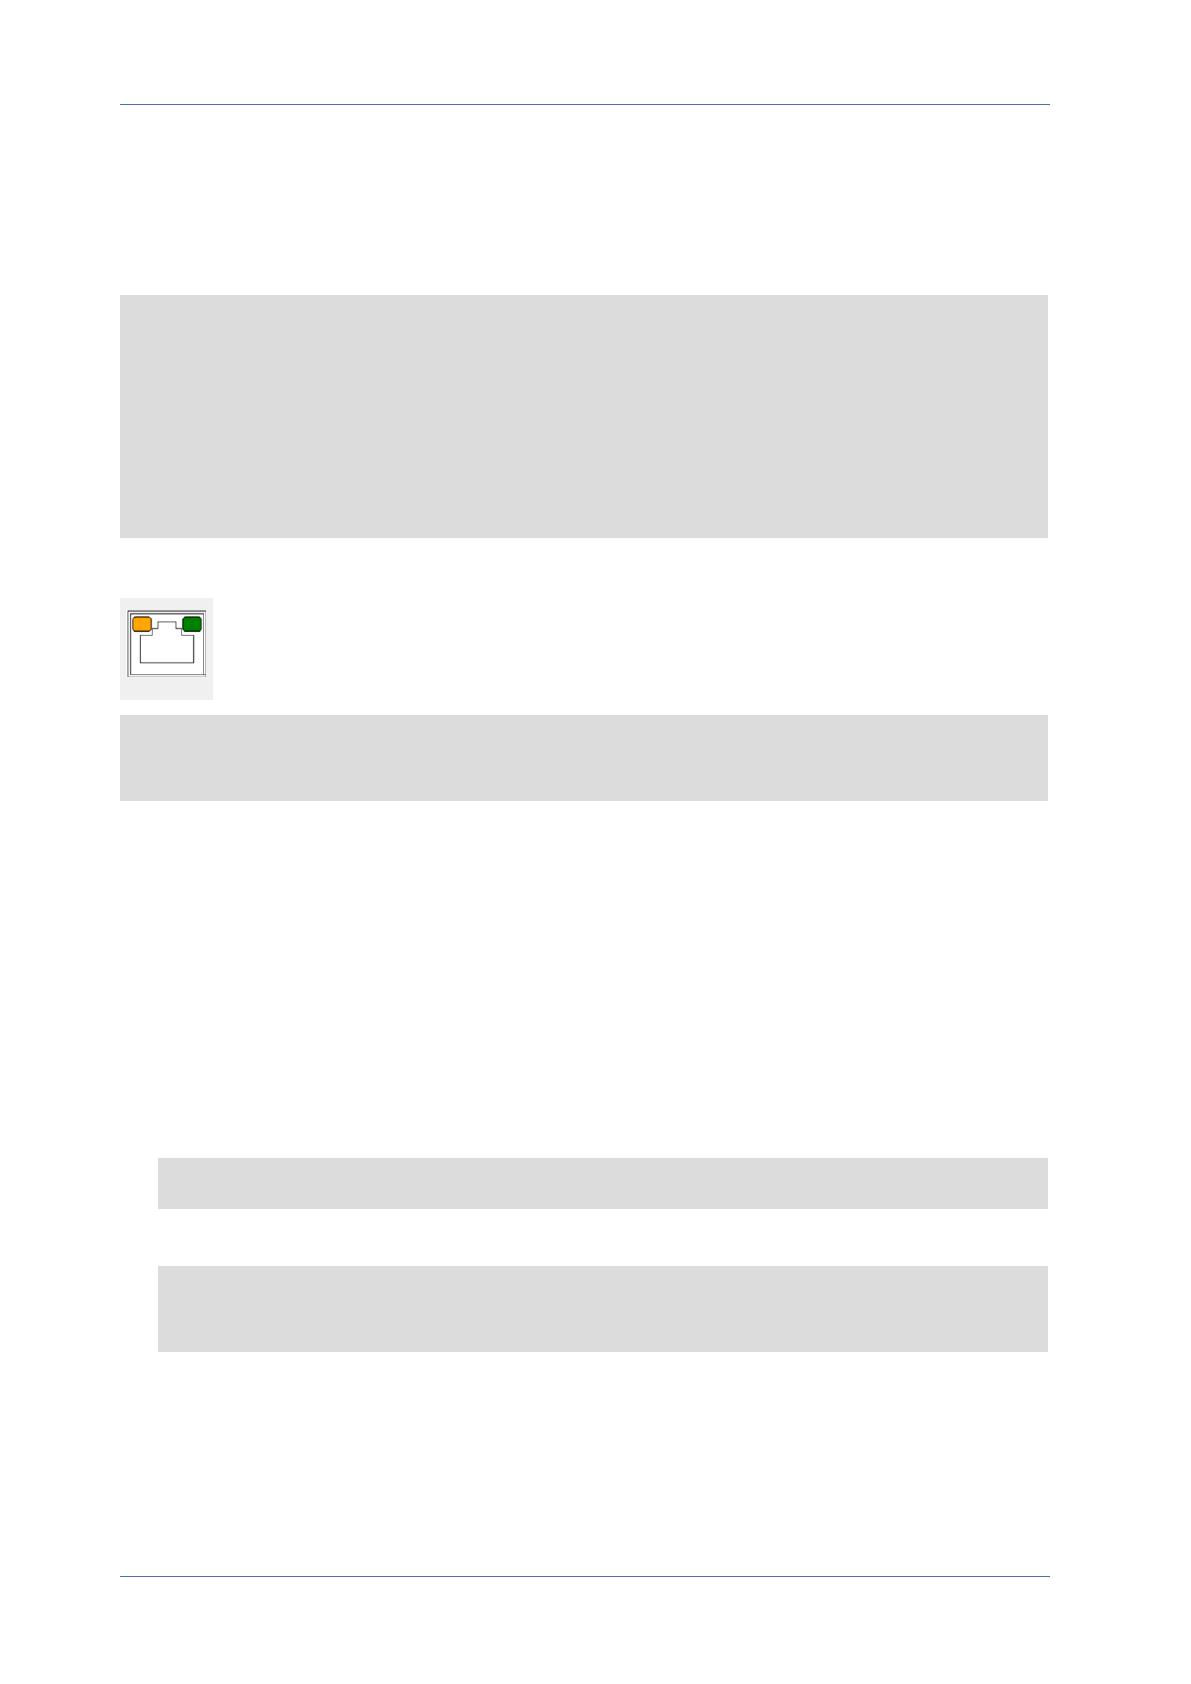
Ethernet Connector LEDs
nGreen Link LED indicates good network connection.
nOrange Activity LED flashes to indicate network activity.
NOTE! The ITE is to be connected only to PoE networks without routing to the outside plant or
equivalent description.
Accessing the Camera
The 4K (8MP) Vandal Bullet Analytics Camera supports all current browsers without requiring any
additional plug-ins or add-ons (e.g. for H.264/H.265/MJPEG support).
Camera Login
The default IP address of the camera is: 10.x.x.x. By default, the camera starts as DHCP client and
automatically tries to get an IP address from a DHCP server.
1. Enter the camera’s IP address in the URL bar of the web browser and hit “Enter”.
2. Enter the default username (admin) and password (meinsm).
NOTE! User names and passwords are case sensitive.
3. You will be prompted to set a new admin user password.
NOTE! The password can have between 6 and 14 characters (at least one digit, no special
characters allowed).
4. After setting a new password, you will be prompted to log in again. Remember to use the new
password.
Quick Installation 4K (8MP) Vandal Bullet Analytics Camera
5 / 9
Quick Installation 4K (8MP) Vandal Bullet Analytics Camera
Browser-Based Viewer
The main page of the IP camera user interface is shown as the figure below. The function buttons
vary depending on the camera model.
Formatting Storage Media
After inserting a new or replacing a used storage medium, make sure to format the medium so the
camera can use it to record video streams.
1. Connect to the camera.
2. Open System> Storage Management> <storage media type>.
3. In the Device Setting section, click on Format to start the formatting process.
6 / 9
Once formatting has finished, the camera can use the storage medium for recording.
Camera Maintenance
It is recommended that you perform the following maintenance tasks at regular intervals to keep
the 4K (8MP) Vandal Bullet Analytics Camera in good working condition:
nClean the front glass using plain water and a soft cloth.
CAUTION! Do not use any detergents or alcohol to prevent damaging the coating!
nCheck the mounting and make sure that all screws are properly tightened to prevent the cam-
era from falling down.
nWhen opening the camera, add a silca gel dry pack to prevent condensation on the inside of
the front glass.
Quick Installation 4K (8MP) Vandal Bullet Analytics Camera
7 / 9
Quick Installation 4K (8MP) Vandal Bullet Analytics Camera
Further Reading
Manuals and Quick Installation documents
Video Analytics Manual
Technical Specifications
MOBOTIX MOVE Installation Hints
8 / 9
EN_11/23
MOBOTIX AG • Kaiserstrasse D-67722 Langmeil Tel.: +49 6302 9816-103 [email protected] www.mobotix.com
MOBOTIX is a trademark of MOBOTIX AG registered in the European Union, the U.S.A., and in other countries. Subject to change without
notice. MOBOTIX do not assume any liability for technical or editorial errors or omissions contained herein. All rights reserved. ©MOBOTIX
AG2020
  • Page 1 1
  • Page 2 2
  • Page 3 3
  • Page 4 4
  • Page 5 5
  • Page 6 6
  • Page 7 7
  • Page 8 8
  • Page 9 9

Mobotix MOVE VB1A-8-IR-VA Installation guide

Type
Installation guide

Ask a question and I''ll find the answer in the document

Finding information in a document is now easier with AI