3-2
Chapter 3: General Instructions
: This is the best choice for a weak ambient light
environment.
• In the Standard Mode, the ASCR, Saturation ,Sharpness functions
and Skin Tone are not user-configurable.
• In the sRGB Mode, the Saturation, Color Temp., Skin Tone,
Sharpness, Brightness, Contrast and ASCR functions are not user-
congurable.
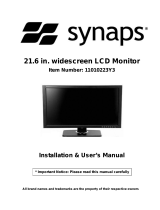
Brightness
Contrast
Saturation
Color Temp.
Skin Tone
VX24x
Standard Mode VGA 1920 x 1080 @ 60Hz
Splendid
Color
Image
Sound
Input Select
System Setup
Shortcut
You can adjust Brightness,
Contrast, Saturation, Color Temp.,
and Skin Tone from this menu.
: the adjusting
range is from 0 to 100.
: the adjusting range
is from 0 to 100.
: the adjusting
range is from 0 to 100.
: contains four modes including Cool, Normal, Warm, and
User Mode.
: contains three color modes including Reddish, Natural, and
Yellowish.
• In the User mode, colors of R (Red), G (Green), and B (Blue) are
user-configurable; the adjusting range is from 0-100.
• In the Reading Mode, the Saturation, Color Temp., Skin Tone,
contrast, and ASCR functions are not user-congurable.
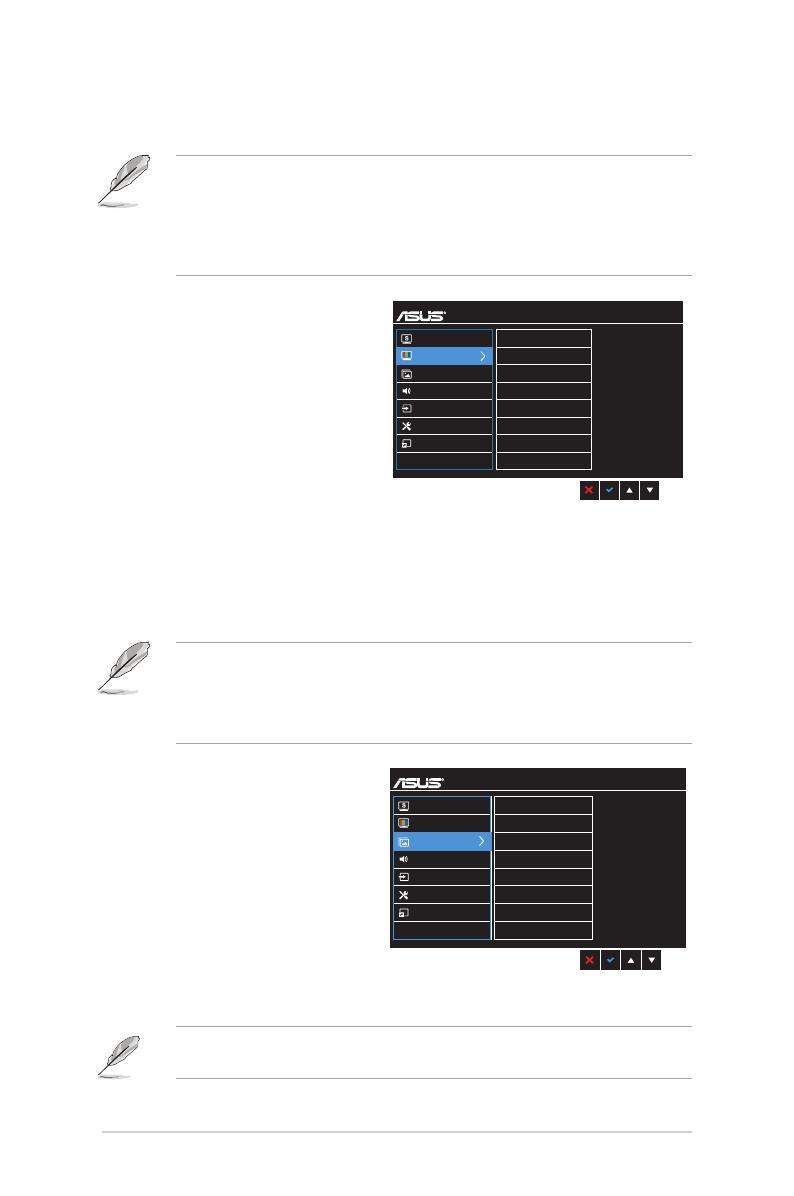
Sharpness
Trace Free
Aspect Control
VividPixel
ASCR
Position
Focus
AUTO Adjust.
VX24x
Standard Mode VGA 1920 x 1080 @ 60Hz
Splendid
Color
Image
Sound
Input Select
System Setup
Shortcut
You can adjust Sharpness, Trace
Free, Aspect Control, VividPixel,
ASCR, Position (VGA only),
Focus (VGA only) and AUTO
Adjust. from this menu.
: the adjusting
range is from 0 to 100.
: adjusts the
response time of the monitor.
: adjusts the aspect ratio to full, 4:3, 1:1 or OverScan.
4:3 is only available when input source is in 4:3 format. OverScan is only
available for the HDMI input source.