5
Charging Li –polymer battery safely
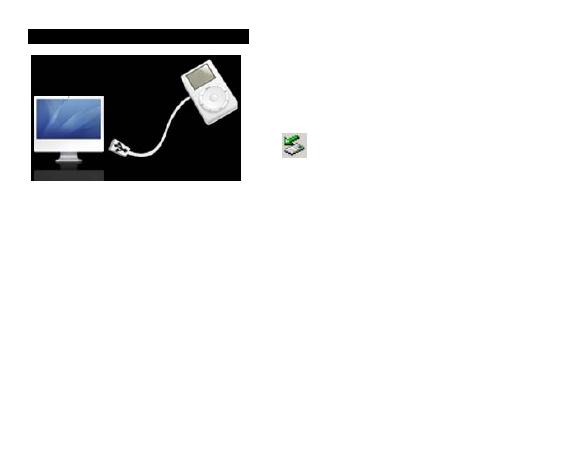
1. Connect the PC USB port and the
player USB port with the USB cable supplied. At
this time the screen of the player will display as
the picture.
2. In MSC mode, click the left mouse button on
the
icon, then click the "Safely remove
USB Mass Storage Device – Drive (G:)" column.
At this time, the power sign is shown dynamic in
the display when charging, once full charged, the power sign will stop moving, power is
full, please shut off the power.
3. The charging time is approximately 6 hours.
4. To stop recharging, disconnect the USB cable.
Charge with adapter (Please use the adapter provided by or approved by our
company):
Connect the player and power supply with the adapter, at this time the player will
enter charging state, The power sign is shown dynamic when charging, once full charged,
the power sign will stop moving, power is full, please shut off the power. The charging
time is approximately 2.5 hours.
Notes:
1. The AC/DC adaptor of the player should not be obstructed OR should be easily
accessed during intended use.
2. To be completely disconnect the power input, the AC/DC adaptor shall be
disconnected from the mains.


