MN-29423 (Rev. 3) 08/15 • S-Series Holding Cabinets • 3
•
•
•
•
•
•
•
•
Additional Safety Procedures
and Precautions
•
•
•
•
•
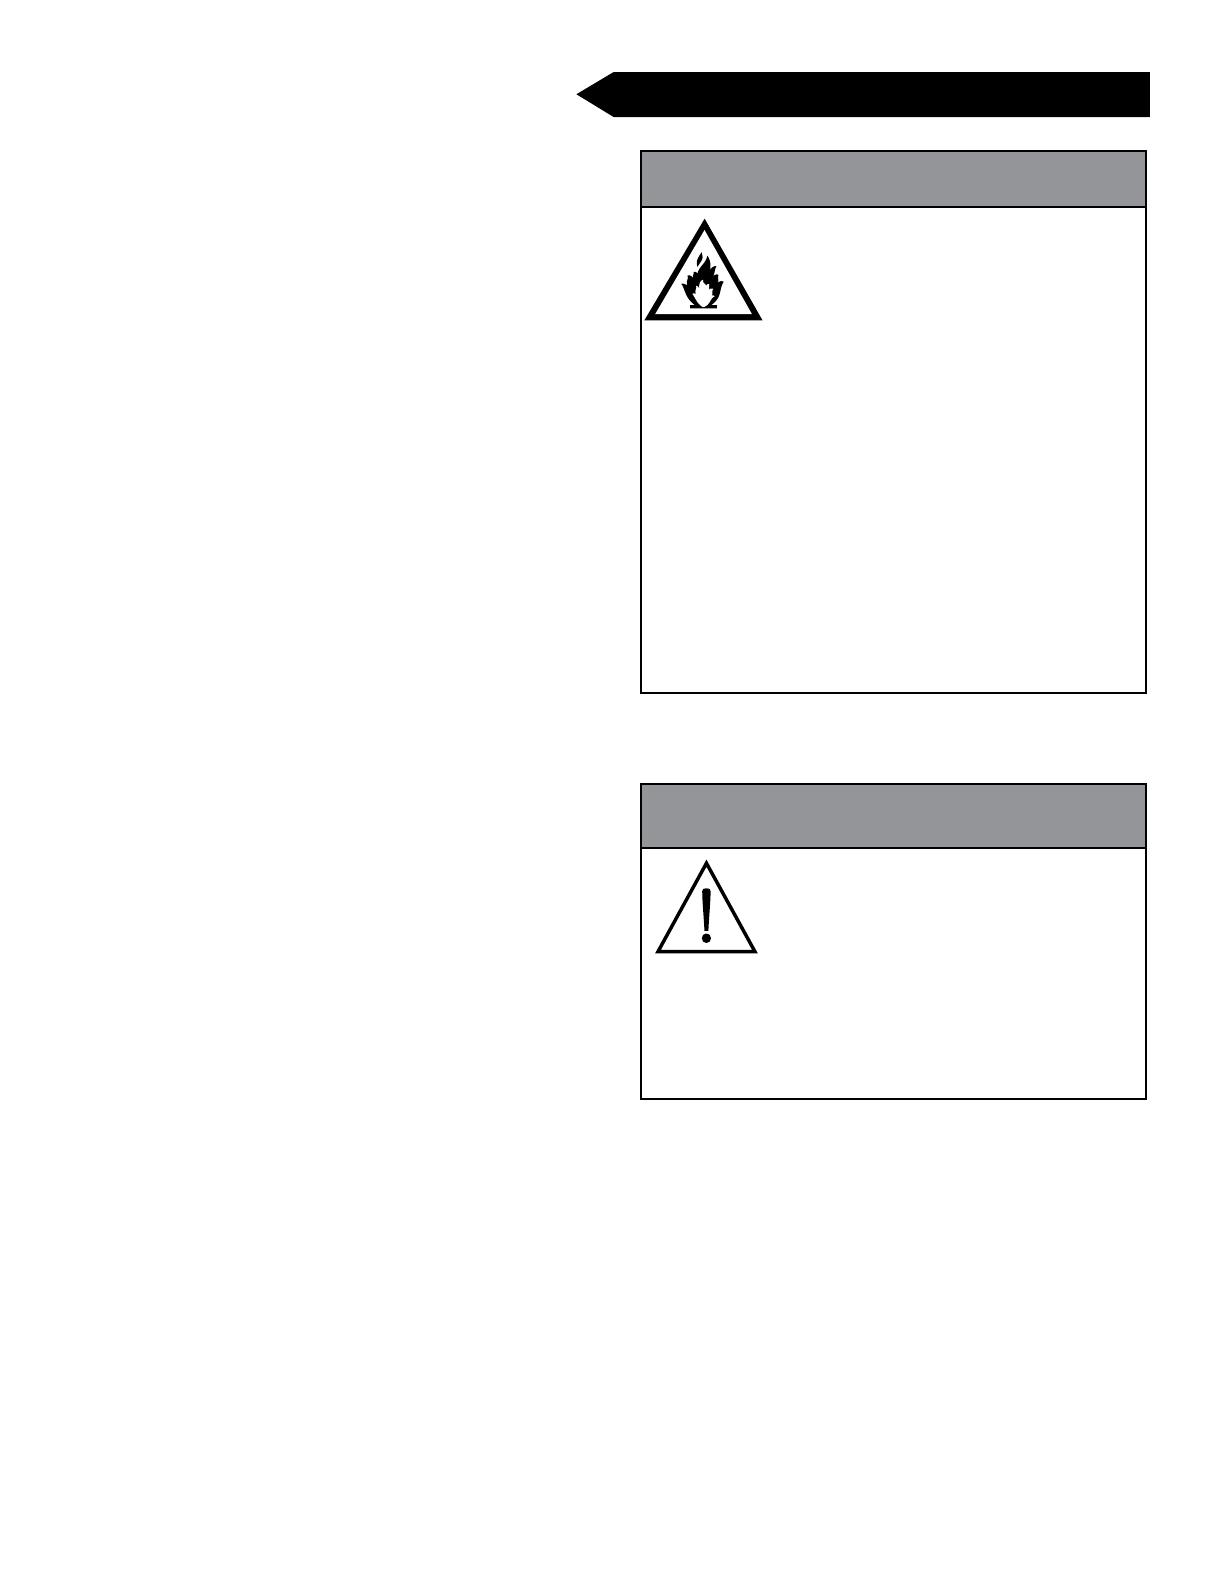
WARNING
To prevent SERIOUS INJURY,
DEATH, or PROPERTY DAMAGE:
The appliance must be cleaned
thoroughly to avoid deposits of
grease and or food residues inside
the appliance that may catch fi re. If
fat deposits and/or food waste inside
the appliance ignite, shut down the
appliance immediately and keep the
appliance door closed to extinguish
the fi re. If further extinguishing is
required, disconnect the appliance
from the main power and use a fi re
extinguisher (do not use water to
extinguish a grease fi re!). Failure
to clean the appliance properly
invalidates the warranty and relieves
Alto-Shaam of all liability.
WARNING
This appliance is not intended for use
by persons (including children) with
reduced physical, sensory or mental
capabilities, or lack of experience and
knowledge, unless they have been
given supervision concerning use of
the appliance by person responsible for
their safety.
Children should be supervised to ensure
that they do not play with the appliance.