15
TECHNICIAN SETUP MENU
Feature Feature Description LCD will show Adjustment Options
Factory def
ault
settings
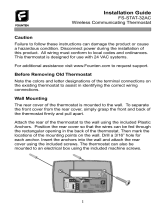
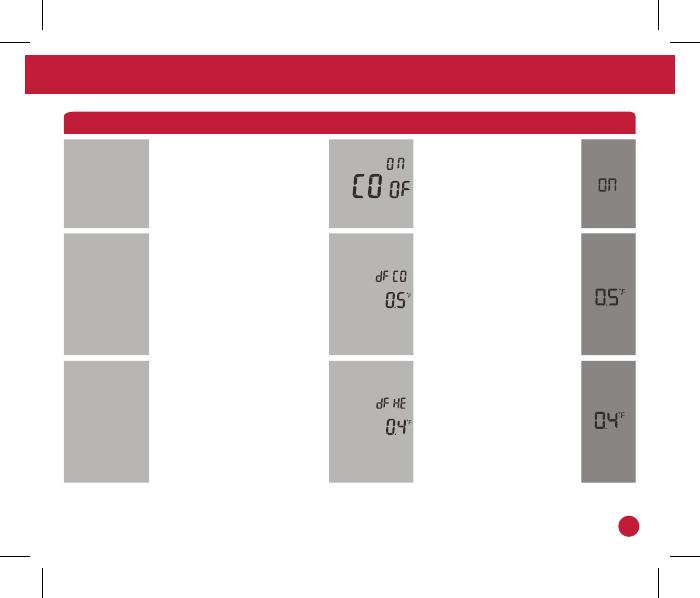
Compressor
Short Cycle
Delay
Cooling
Dierential or
Swing
Heating
Dierential or
Swing
The compressor short cycle delay protects
the compressor from short cycling. This
feature will not allow the compressor to
be turned on for 5 minutes after it was
last turned off.
Next Step
Com Delay
Prev Step
Done
The differential or swing setting, often
called cycle rate or anticipation, is
adjustable. A smaller differential setting
will cause more frequent cycles and
a larger differential setting will cause
fewer cycles.
Next Step
Cool Swing
Prev Step
Done
The differential or swing setting, often
called cycle rate or anticipation, is
adjustable. A smaller differential setting
will cause more frequent cycles and
a larger differential setting will cause
fewer cycles.
Next Step
Heat
Swing
Prev Step
Done
Selecting ON will not allow
the compressor to be turned on for
5 minutes after the last time the
compressor was on. Select OFF to
remove this delay.
The cooling differential setting is
adjustable from ± 0.2°F to ± 2°F.
For example: A differential setting
of 0.5°F will turn the cooling on
at approximately 0.5°F above the
setpoint and turn the cooling off
at approximately 0.5°F below the
setpoint.
The heating differential setting is
adjustable from ± 0.2°F to ± 2°F.
For example: A differential setting
of 0.5°F will turn the heating on
at approximately 0.5°F below
the setpoint and turn the heating
off at approximately 0.5°F above the
setpoint.