6
ENGLISHESPAÑOL
RQTX1151
Cassette tape – Play and record
Basic playBasic play
Use normal position tapes.
High position and metal position tapes can be played, but the unit will not be
able to identify the characteristics of these tapes.
1 Press [TAPE/OFF].
2 Open the cassette operation buttons’ lid.
3 Press [8/x, STOP/EJECT] and insert the cassette.
Insert with the side to be played facing up and the exposed tape facing
towards you. Close the deck by hand.
4 Press [4, PLAY] to start play.
Stop tape
playback Press [8/x, STOP/EJECT].
Pause play Press [9, PAUSE].
Press again to resume play.
Fast-forward
and rewind Press [3, REW/REV] or [5, FF/CUE] in the stop
mode.
Search for a
specifi c point Press [3, REW/REV] (to search backward) or
[5, FF/CUE] (to search forward) during playback.
Play is resumed when the button is released.
RecordingRecording
Use normal position tapes.
High position and metal position tapes can be used, but the unit will not be able
to record or erase them correctly.
✒ Preparation
Wind up the source tape so recording can begin immediately.
1 Press [0, STOP/EJECT] and insert the cassette to be recorded.
Insert with the side to be recorded facing up and the exposed tape facing
towards you.
2 Select the source to be recorded.
Radio Tune in the station (Z see left).
Disc 1. Insert the disc you want to record.
Press [4/9, CD] and then [8] (stop).
2. Prepare the desired disc recording mode.
Record programmed tracks
Program the tracks you want (Z page 5).
Record specifi c albums or tracks
Press [PLAY MODE] to select the desired mode
(Z page 5).
Music port Select music port (Z page 7).
3 Press [V] to start recording.
Stop recording Press [8/x, STOP/EJECT].
Record on the other
side of the tape Turn the cassette over and press [V].
Erase a recorded
sound 1. Press [TAPE/OFF].
2. Insert the recorded cassette.
3. Press [V].
✒ Note
Changes to volume and sound quality do not affect recording.
Erasure prevention
The illustration shows how to remove the tabs to prevent recording. To record on
the tape again, cover as shown.
Side A
Tab for Side ATab for Side B
To prevent recording
Adhesive tape
To re-record
✒ Note
• Tapes exceeding 100 minutes are thin and can break or get caught in the
mechanism.
• Tape slack can get caught up in the mechanism and should be wound up
before the tape is played.
• Endless tapes can get caught up in the deck’s moving parts if used incorrectly.
Using the FM/AM radio
Manual tuningManual tuning
1 Press [FM/AM] to select “FM” or “AM”.
2 If “PGM” is displayed, press [TUNE MODE] to clear it.
3 Press [2/3] or [5/6] (main unit: [–/2] or [6/+]) to select
the frequency of the required station.
To tune automatically
Press and hold [2/3] or [5/6] until the frequency starts changing
rapidly. The unit begins auto tuning, stopping when it fi nds a station.
• Auto tuning may not function when there is excessive interference.
• To cancel auto tuning, press [2/3] or [5/6] once again.
To improve reception
FM: Extend the whip antenna and adjust its direction.
AM: Adjust the position of the unit.
To improve FM sound quality
When “FM” is selected
Press [FM MODE] to display “MONO”.
To cancel
Press [FM MODE] again.
• MONO is also cancelled if the frequency is changed.
• Turn off “MONO” for normal listening.
Memory presetMemory preset
Up to 16 stations each can be set in the FM and AM bands.
✒ Preparation
Press [FM/AM] to select “FM” or “AM”.
Automatic presetting
Press [AUTO PRESET] to start presetting.
The tuner presets all the stations it can receive into the channels in ascending
order. When fi nished, the last station memorised is tuned in.
Manual presetting
1 Press [MANUAL PRESET].
“PGM” is displayed.
2 Within 10 seconds or so
Press [2/3] or [5/6] to tune
to the required station.
3 Press [MANUAL PRESET].
4 Press the numeric buttons to select a channel.
The station occupying a channel is erased if another station is preset to that
channel.
5 Repeat steps 2 to 4 to preset more stations.
Selecting a preset station
Press the numeric buttons to select a channel.
For channels 10 to 16 press [ 10], then the two digits.
OR
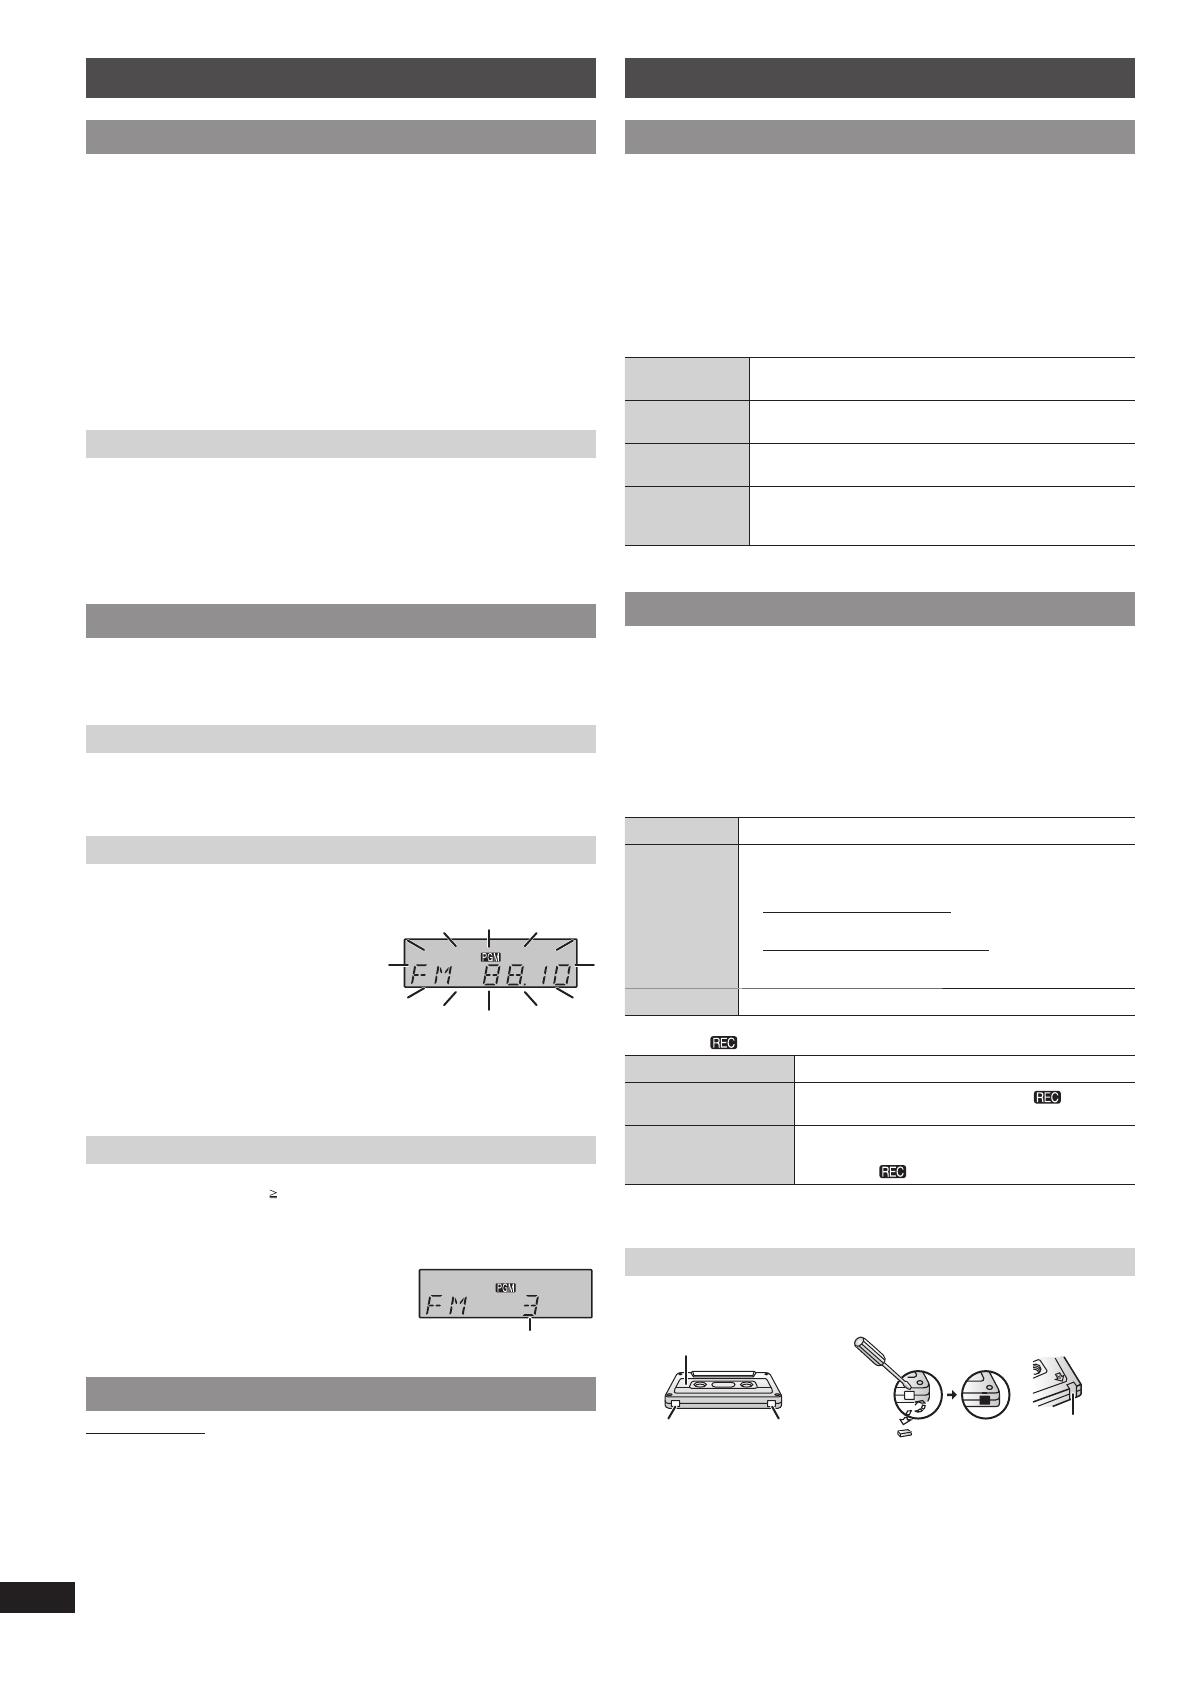
1 Press [TUNE MODE] to display “PGM”.
2 Press [2/3] or [5/6]
(main unit: [–/2] or [6/+]) to select the
channel.
Preset channel
AM allocation settingAM allocation setting
By main unit only
This system can also receive AM broadcasts allocated in 10 kHz steps.
To change the step from 9 kHz to 10 kHz
1 Press and hold [FM/AM].
After a few seconds the display changes to a fl ashing display of the current
minimum frequency.
2 Continue to hold down [FM/AM].
• When the minimum frequency changes, release the button. To return to the
original step, repeat the above steps.
• After the setting is changed, any previously preset frequency will be
cleared.
RQTX1151-L_gb.indd 6RQTX1151-L_gb.indd 6 4/6/2010 11:05:55 AM4/6/2010 11:05:55 AM


