Grace Digital SW2USB Soundwriter USB Recordable Turntable User manual
- Category
- Audio turntables
- Type
- User manual
This manual is also suitable for
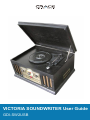
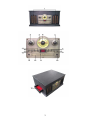
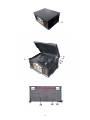
Grace Digital SW2USB Soundwriter USB Recordable Turntable is a versatile device that allows you to enjoy music from various sources and record your vinyl collection to your computer. With its built-in speakers, you can listen to your favorite records, CDs, or cassettes without the need for external speakers. The turntable supports 33, 45, and 78 RPM records, and the CD player is compatible with both CD and MP3 formats. Additionally, the unit features a line-in jack for connecting external audio sources, such as your smartphone or MP3 player.
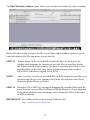
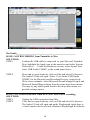
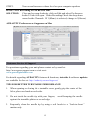
One of the unique features of the Grace Digital SW2USB Soundwriter is its USB connectivity. This allows you to connect the turntable to your computer and record your vinyl collection in digital format. The included Audacity recording software makes it easy to record, edit, and save your recordings.
Grace Digital SW2USB Soundwriter USB Recordable Turntable is a versatile device that allows you to enjoy music from various sources and record your vinyl collection to your computer. With its built-in speakers, you can listen to your favorite records, CDs, or cassettes without the need for external speakers. The turntable supports 33, 45, and 78 RPM records, and the CD player is compatible with both CD and MP3 formats. Additionally, the unit features a line-in jack for connecting external audio sources, such as your smartphone or MP3 player.
One of the unique features of the Grace Digital SW2USB Soundwriter is its USB connectivity. This allows you to connect the turntable to your computer and record your vinyl collection in digital format. The included Audacity recording software makes it easy to record, edit, and save your recordings.


-
 1
1
-
 2
2
-
 3
3
-
 4
4
-
 5
5
-
 6
6
-
 7
7
-
 8
8
-
 9
9
-
 10
10
-
 11
11
-
 12
12
-
 13
13
-
 14
14
-
 15
15
-
 16
16
-
 17
17
-
 18
18
-
 19
19
-
 20
20


Grace Digital SW2USB Soundwriter USB Recordable Turntable User manual
- Category
- Audio turntables
- Type
- User manual
- This manual is also suitable for
Grace Digital SW2USB Soundwriter USB Recordable Turntable is a versatile device that allows you to enjoy music from various sources and record your vinyl collection to your computer. With its built-in speakers, you can listen to your favorite records, CDs, or cassettes without the need for external speakers. The turntable supports 33, 45, and 78 RPM records, and the CD player is compatible with both CD and MP3 formats. Additionally, the unit features a line-in jack for connecting external audio sources, such as your smartphone or MP3 player.
One of the unique features of the Grace Digital SW2USB Soundwriter is its USB connectivity. This allows you to connect the turntable to your computer and record your vinyl collection in digital format. The included Audacity recording software makes it easy to record, edit, and save your recordings.
Ask a question and I''ll find the answer in the document
Finding information in a document is now easier with AI
Related papers
-
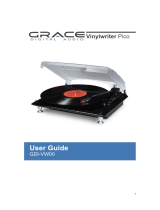
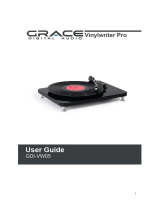 Grace Digital VW05 Vinyl Writer Pro User manual
-
Grace Digital AVUSPB01S Vinylwriter User manual
-
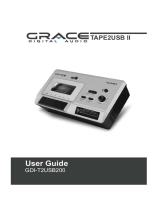 Grace Digital TAPE2USB II User manual
-
 Grace Digital TW3USB Tunewriter III User manual
-
 Grace Digital GDI-VW00 User manual
-
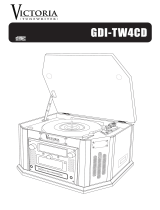 Grace Digital TW4CD Tunewriter IV User manual
-
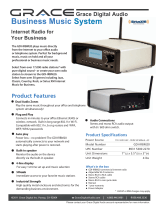 Grace Digital Audio Music System Specification
-
 Grace Digital GDI-AQCSE100 User manual
-
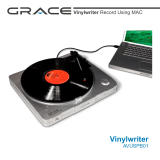 Grace Digital AVUSPB01 Vinylwriter Record Using Mac User manual


Other documents
-
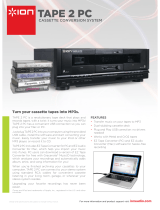 ION Audio TAPE 2 PC Datasheet
-
Grace Digital Audio Victoria III GDI-TW3USB User manual
-
PyleHome PVNTTR22 Owner's manual
-
Lenoxx TT620 User manual
-
 ION Audio Audacity Owner's manual
-
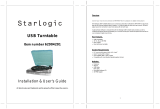 StarLogic USB Turntable Installation & User Manual
-
PyleHome PVTT2UBK Owner's manual
-
 Zennox JW-220GP/D3992 User manual
-
-
Denver VPL-100 User manual


