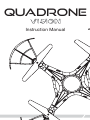
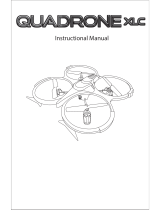
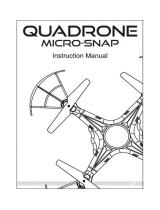
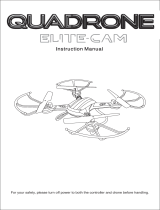
Quadrone Vision AW-QDR-POV User manual
- Category
- Toys & accessories
- Type
- User manual
Quadrone Vision AW-QDR-POV is a versatile drone designed for aerial photography and videography. With its advanced features and compact size, it's perfect for capturing stunning visuals and exploring new perspectives.
Quadrone Vision AW-QDR-POV is a versatile drone designed for aerial photography and videography. With its advanced features and compact size, it's perfect for capturing stunning visuals and exploring new perspectives.


-
 1
1
-
 2
2
-
 3
3
-
 4
4
-
 5
5
-
 6
6
-
 7
7
-
 8
8
-
 9
9
-
 10
10
-
 11
11
-
 12
12
-
 13
13
-
 14
14


Quadrone Vision AW-QDR-POV User manual
- Category
- Toys & accessories
- Type
- User manual
Quadrone Vision AW-QDR-POV is a versatile drone designed for aerial photography and videography. With its advanced features and compact size, it's perfect for capturing stunning visuals and exploring new perspectives.
Ask a question and I''ll find the answer in the document
Finding information in a document is now easier with AI
Related papers


Other documents
-
 AWW quadrone XLC Instructional Manual
-
Hubsan H001 User manual
-
 DGL Group 2AANZQDRMSN User manual
-
SereneLife SLDR18HD Owner's manual
-
Hubsan NANO Q4 SE User manual
-
Sharper Image Spy Drone UFO with Video Camera Owner's manual
-
 AWW INDUSTRIES AW-QDR-ELT User manual
-
 Apex Toys (Shenzhen) GD-90C User manual
-
-
Xiaomi Drone User manual


