15
Panel Descriptions
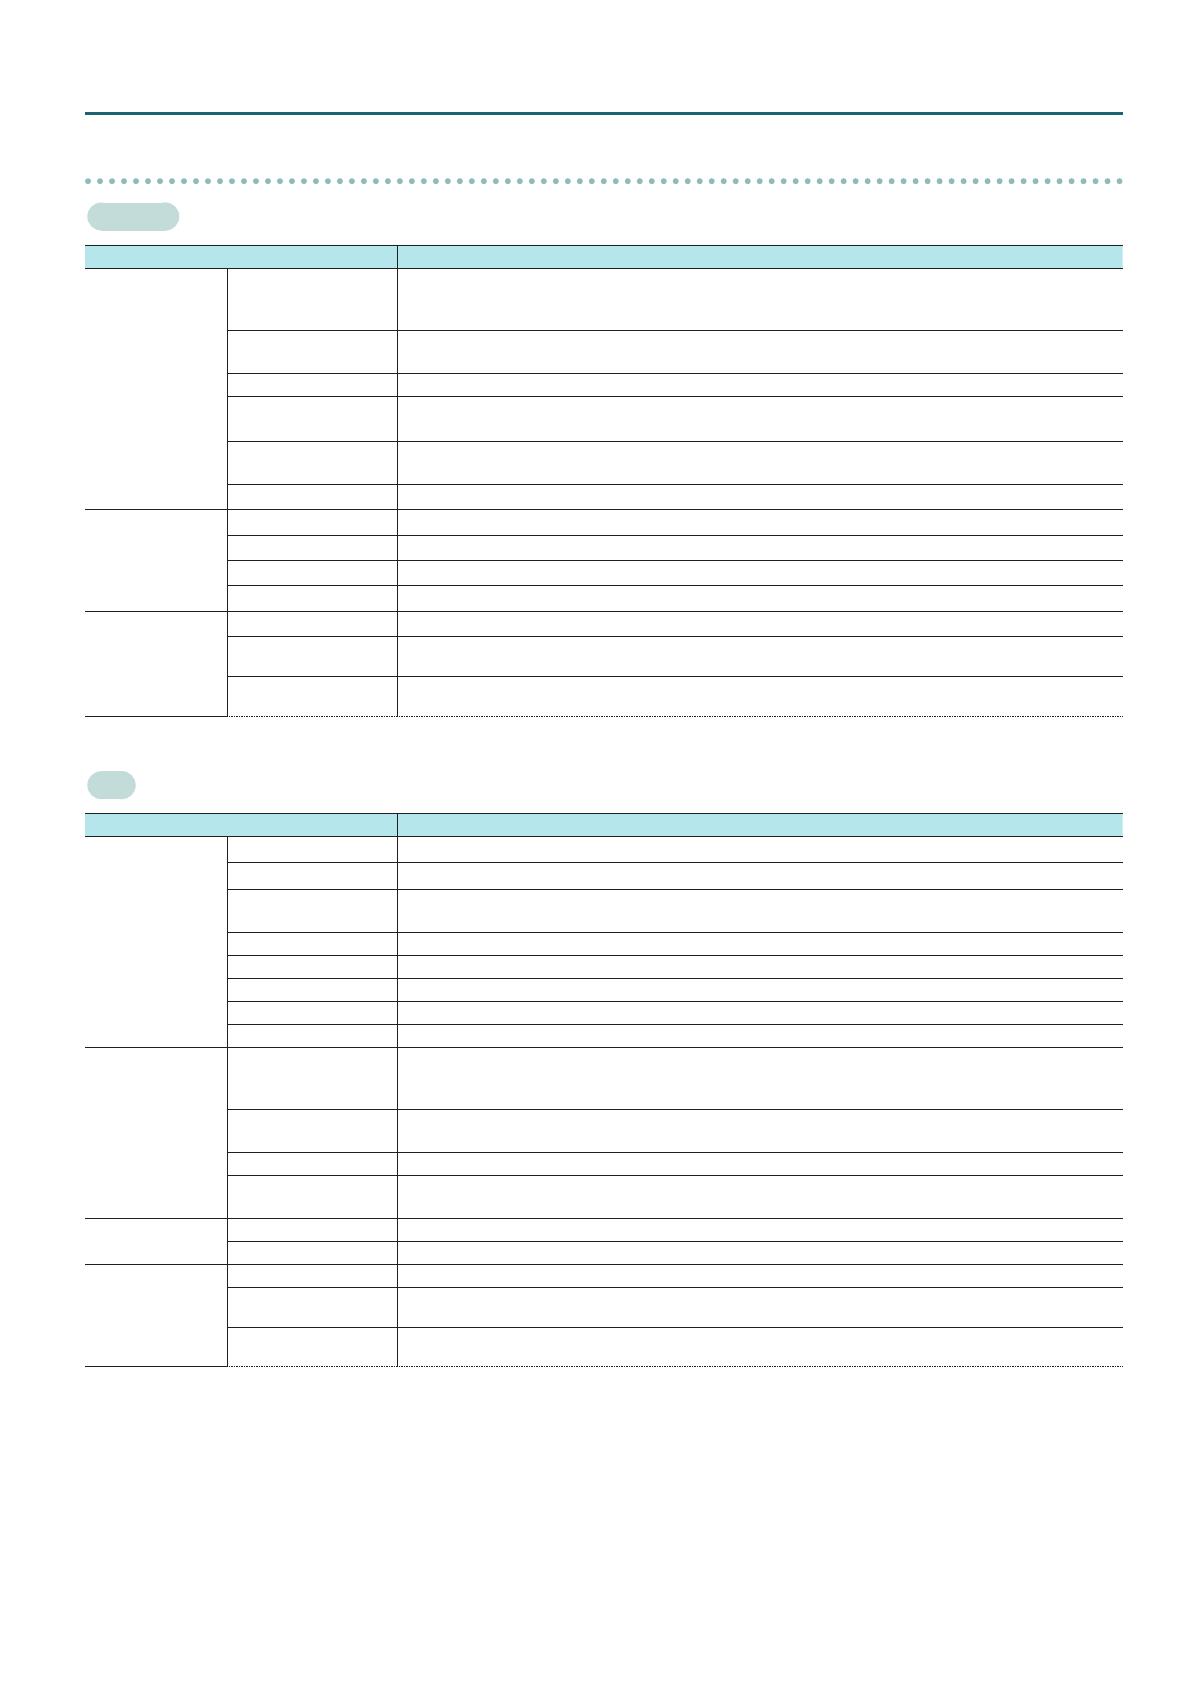
Menu bar
Windows
Menu Explanation
File
New
This returns the settings in V-60HD RCS to their default values.
* If current settings dier from default values, a message dialog box appears, allowing you to save the setting values to the
computer as a le (*.rcs).
Open
This displays the Open V-60HD Data window.
This opens the le (*.rcs) where settings are saved and calls up the settings (p. 18).
Save This saves the current setting values, overwriting the open le (*.rcs; p. 18).
Save as
This displays the Save V-60HD Data as window.
This saves the setting values in a newly created le (*.rcs) of a dierent name (p. 18).
Preferences
This displays the Preferences window (p. 6).
You select the port on the computer where you’re using V-60HD RCS.
Quit This quits V-60HD RCS (p. 7).
Help
V-60HD RCS Users Manual This displays the V-60HD RCS Owner’s Manual (this document).
V-60HD Reference Manual This displays the V-60HD Reference Manual.
About V-60HD RCS This displays the version information for V-60HD RCS.
About Qt This shows the license for the software being used (Qt).
MIDI
MIDI Settings Displays MIDI Settings window. Select the MIDI controller that you want to use (p. 16).
Clear MIDI Control
Mapping
Deletes all MIDI mappings (p. 17).
Show MIDI Control
Mapping
Shows MIDI mappings in the V-60HD RCS window (p. 17).
Mac
Menu Explanation
V-60HD RCS
About V-60HD RCS This displays the version information for V-60HD RCS.
About Qt This shows the license for the software being used (Qt).
Preferences
This displays the Preferences window (p. 6).
You select the port on the computer where you’re using V-60HD RCS.
Services This shows the service menu for the OS.
Hide V-60HD RCS This hides the V-60HD RCS window.
Hide Others This hides all other application windows except the V-60HD RCS window.
Show All This displays all application windows.
Quit V-60HD RCS This quits V-60HD RCS (p. 7).
File
New
This returns the settings in V-60HD RCS to their default values.
* If current settings dier from default values, a message dialog box appears, allowing you to save the setting values to the
computer as a le (*.rcs).
Open
This displays the Open V-60HD Data window.
This opens the le (*.rcs) where settings are saved and calls up the settings (p. 18).
Save This saves the current setting values, overwriting the open le (*.rcs; p. 18).
Save as
This displays the Save V-60HD Data as window.
This saves the setting values in a newly created le (*.rcs) of a dierent name (p. 18).
Help
V-60HD RCS Users Manual This displays the V-60HD RCS Owner’s Manual (this document).
V-60HD Reference Manual This displays the V-60HD Reference Manual.
MIDI
MIDI Settings Displays MIDI Settings window. Select the MIDI controller that you want to use (p. 16).
Clear MIDI Control
Mapping
Deletes all MIDI mappings (p. 17).
Show MIDI Control
Mapping
Shows MIDI mappings in the V-60HD RCS window (p. 17).


