6. Open your project, File menu > Open... , and browse it. To insert images, draw a box with
the Rectangle Picture Box and insert the image, File menu > Get Picture...:
• Browse to the file.
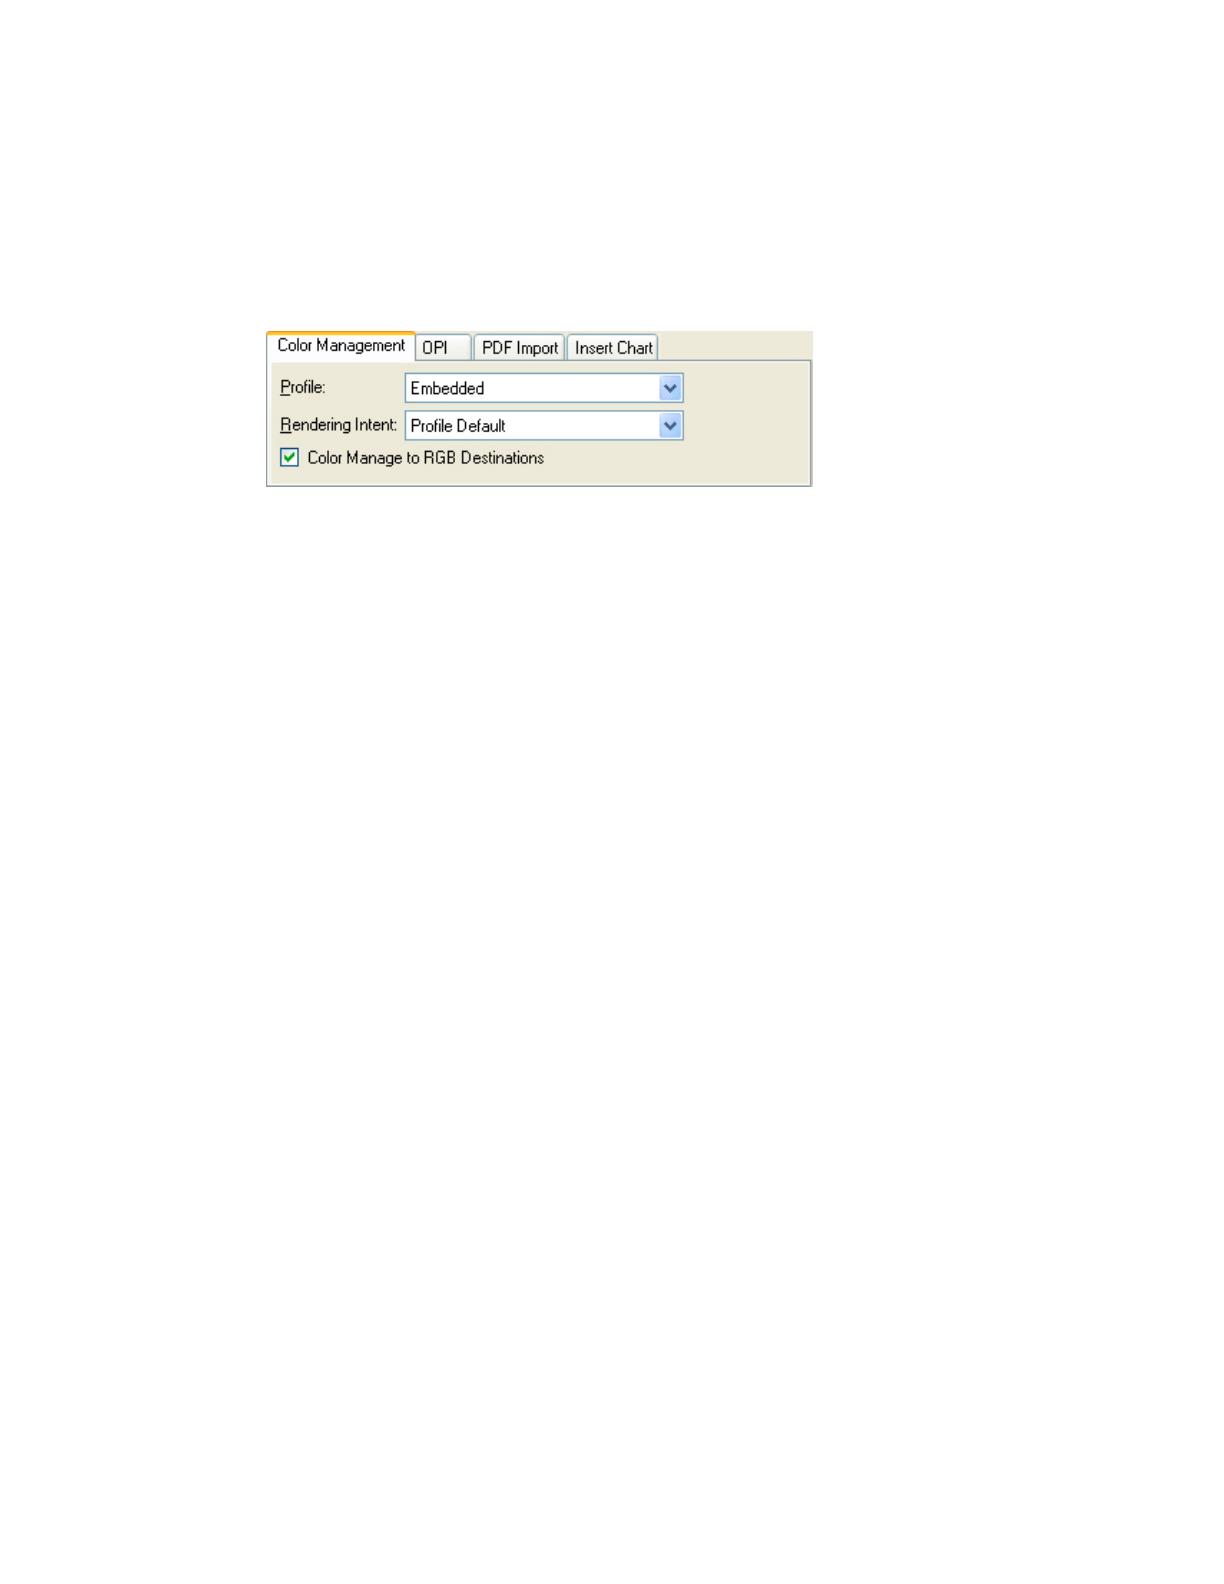
• Color Management tab:
o Profile: If the image has an Embedded profile, preserve it, if not, select Default.
o Rendering Intent: Profile Default.
o Check Color Manage to RGB/CMYK Destinations.
• Click Open.
7. So that you get a good display select the image, and then, Item menu > Preview
Resolution: Full Resolution.
8. Now, you can retouch your image and the monitor will show you how it’s going to look once
you’ve printed it.
9. QuarkXPress print settings, File menu > Print...:
• Printer: Select the printer (ex. EFI Designer Edition).
• Layout tab: Uncheck Separations.
• Setup tab:
o Printer Description: EFI Software Printer.
o Paper size: Select the paper size of the media loaded on the printer.
o Reduce or Enlarge: Select the scaling factor you need.
o Page Position: Select the page position you need if the image is smaller than the
paper size.
o Orientation: Select the orientation of your document on the paper.
• Output tab > Print Colors: Composite CMYK.
• Preview tab: Check the preview of your image on the paper.
• Profiles tab > Composite: Select the output device you wanted to emulate on the monitor
(the profile of the printer and media type you have selected on the RIP).
4


