SwissVoice Xtra 1150 User manual
- Category
- Telephones
- Type
- User manual
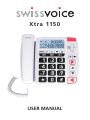
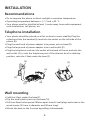
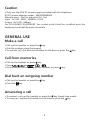
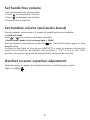
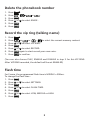
SwissVoice Xtra 1150 is a user-friendly corded phone with advanced features designed to make communication easier and more enjoyable. It boasts a large, high-contrast display for clear visibility, and its talking caller ID feature announces the caller's name or number, eliminating the need to check the screen. Xtra 1150 also includes an audio boost function for increased sound clarity, making conversations more audible, especially for those with hearing impairments.
SwissVoice Xtra 1150 is a user-friendly corded phone with advanced features designed to make communication easier and more enjoyable. It boasts a large, high-contrast display for clear visibility, and its talking caller ID feature announces the caller's name or number, eliminating the need to check the screen. Xtra 1150 also includes an audio boost function for increased sound clarity, making conversations more audible, especially for those with hearing impairments.


-
 1
1
-
 2
2
-
 3
3
-
 4
4
-
 5
5
-
 6
6
-
 7
7
-
 8
8
-
 9
9
-
 10
10
-
 11
11
-
 12
12
-
 13
13
-
 14
14
-
 15
15
-
 16
16


SwissVoice Xtra 1150 User manual
- Category
- Telephones
- Type
- User manual
SwissVoice Xtra 1150 is a user-friendly corded phone with advanced features designed to make communication easier and more enjoyable. It boasts a large, high-contrast display for clear visibility, and its talking caller ID feature announces the caller's name or number, eliminating the need to check the screen. Xtra 1150 also includes an audio boost function for increased sound clarity, making conversations more audible, especially for those with hearing impairments.
Ask a question and I''ll find the answer in the document
Finding information in a document is now easier with AI