12 Widgets
widget in the widget loop.
• Select Remove to remove the widget from the
widget loop.
5 Select Add More.
6 Select a widget.
The widget is added to the widget loop.
About My Day
The My Day widget is a daily snapshot of your activity.
This is a dynamic summary that updates throughout
the day. As soon as you climb a flight of stairs or
record an activity, it appears in the widget. The metrics
include recorded activities, intensity minutes for the
week, floors climbed, steps, calories burned, and more.
You can tap the touchscreen for an option to improve
accuracy or to view additional metrics.
Health Stats Widget
The Health Stats widget provides an at-a-glance view
of your health data. This is a dynamic summary that
updates throughout the day. The metrics include
your heart rate, stress level, Body Battery level, and
respiration rate. You can tap the touchscreen to view
additional metrics.
Heart Rate Variability and Stress Level
Your device analyzes your heart rate variability while
you are inactive to determine your overall stress.
Training, physical activity, sleep, nutrition, and general
life stress all impact your stress level. The stress level
range is from 0 to 100, where 0 to 25 is a resting state,
26 to 50 is low stress, 51 to 75 is medium stress,
and 76 to 100 is a high stress state. Knowing your
stress level can help you identify stressful moments
throughout your day. For best results, you should wear
the device while sleeping.
You can sync your device with your Garmin Connect
account to view your all-day stress level, long-term
trends, and additional details.
Using the Stress Level Widget
The stress level widget displays your current stress
level and a graph of your stress level for the last
several hours. It can also guide you through a
breathing activity to help you relax.
1 While you are sitting or inactive, swipe up or down
to view the stress level widget.
TIP: If you are too active for the watch to
determine your stress level, a message appears
instead of a stress level number. You can check
your stress level again after several minutes of
inactivity.
2 Tap the touchscreen to view a graph of your stress
level for the last several hours.
Blue bars indicate periods of rest. Yellow bars
indicate periods of stress. Gray bars indicate times
that you were too active to determine your stress
level.
3 To start a breathing activity, swipe up, and select
.
Body Battery
Your device analyzes your heart rate variability, stress
level, sleep quality, and activity data to determine your
overall Body Battery level. Like a gas gauge on a car,
it indicates your amount of available reserve energy.
The Body Battery level range is from 0 to 100, where 0
to 25 is low reserve energy, 26 to 50 is medium reserve
energy, 51 to 75 is high reserve energy, and 76 to 100 is
very high reserve energy.
You can sync your device with your Garmin Connect
account to view your most up-to-date Body Battery
level, long-term trends, and additional details (Tips for
Improved Body Battery Data, page12).
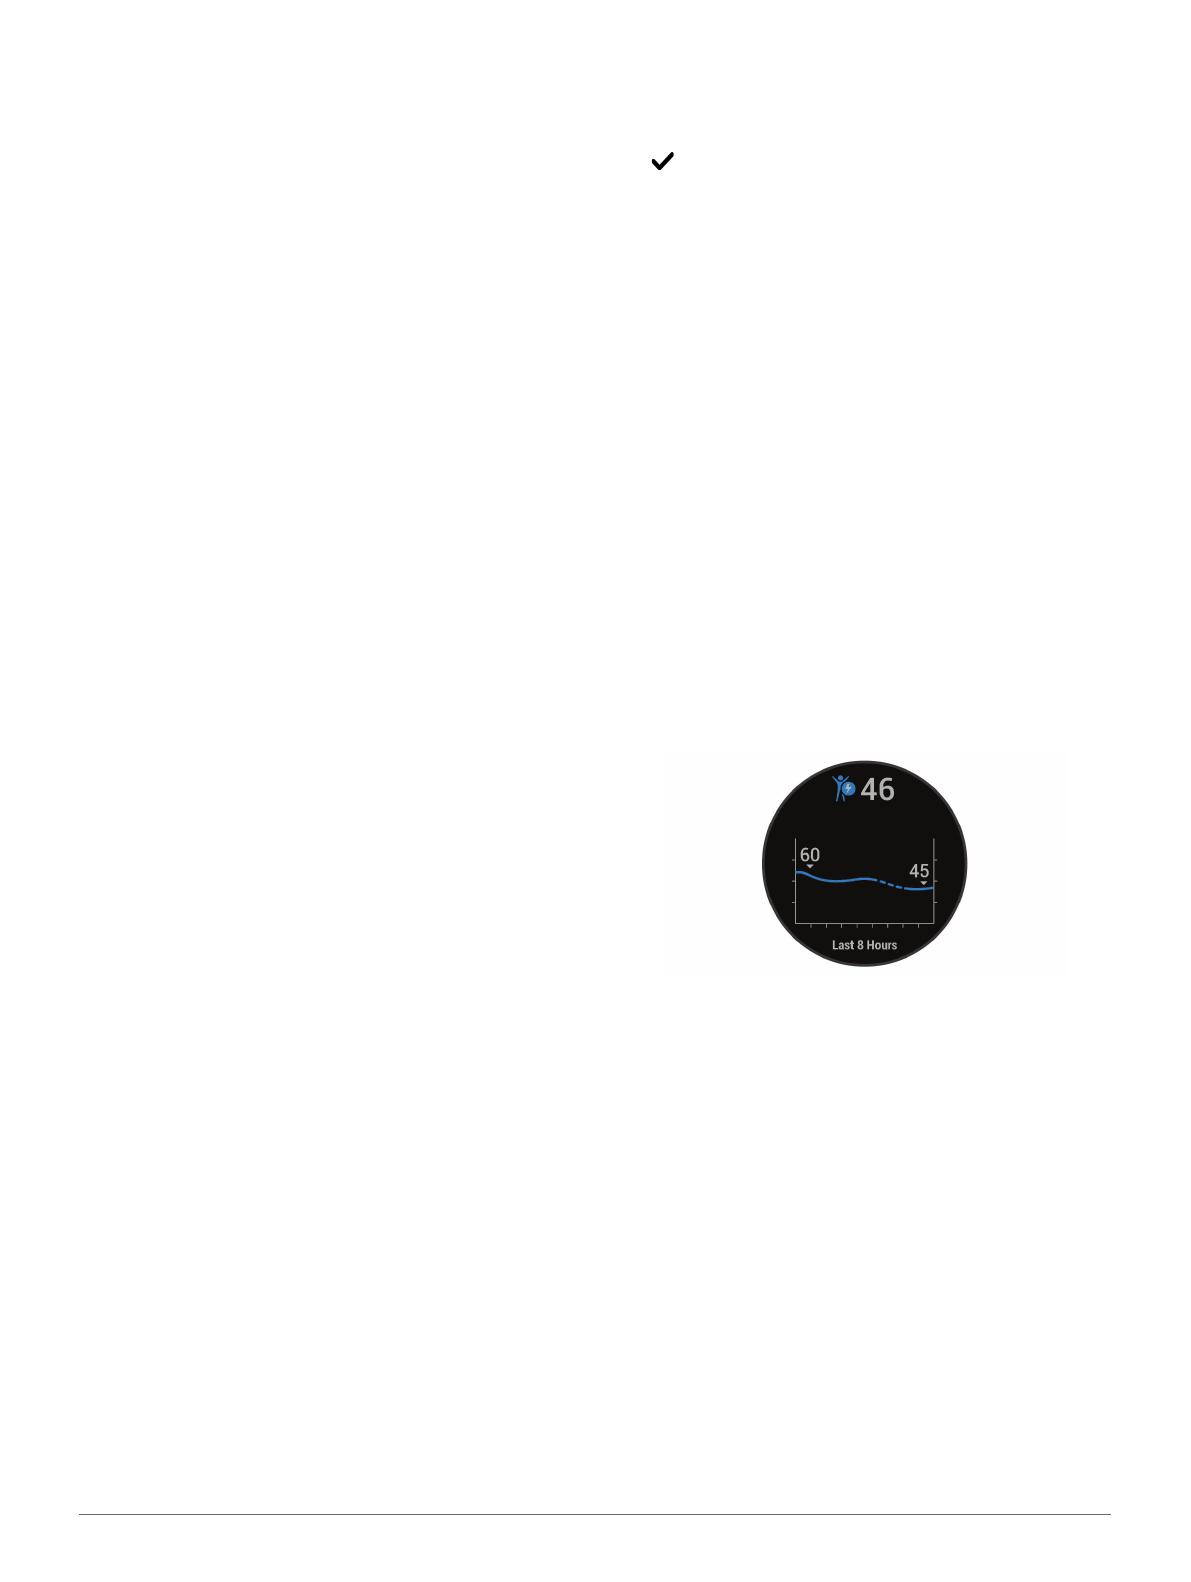
Viewing the Body Battery Widget
The Body Battery widget displays your current Body
Battery level and a graph of your Body Battery level for
the last several hours.
1 Swipe up or down to view the Body Battery widget.
NOTE: You may need to add the widget to
your widget loop (Customizing the Widget Loop,
page11).
2 Tap the touchscreen to view a combined graph of
your Body Battery and stress level.
3 Swipe up to view your Body Battery data since
midnight.
Tips for Improved Body Battery Data
yYour Body Battery level updates when you sync
your device with your Garmin Connect account.
yFor more accurate results, wear the device while
sleeping.
yRest and good sleep charge your Body Battery.
yStrenuous activity, high stress, and poor sleep can
cause your Body Battery to drain.
yFood intake, as well as stimulants like caffeine, has
no impact on your Body Battery.
Menstrual Cycle Tracking
Your menstrual cycle is an important part of your
health. You can learn more and set up this feature in
the Health Stats settings of the Garmin Connect app.


