10
TURNING THE DRAWER LIGHTS
ON/OFF
This unit is equipped with individual
viewing windows and inner lights for each
drawer, which can be operated separately.
1. To turn each drawer light on, press the
corresponding key on the unit’s control
panel. Press the key to turn on the
light for the left drawer or the key
to turn on the light for the right drawer.
The corresponding icon will begin to
drawer will come on to show this
function has been activated.
NOTE: Both drawer lights can be on
at the same time.
2. Press either the or key again
while the drawer light is turned on
to turn it off. The corresponding icon
corresponding drawer will go out to
show this function has been stopped.
TURNING THE APPLIANCE
ON/OFF
1. Plug the unit into a mains socket. The
unit will emit an audible signal and the
before entering stand-by mode with
just the key illuminated.
2. Press the key to turn the appliance
on, this will illuminate the control panel.
3. Press the key to stop further
operation. The unit will emit an audible
signal and go into standby mode.
NOTE: If there is a power cut or the unit is
unplugged during operation all indicator
lights will go off. Once connection is
re-established the unit will continue to
operate on the program previously set.
NOTE: To turn the unit off during operation,
press the key. The unit will stop heating
and there will be an audible signal, the
icon will remain illuminated.
PRE-HEAT
1. Select the required drawer by pressing
the or key on the unit’s control
panel. The corresponding indicator will
light up to show which drawer has been
selected.
2. Select the button this will pre-heat
the drawer at 180ºC for 3 minutes.
3. Press the key.
PRE-HEAT MENU SELECTION
(Once plugged in and in stand-by)
1. Place the food in the drawer(s), taking
2. Press the key.
3. Press the or key, depending on
which drawer has food in.
4. Press the icon of the cooking function
required.
5. The default temperature and timer will
show in the display alternately. Press
the temperature +/- keys and the time
+/- keys to adjust the temperature and
operation time required.
6. If using both drawers press the other
drawer key and repeat steps 3 and 4.
7. Press the key to start the operation.
8. When the operation time has elapsed
there will be an audible signal, the
display will show ‘00’ and the heating
element will stop working. The
motor will continue to operate for
approximately 1 minute to cool the unit
down before entering stand-by mode.
9. Remove the drawer(s) from the
appliance and place it on a heat
resistant surface.
9. Check if the food is ready.
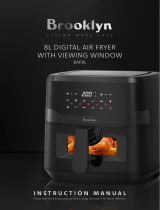
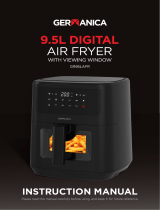
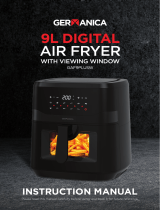
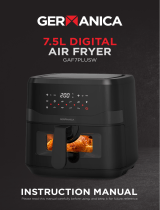
USING YOUR AIR FRYER