Brooks 4850 / 4860 Operating instructions

Type
Operating instructions

This manual is also suitable for

Installation and Operation Manual
X -SE-4800-LOI-eng
Part Number: 541B117AAG
January, 2009
Brooks
®
4800 Series LOI
Brooks
®
4800 Series
Local Operator Interface (LOI)
LOI Attached
to a 4800 Series Device
Installation and Operation Manual
X -SE-4800-LOI-eng
Part Number:541B117AAG
January, 2009
Brooks
®
4800 Series LOI
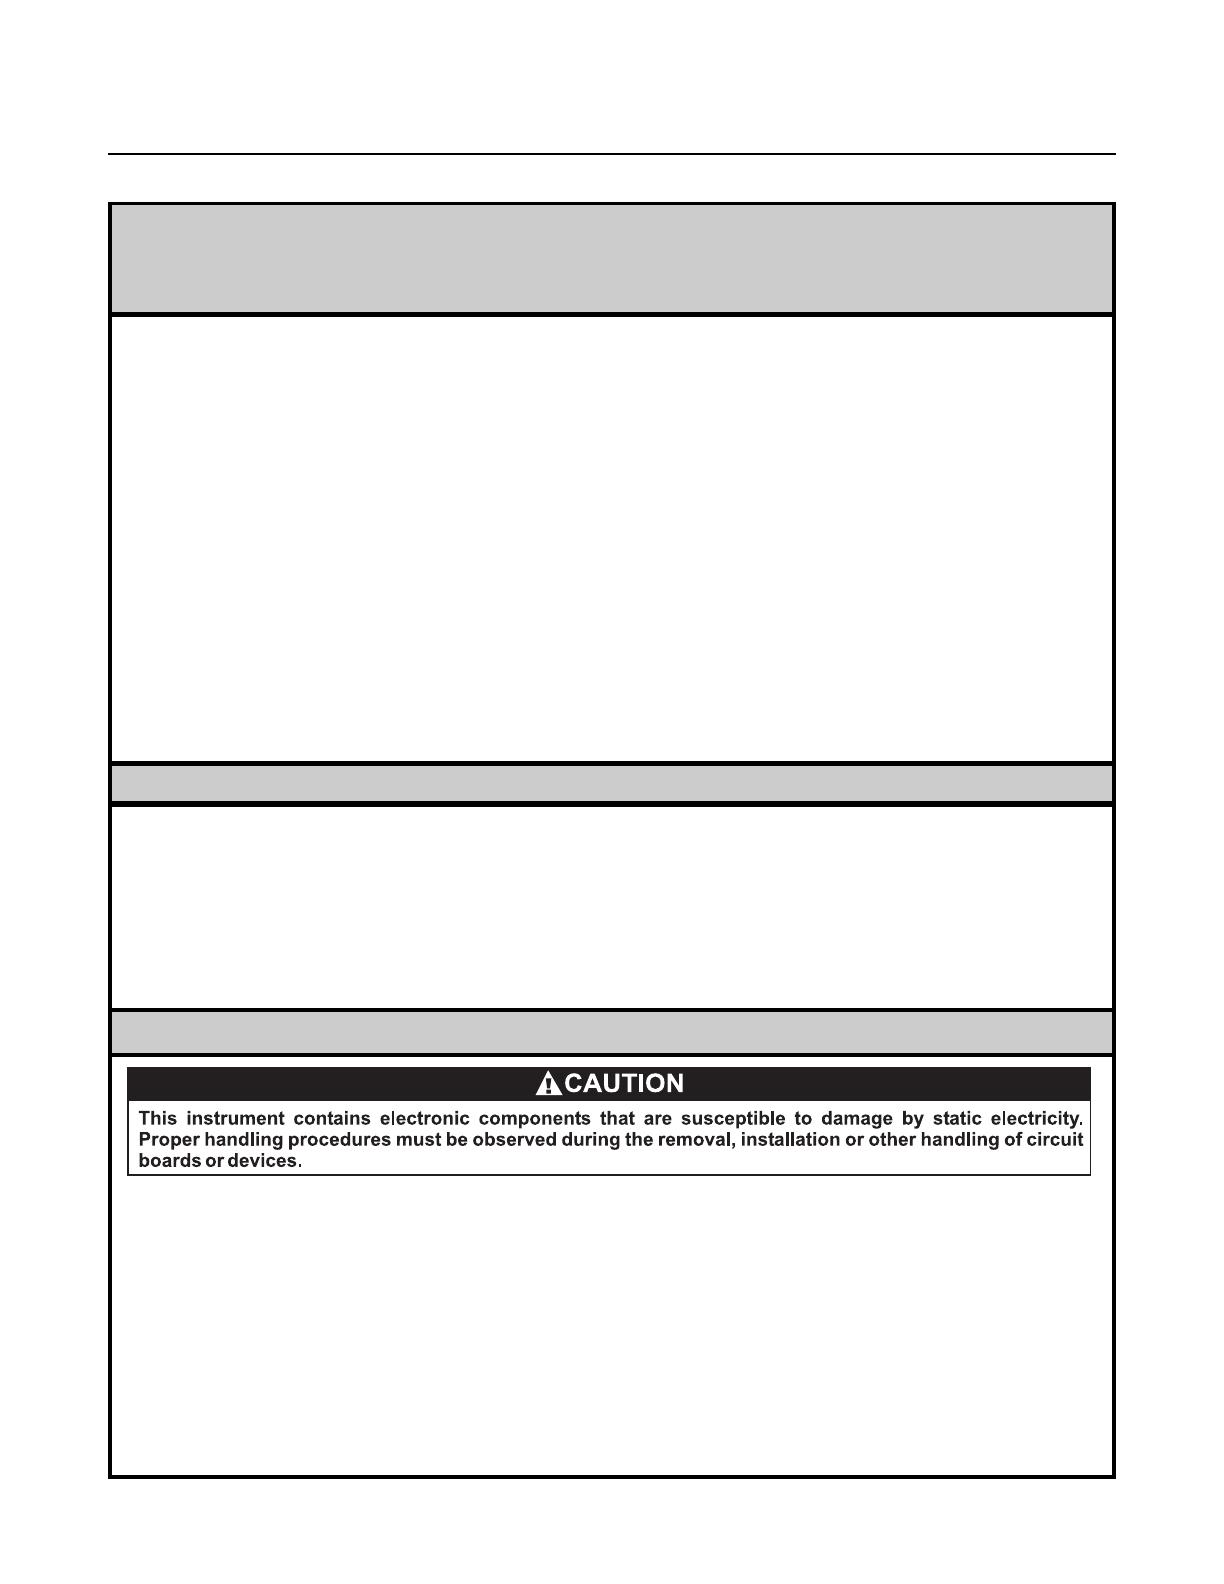
ESD (Electrostatic Discharge)
Essential Instructions
Read this page before proceeding!
Brooks Instrument designs, manufactures and tests its products to meet many national and international standards. Because
these instruments are sophisticated technical products, you must properly install, use and maintain them to ensure they
continue to operate within their normal specifications. The following instructions must be adhered to and integrated into your
safety program when installing, using and maintaining Brooks Products.
Read all instructions prior to installing, operating and servicing the product. If this instruction manual is not the correct
manual, please see back cover for local sales office contact information. Save this instruction manual for future reference.
If you do not understand any of the instructions, contact your Brooks Instrument representative for clarification.
Follow all warnings, cautions and instructions marked on and supplied with the product.
Inform and educate your personnel in the proper installation, operation and maintenance of the product.
Install your equipment as specified in the installation instructions of the appropriate instruction manual and per applicable
local and national codes. Connect all products to the proper electrical and pressure sources.
To ensure proper performance, use qualified personnel to install, operate, update, program and maintain the product.
When replacement parts are required, ensure that qualified people use replacement parts specified by Brooks Instrument.
Unauthorized parts and procedures can affect the product's performance and place the safe operation of your process at
risk. Look-alike substitutions may result in fire, electrical hazards or improper operation.
Ensure that all equipment doors are closed and protective covers are in place, except when maintenance is being
performed by qualified persons, to prevent electrical shock and personal injury.
Pressure Equipment Directive (PED)
All pressure equipment with an internal pressure greater than 0.5 bar (g) and a size larger than 25mm or 1" (inch) falls under the
Pressure Equipment Directive (PED). The Directive is applicable within the European Economic Area (EU plus Norway, Iceland
and Liechtenstein). Pressure equipment can be traded freely within this area once the PED has been complied with.
Section 1 of this manual contains important safety and operating instructions related to the PED directive.
Meters described in this manual are in compliance with EN directive 97/23/EC module H Conformity Assessment.
All Brooks Instrument Flowmeters fall under fluid group 1.
Meters larger than 25mm or 1" (inch) are in compliance with category I, II, III of PED.
Meters of 25mm or 1" (inch) or smaller are Sound Engineering Practice (SEP).
Handling Procedure:
1. Power to unit must be removed.
2. Personnel must be grounded, via a wrist strap or other safe, suitable means before any printed circuit card or other internal
device is installed, removed or adjusted.
3. Printed circuit cards must be transported in a conductive container. Boards must not be removed from protective enclosure
until immediately before installation. Removed boards must immediately be placed in protective container for transport,
storage or return to factory.
Comments
This instrument is not unique in its content of ESD (electrostatic discharge) sensitive components. Most modern electronic
designs contain components that utilize metal oxide technology (NMOS, SMOS, etc.). Experience has proven that even small
amounts of static electricity can damage or destroy these devices. Damaged components, even though they appear to function
properly, exhibit early failure.
Installation and Operation Manual
X -SE-4800-LOI-eng
Part Number: 541B117AAG
January, 2009
Brooks
®
4800 Series LOI
Dear Customer,
We appreciate this opportunity to service your flow measurement and control requirements with a Brooks
Instrument device. Every day, flow customers all over the world turn to Brooks Instrument for solutions to their
gas and liquid low-flow applications. Brooks provides an array of flow measurement and control products for
various industries from biopharmaceuticals, oil and gas, fuel cell research and chemicals, to medical devices,
analytical instrumentation, semiconductor manufacturing, and more.
The Brooks product you have just received is of the highest quality available, offering superior performance,
reliability and value to the user. It is designed with the ever changing process conditions, accuracy requirements
and hostile process environments in mind to provide you with a lifetime of dependable service.
We recommend that you read this manual in its entirety. Should you require any additional information concerning
Brooks products and services, please contact your local Brooks Sales and Service Office listed on the back cover
of this manual or visit www.BrooksInstrument.com
Yours sincerely,
Brooks Instrument
Installation and Operation Manual
X -SE-4800-LOI-eng
Part Number:541B117AAG
January, 2009
Brooks
®
4800 Series LOI
THIS PAGE WAS
INTENTIONALLY
LEFT BLANK
i
Contents
Installation and Operation Manual
X-SE-4800-LOI-eng
Part Number: 541B117AAG
January, 2009
Brooks
®
4800 Series LOI
Paragraph Page
Number Number
Section 1 Introduction
1-1 How to Use This Manual ............................................................................................................1-1
1-2 Description .................................................................................................................................1-1
1-3 Specifications .............................................................................................................................1-1
Section 2 Installation
2-1 General ......................................................................................................................................2-1
2-2 Receipt of Equipment.................................................................................................................2-1
2-3 Recommended Storage Practice ...............................................................................................2-1
2-4 Return Shipment ........................................................................................................................2-2
2-5 Transit Precautions ....................................................................................................................2-2
2-6 Removal from Storage ...............................................................................................................2-2
2-7 Mechanical Connections ............................................................................................................2-3
Section 3 Operation
3-1 Operating Procedures ................................................................................................................3-1
3-2 General Display and Jog Dial Operation ....................................................................................3-1
3-2-1 Scrolling to and Selecting a Menu Item......................................................................................3-1
3-2-2 Changing and Saving a Value Setting ........................................................................................3-1
3-2-3 Main Menu .................................................................................................................................3-2
3-3 Configuration Functions .............................................................................................................3-2
3-3-1 Gas Curve File ...........................................................................................................................3-3
3-3-2 Flow Engineering Units ..............................................................................................................3-6
3-3-3 Setpoint Source..........................................................................................................................3-7
3-3-4 Ensuring Proper Setpoint Operation in Local and Remote Modes.............................................3-8
3-3-5 Units Resolution .........................................................................................................................3-8
3-3-6 Dial Resolution ...........................................................................................................................3-9
3-3-7 Backlight....................................................................................................................................3-10
3-3-8 Software and Hardware Versions..............................................................................................3-10
3-3-9 Zeroing ...................................................................................................................................... 3-11
3-3-10 Output Selection........................................................................................................................3-12
3-3-11 Reset to factory default .............................................................................................................3-13
3-4 Changing the Setpoint...............................................................................................................3-13
3-5 Valve Override...........................................................................................................................3-14
3-6 Totalizer.....................................................................................................................................3-15
3.7 Viewing the Totalizer Value........................................................................................................3-16
Section 4 Maintenance
4-1 Overview ....................................................................................................................................4-1
4-2 Setting the Flow Alarm ...............................................................................................................4-1
4-2-1 Displaying the Alarm Menu.........................................................................................................4-1
4-2-2 Changing a Flow Alarm Value ....................................................................................................4-2
4-2-3 Enabling the Flow Alarm.............................................................................................................4-2
4-3 Alarm Output Pin........................................................................................................................4-3
ii
Contents
Installation and Operation Manual
X-SE-4800-LOI-eng
Part Number: 541B117AAG
January, 2009
Brooks
®
4800 Series LOI
Paragraph Page
Number Number
Section A CE Certificate
CE Certificate of Mass Flow Equipment................................................................................................A-1
Warranty, Local Sales/Service Contact Information....................................................................... Back Cover
Figures
Figure Page
Number Number
1-1 LOI Dimensions..........................................................................................................................1-4
2-1 LOI Installed Using D-Type Connector.......................................................................................2-3
2-2 LOI Installed Using DC Power Plug ...........................................................................................2-4
3-1 LOI Display and Jog Dial............................................................................................................3-1
4-1 Alarm LED Indicator ...................................................................................................................4-3
Tables
Table Page
Number Number
1-1 Pin-outs for D-Connector to 4800 Series Device .......................................................................1-2
1-2 Pin-outs for D-Connector to Remote Connection.......................................................................1-3
3-1 Menu Structure...........................................................................................................................3-2
3-2 Totalizer Units............................................................................................................................3-15
1-1
Section 1 Introduction
Installation and Operation Manual
X-SE-4800-LOI-eng
Part Number: 541B117AAG
January, 2009
Brooks
®
4800 Series LOI
1-1 How to Use This Manual
This instruction manual is intended to provide the user with all the
information necessary to install, operate and maintain the Brooks 4800
Series Local Operator Interface (LOI).
This manual is organized into the following sections:
Section 1. Introduction
Section 2. Installation
Section 3. Operation
Section 4. Maintenance
Section A. Appendices
Back Cover Warranty, Local Sales/Service Contact Information
1-2 Description
The Brooks 4800 Series LOI provides a convenient user interface to view,
control, calibrate, and configure Brooks 4800 Series thermal mass flow
controllers.
The LOI provides the following functionality:
Measures the flow signal level from the Brooks 4800 Series device and
displays it on a LCD display.
Includes a jog dial button to allow the user to send control signals to the
Brooks 4800 Series device to adjust the flow, perform a valve override,
zero the device, and set device configuration parameters.
Uses LEDs to provide a visual indication of device status and device
mode.
Allows the user to connect a remote controller to the device and bypass
the local LOI control .
1-3 Specifications
DISPLAY:
Effective display area: 28 mm wide, 11 mm high
Display contents: 8 x 2 dot matrix display
OPERATING LIMITS:
Temperature: 0 - 50°C
Operating Humidity: 5 to 95% R.H. (ambient)
1-2
Section 1 Introduction
Installation and Operation Manual
X-SE-4800-LOI-eng
Part Number: 541B117AAG
January, 2009
Brooks
®
4800 Series LOI
ELECTRICAL CHARACTERISTICS:
Electrical Connections
2 15-pin D-sub connectors, one for connection to the 4800 Series device
and one for remote connection.
The pin-outs are listed below.
Table 1-1. Pin-outs for D-Connector to 4800 Series Device
Pin No. Function
1 Setpoint Signal Ground
2 Flow Voltage Output
3 Not Used
4 Flow Current Output
5 Positive Supply Voltage
6 Not Used
7 Setpoint Current Input
8 Setpoint Voltage Input
9 Power Supply Common
10 Flow Signal Ground
11 Not Used
12 Valve Override Input
13 Not Used
14 RXD
15 TXD
1-3
Section 1 Introduction
Installation and Operation Manual
X-SE-4800-LOI-eng
Part Number: 541B117AAG
January, 2009
Brooks
®
4800 Series LOI
Table 1-2. Pin-outs for D-Connector to Remote Connection
Pin No. Function
1 Setpoint Signal Ground
2 Flow Voltage Output
3 Alarm Output
4 Flow Current Output
5 Positive Supply Voltage
6 Not Used
7 Setpoint Current Input
8 Setpoint Voltage Input
9 Power Supply Common
10 Flow Signal Ground
11 Not Used
12 Valve Override Input
13 Not Used
14 RXD
15 TXD
Power Supply Voltage
The LOI optionally includes a wall mount power adaptor with a 3.5-mm
DC-plug. This adaptor works with input voltages of AC 90-240 V/47-63 Hz.
The adaptor supports European, U.K., and U.S. wall plugs.
Power can also be supplied by a remote connection via the D-connector.
MATERIALS OF CONSTRUCTION
Enclosure: ABS plastic with Cu-Ni plating.
OUTLINE DIMENSIONS
75 mm wide, 58.5 mm high, 24 mm deep
Refer to Figure 1-1.
1-4
Section 1 Introduction
Installation and Operation Manual
X-SE-4800-LOI-eng
Part Number: 541B117AAG
January, 2009
Brooks
®
4800 Series LOI
Figure 1-1. LOI Dimensions
1-5
Section 1 Introduction
Installation and Operation Manual
X-SE-4800-LOI-eng
Part Number: 541B117AAG
January, 2009
Brooks
®
4800 Series LOI
EMC Directive 89/336/EEC:
per EN 61326
Hazardous Location Classification
The modules shall be installed in a suitable enclosure providing a degree
of protection of at least IP54 according to EN 60529, taking into account
the environmental conditions under which the equipment will be used.
Provisions shall be made to prevent the rated voltage from being exceeded
by transient disturbances of more than 40 %.
Enclosure: Type 1/IP40
Ambient Temperature: 0°C > Tamb < 50°C (32°F > Tamb < 122°F)
United States and Canada
Non-Incendive,
Class 1, Division 2
Groups A, B,C&D;T4
150464
Per UL 1604 and CSA-C22.2 no. 213-m87
Class 1, Zone 2, AEx nA II T4
Per ANSI/ISA 12.12.02 - 2003 and ANSI/UL 60079-15
Ex nA II T4
Per Can. CSA-C22.2 no. 61010-04
Europe - ATEX Directive 94/9/EC
KEMA 06ATEX0251 per EN 60079-15: 2003
Per EN 60079-15: 2003
Pressure Equipment Directive (97/23/EC):
Sound Engineering practice.
CERTIFICATIONS
1-6
Section 1 Introduction
Installation and Operation Manual
X-SE-4800-LOI-eng
Part Number: 541B117AAG
January, 2009
Brooks
®
4800 Series LOI
THIS PAGE WAS
INTENTIONALLY
LEFT BLANK
Installation and Operation Manual
X-SE-4800-LOI-eng
Part Number: 541B117AAG
January, 2009
2-1
Section 2 Installation
Brooks
®
4800 Series LOI
2-1 General
This section contains the procedures for the receipt and installation of the
instrument. See Section 1 for dimensional and connection requirements.
Do not attempt to start the system until the instrument has been installed. It
is important that the start-up procedures be followed in the exact sequence
presented.
2-2 Receipt of Equipment
When the instrument is received, the outside packing case should be
checked for damage incurred during shipment. If the packing case is
damaged, the local carrier should be notified at once regarding his liability.
A report should be submitted to your nearest Product Service Department.
Brooks Instrument
407 W. Vine Street
P.O. Box 903
Hatfield, PA 19440 USA
Toll Free (888) 554-FLOW (3569)
Tel (215) 362-3700
Fax (215) 362-3745
E-mail: BrooksAm@BrooksInstrument.com
www.BrooksInstrument.com
Brooks Instrument Brooks Instrument
Neonstraat 3 1-4-4 Kitasuna Koto-Ku
6718 WX Ede, Netherlands Tokyo, 136-0073 Japan
P.O. Box 428 Tel 011-81-3-5633-7100
6710 BK Ede, Netherlands Fax 011-81-3-5633-7101
Tel 31-318-549-300 Email: BrooksAs@BrooksInstrument.com
Fax 31-318-549-309
E-mail: BrooksEu@BrooksInstrument.com
Remove the envelope containing the packing list. Carefully remove the
instrument from the packing case. Make sure spare parts are not
discarded with the packing materials. Inspect for damaged or missing
parts.
2-3 Recommended Storage Practice
If intermediate or long-term storage of equipment is required, it is
recommended that the equipment be stored in accordance with the
following conditions:
a. Within the original shipping container.
b. Stored in a sheltered area, preferably a warm, dry, heated warehouse.
c. Ambient temperature 21°C (70°F) nominal, 32°C (90°F) maximum,
7°C (45°F) minimum.
d. Relative humidity 45% nominal, 60% maximum, 25% minimum.
Installation and Operation Manual
X-SE-4800-LOI-eng
Part Number: 541B117AAG
January, 2009
2-2
Section 2 Installation
Brooks
®
4800 Series LOI
2-4 Return Shipment
Prior to returning any instrument to the factory, contact your nearest Brooks
location for a Return Materials Authorization Number (RMA#). This can be
obtained from one of the following locations:
Brooks Instrument
407 W. Vine Street
P.O. Box 903
Hatfield, PA 19440 USA
Toll Free (888) 554-FLOW (3569)
Tel (215) 362-3700
Fax (215) 362-3745
E-mail: BrooksAm@BrooksInstrument.com
www.BrooksInstrument.com
Brooks Instrument Brooks Instrument
Neonstraat 3 1-4-4 Kitasuna Koto-Ku
6718 WX Ede, Netherlands Tokyo, 136-0073 Japan
P.O. Box 428 Tel 011-81-3-5633-7100
6710 BK Ede, Netherlands Fax 011-81-3-5633-7101
Tel 31-318-549-300 Email: BrooksAs@BrooksInstrument.com
Fax 31-318-549-309
E-mail: BrooksEu@BrooksInstrument.com
Returning the LOI device to Brooks in combination with a flow instrument
requires completion of Form RPR003-1, Brooks Instrument
Decontamination Statement, along with a Material Safety Data Sheet
(MSDS) for the fluid(s) used in the instrument. Failure to provide this
information will delay processing by Brooks personnel. Copies of these
forms can be downloaded from the Brooks website
www.BrooksInstrument.com or are available from any Brooks Instrument
location listed above.
2-5 Transit Precautions
To safeguard the instrument against transportation damage, it is
recommended to keep the instrument in its factory container until ready for
installation.
2-6 Removal from Storage
Upon removal of the instrument from storage, a visual inspection should be
conducted to verify its "as-received" condition. If the instrument has been
subject to storage conditions in excess of those recommended (see
Section 2-3), it should be subjected to a pneumatic pressure test in
accordance with applicable vessel codes.
Installation and Operation Manual
X-SE-4800-LOI-eng
Part Number: 541B117AAG
January, 2009
2-3
Section 2 Installation
Brooks
®
4800 Series LOI
2-7 Mechanical Connections
Recommended installation procedure:
a. Attach the LOI device to the 4800 Series device by inserting the D-
connector at the bottom of the LOI device to the D-connector at the top
of the 4800 Series device.
b. Secure the LOI device to the 4800 Series device using the two provided
screws. Feed the screws through the two screw channels at the far
ends of the top of the LOI device.
If the device is not being connected to a remote controller via the
D-connector:
c. Slide the proper electrical plug on to the power adapter, and connect
the power adapter to an electrical source.
d. Insert the power adapter DC plug into the power connector at the top of
the LOI device.
If the device is being connected to a remote controller via the D-connector:
c. Connect the cable from the remote controller to the D-connector at the
top of the LOI device. (The device will be powered from the remote
controller, so the power adapter should not be connected.)
Once powered on, the display will show the current flow measurement and
the left LED indicator below the display will light green.
Figure 2-1 LOI Installed Using D-Type Connector
Installation and Operation Manual
X-SE-4800-LOI-eng
Part Number: 541B117AAG
January, 2009
2-4
Section 2 Installation
Brooks
®
4800 Series LOI
Figure 2-2 LOI Installed Using DC Power Plug
One of the two screws
securing the LOI device
to the 4800 Series device
DC Power Plug
Installation and Operation Manual
X-SE-4800-LOI-eng
Part Number: 541B117AAG
January, 2009
3-1
Section 3 Operation
Brooks
®
4800 Series LOI
3-1 Operating Procedures
After the LOI device has been properly installed, it is ready for operation.
3-2 General Display and Jog Dial Operation
The LOI device displays the current flow measurement. It also includes a
set of menus and menu options to allow the user to select functions and
change settings. The jog dial is used to scroll to menu items, change
setting values, and select the current option or save the entered value.
Display
Jog Dial
Figure 3-1 LOI Display and Jog Dial
Installation and Operation Manual
X-SE-4800-LOI-eng
Part Number: 541B117AAG
January, 2009
3-2
Section 3 Operation
Brooks
®
4800 Series LOI
Table 3-1 Menu Structure
FL main menu
(
flow indication
)
<>
(
R
)
SP menu <> to set set
p
oint Fine
10000
(
set
p
oint
)
1000
100
10
back to SP menu
1
0.1
0.01
0.001
0.0001
OK
back to Main menu
Cancel
back to Main menu
CONFIG
GasCurv
Select Gas-01 UP TO 10
OK
back to Main menu
CANCEL
back to Main menu
En
g
-Unt
%FS
sl
p
m
OK
back to Main menu
ln/m
CANCEL
back to Main menu
sccm
mln/m
sl
p
h
ln/h
sm3h
mn3h
scfm
scfh
g
/h
lb/h
k
g
/h
ccn/m
Back
back to GasCurve menu
EXIT
back to Main menu
SPsourc
Rem-Di
g
Rem-Volt
OK
back to Main menu
Rem-Curr
CANCEL back to Main menu
Local
Resolut
Set - 2
,
5 / 3
,
5 or 4
,
5
OK
back to Main menu
DialRes
CANCEL
back to Main menu
10000
1000
OK
back to Main menu
100
CANCEL back to Main menu
10
1
0
,
1
0
,
01
0
,
001
0
,
0001
Back
back to GasCurve menu
EXIT
back to Main menu
Back-Lt
Set - ON or OFF
OK
back to Main menu
CANCEL
back to Main menu
Version
Read SW version back to Main menu
Zeroin
g
Zero
OK
Dis
p
la
y
s "Zeroin
g
on
g
oin
g
" & "Zeroin
g
Done" back to Main
CANCEL
back to Main menu
Reset
OK
Dis
p
la
y
s "Done" back to Main menu
CANCEL
back to Main menu
Value
OK
Dis
p
la
y
s Value "OfsetVal" back to Main menu
CANCEL
back to Main menu
Back back to GasCurve menu
EXIT back to Main menu
Out-T
yp
e
Out-Volt
Out-Curr
OK
back to Main menu
CANCEL back to Main menu
Default
Reset
Back back to GasCurve menu OK
back to Main menu
EXIT back to Main menu CANCEL back to Main menu
Back back to CONFIG menu
EXIT back to Main menu
VOR
NORMAL
OPEN
OK
back to Main menu
CLOSE
CANCEL
back to Main menu
BACK back to CONFIG menu
EXIT back to Main menu
TOTZR
RESET
START
OK
back to Main menu
STOP
CANCEL
back to Main menu
BACK back to CONFIG menu
EXIT back to Main menu
A
LARM
H-Alarm
Fine
10000
L-Alarm
1000
A
lam-En
Enabled
OK
back to Main menu 100
Disabled
CANCEL
back to Main menu 10
back to Alarm
Back back to CONFIG menu 1
set value menu
EXIT back to Main menu 0.1
0.01
0.001
EXIT back to FL Main menu 0.0001
OK
back to Main menu
<>= Jog Dial left/right
Cancel
back to Main menu
= Pus h
= Jog Dial clockwise/counterclockwise
< > set value
Press jog dial > 3 sec. Access Totalizer menu back to Main menu
Installation and Operation Manual
X-SE-4800-LOI-eng
Part Number: 541B117AAG
January, 2009
3-3
Section 3 Operation
Brooks
®
4800 Series LOI
3-2-1 Scrolling to and Selecting a Menu Item
The display can show two menu items at a time. An Up or Down Arrow
next to a menu item indicates that there are additional menu items above
or below those currently displayed.
To scroll up and down the menu to see other items, turn the jog dial. The
menus operate in a circular fashion. For example, scrolling past the last
menu item will cause the top of the menu to display.
To select a menu item, turn the jog dial to move the flashing cursor next to
the desired option, then push the jog dial.
3-2-2 Changing and Saving a Value Setting
If a setting has been selected for display, turn the jog dial to change the
setting value.
To save the new setting value, push the jog dial. When changing settings,
the device always prompts with a menu to select OK to confirm the change
or Cancel to cancel the change.
3-2-3 Main Menu
Upon device start-up, the LOI will be in the FL (Flow) main screen. It will
show the flow value. When the valve override is active, it will show the
valve override state in an alternating mode.
To display the main menu, push the jog dial. The main menu items display,
as shown below.
CONFIG
VOR
TOTZR
ALARM
EXIT
The functions related to each of the main menu items are described in the
remainder of this chapter and in Chapter 4.
NOTE: As in the example menu above, this manual uses the convention of
showing the first two items of a menu in a "display box" (as it would look on
the display when the menu is initially loaded). Additional menu items, to
which you would have to scroll down or up, are shown below the display
box.
3-3 Configuration Functions
The main menu CONFIG item provides access to the configuration
functions.
To navigate to the Configuration menu, with the flow displayed, push the
job dial. In the main menu, select CONFIG.
Installation and Operation Manual
X-SE-4800-LOI-eng
Part Number: 541B117AAG
January, 2009
3-4
Section 3 Operation
Brooks
®
4800 Series LOI
CONFIG
VOR
TOTZR
ALARM
EXIT
The Configuration menu displays.
GasCurv
Eng-Unt
SpSourc
Resolut
DialRes
Back-Lt
Version
Zeroing
Out-Type
Default
BACK
EXIT
For information about each of the configuration functions, refer to the
following topics.
3-3-1 Gas Curve File
The gas curve file that will be used by the 4800 Series device can be
selected from the LOI.
1. From the Configuration menu, select GasCurv.
GasCurv
Eng-Unt
SpSourc
Resolut
DialRes
Back-Lt
Version
Zeroing
Out-Type
Default
BACK
EXIT
The GasCurv setting displays.
GasCurv
Gas-01
2. Turn the jog dial to select the ID number of the gas curve to be used.
3. With the desired gas curve ID displayed, push the jog dial to select it.
4. In the confirmation prompt menu, move the cursor to OK and push the
jog dial.
  • Page 1 1
  • Page 2 2
  • Page 3 3
  • Page 4 4
  • Page 5 5
  • Page 6 6
  • Page 7 7
  • Page 8 8
  • Page 9 9
  • Page 10 10
  • Page 11 11
  • Page 12 12
  • Page 13 13
  • Page 14 14
  • Page 15 15
  • Page 16 16
  • Page 17 17
  • Page 18 18
  • Page 19 19
  • Page 20 20
  • Page 21 21
  • Page 22 22
  • Page 23 23
  • Page 24 24
  • Page 25 25
  • Page 26 26
  • Page 27 27
  • Page 28 28
  • Page 29 29
  • Page 30 30
  • Page 31 31
  • Page 32 32
  • Page 33 33
  • Page 34 34
  • Page 35 35
  • Page 36 36
  • Page 37 37
  • Page 38 38
  • Page 39 39
  • Page 40 40
  • Page 41 41
  • Page 42 42
  • Page 43 43
  • Page 44 44

Brooks 4850 / 4860 Operating instructions

Type
Operating instructions
This manual is also suitable for

Ask a question and I''ll find the answer in the document

Finding information in a document is now easier with AI

in other languages