2
1 Installation sensor - adapter
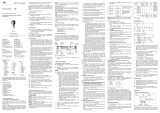
►Screw the sensor into the adapter
until it is hand-tight. When doing
so, avoid mechanical effects on the
sealing areas, the hygienic area and
the pressure measuring cell.
The inside of the adapter is coated with
parylene C (USP class VI). Therefore
it is not necessary to use additional
lubricants.
B
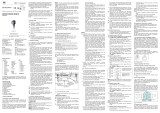
►Clamp the sensor + adapter into a
clamping device (B). Tighten the
clamping device only slightly so that
the adapter does not warp.
►Tighten the sensor using a spanner
until you can feel the end stop (this
corresponds to a maximum tighten-
ing torque of 35 Nm). Note: Further
tightening may affect the sealing
effect.
2 Mounting to the process connection
►Fix the sensor + adapter are fixed to the process connection using a fixing ele-
ment (coupling nut, clamp flange, etc.).
If it is not possible to slide the fixing element down over the top of the unit: slide
it up over the bottom of the unit before the adapter is mounted.
Use in hygienic areas to EHEDG:
►Make sure that the sensors are integrated into the system in accord-
ance with EHEDG.


