© Copyright 2012 TRENDnet. All Rights Reserved.
TRENDnet User’s Guide
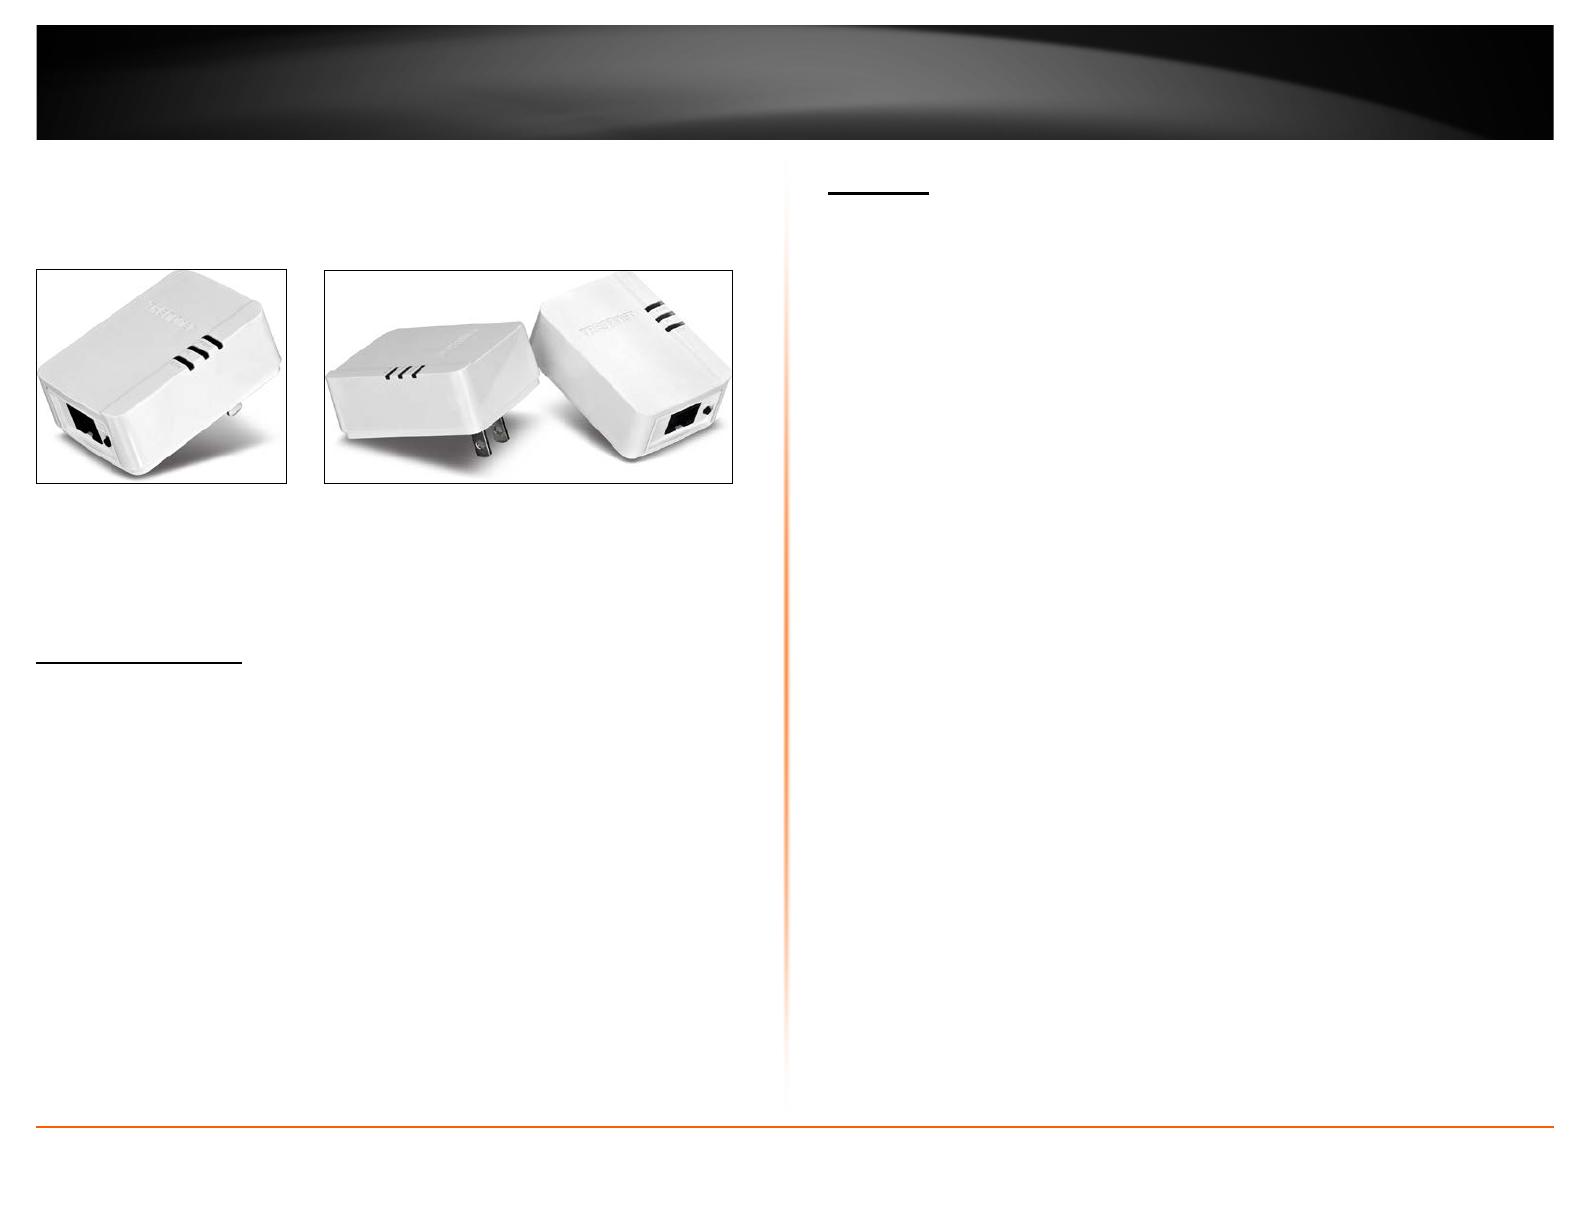
TPL-308E / TPL-308E2K
1
Product Overview
TPL-308E TPL-308E2K
Package Contents
TPL-308E package includes:
• 1 x TPL-308E: Powerline 200 AV Nano Adapter
• Quick Installation Guide
• CD-ROM (Utility & User’s Guide)
• Network cable (1.5 m / 5 ft.)
TPL-308E2K package includes:
• 2 x TPL-308E: Powerline 200 AV Nano Adapters
• Quick Installation Guide
• CD-ROM (Utility & User’s Guide)
• 2 x Network cables (1.5 m / 5 ft.)
Features
The Powerline 200 AV Nano Adapter, model TPL-308E, uses an electrical outlet to create
a secure high speed network. Two adapters are needed to start a network. Connect one
adapter to your router and plug another adapter into an outlet on your electrical system
for instant high speed network access.
The compact form factor saves space around crowded electrical outlets. This adapter
automatically connects to other TRENDnet Powerline AV adapters with no installation
required —TRENDnet recommends pressing the ‘Sync’ button to automatically change
default encryption keys.
Use up to 4 adapters to network devices in different rooms without running new
cabling. Power Save mode reduces power consumption by up to 70%. Quality of Service
technology prioritizes video, audio, and online gaming. LED displays convey device
status for easy troubleshooting. Advanced 128-bit AES encryption secures your network.
This adapter is ideal for use in buildings that interfere with wireless networking signals.
• 200 Mbps networking over an existing electrical system
• Compliant with IEEE 1901 and HomePlug® AV standards
• 1 x 10/100 Mbps Auto-MDIX Ethernet port
• Compact form factor saves space
• Adapters automatically connect using an encrypted Powerline signal
• One-touch Sync button changes encryption keys
• Three LED indicators:
o Power (on/off)
o Powerline Connection: green (best), amber (better), red (good), off
(no connection)
o Ethernet Connection: solid (connection), blinking (transfer activity), off
(no connection)
• Connect one 200 Mbps** Powerline AV Adapter to the internet and then plug
in up to 3* additional 200 Mbps** Powerline AV adapters for instant
connectivity
• Share data intensive files, play games, download music, and more at fast data
transfer rates
• Advanced 128-bit AES encryption to ensure total network security
• Supports IPv6 pass through
• Supports up to 4** IGMP based IPTV streams
• Power Save mode reduces electrical consumption by up to 70%
• Neighbor network support for up to 4 overlapping networks


