RQT7251
12
Changing the player settings
≥ The settings remain intact even if you switch the unit to standby.
≥ Underlined items are the factory preset.
≥ See page 13 for operation.
∫ “Disc” tab
∫ “Video” tab
∫ “Audio” tab
∫ “Display” tab
∫ “Others” tab
§1
Language options
[Asia] : Chinese
[Others] :
French, German, Italian, Spanish, Portuguese, Swedish and Dutch
§2
The original language designed on the disc is selected.
§3
Input a code number referring to the table on page 13.
§4
If the language selected for “Audio” is not available, subtitle appear in
that language (If available on the disc).
§5
[Asia]
§6
[The\Middle\East,\South\Africa,\Russia,\Australia\and\N.Z.]
§7
[The\United\Kingdom\and\Continental\Europe]
The QUICK SETUP enables successive settings of the items in the
shaded area.
Audio
Choose the audio language.
≥ English ≥ (Language options)
§1
≥ Original
§2
≥ Other
¢¢¢¢
§3
Subtitle
Choose the subtitle language.
≥ Automatic
§4
≥ English ≥ (Language options)
§1
≥ Other
¢¢¢¢
§3
Menus
Choose the language for disc menus.
≥ English ≥ (Language options)
§1
≥ Other
¢¢¢¢
§3
≥ Changing the menu language from QUICK SETUP also changes this setting.
Ratings
Set a ratings level to limit DVD-Video play.
≥ Follow the on-screen instructions.
Setting ratings (When level 8 is selected)
≥ 8 No Limit ≥ 1 to 7 ≥ 0 Lock All: To prevent play of discs without ratings levels.
Changing ratings (When level 0–7 is selected)
≥ Unlock Player ≥ Change Password ≥ Change Level ≥ Temporary Unlock
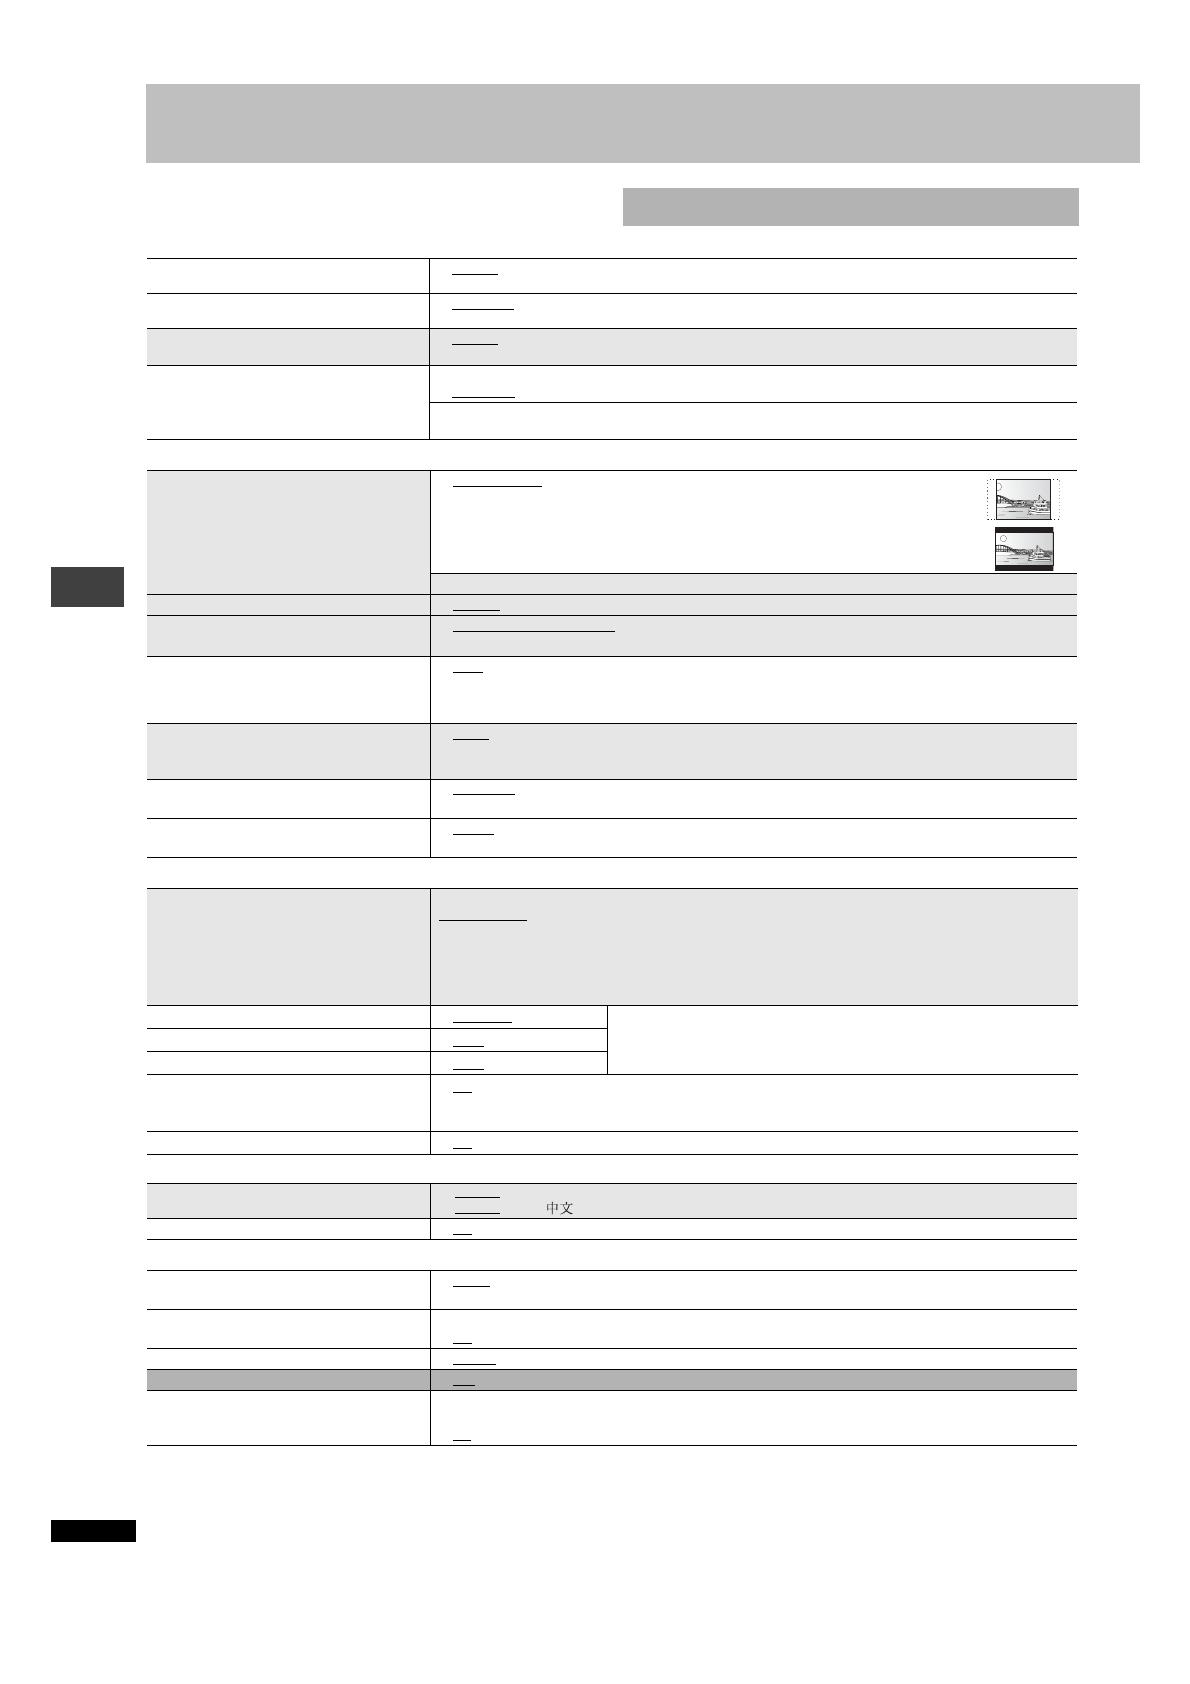
TV Aspect
Choose the setting to suit your television
and preference.
≥ 4:3 Pan&Scan: Regular aspect television (4:3)
The sides of the widescreen picture are cut off so it fills the screen (unless
prohibited by the disc).
≥ 4:3 Letterbox: Regular aspect television (4:3)
Widescreen picture is shown in the letterbox style.
≥ 16:9: Widescreen television (16:9)
Progressive Out (Component)
§5§6
≥ Disable: Interlace output ≥ Enable (NTSC Disc Only): Progressive output
TV Type
Select to suit the type of television.
≥ Standard (Direct View TV) ≥ CRT Projector ≥ LCD TV/Projector ≥ Projection TV
≥ Plasma TV
Time Delay
When connected with an AV amplifier and
Plasma display, adjust if you notice the
audio is out of sync with the video.
≥ 0 ms ≥ 20 ms ≥ 40 ms ≥ 60 ms ≥ 80 ms ≥ 100 ms
AV Output (➜ page 4)
§7
Choose the video signal format to be
output from the SCART terminal.
≥ Video ≥ S-Video ≥ RGB
Still Mode
Specify the type of picture shown when paused.
≥ Automatic ≥ Field:The picture is not blurred, but picture quality is lower.
≥ Frame: Overall quality is high, but the picture may appear blurred.
NTSC Disc Output
Choose PAL 60 or NTSC output when playing NTSC discs.
≥ PAL60: When connected to a PAL television
≥ NTSC: When connected to an NTSC television ([Asia]: “NTSC” is the factory preset.)
PCM Digital Output
Check the digital input limitations of the
equipment you connect using COAXIAL or
OPTICAL terminal and select the maximum
sampling frequency of PCM digital output.
Off: When not connected digitally
Up to 48 kHz:
When connected to equipment compatible with 44.1 or 48 kHz
Up to 96 kHz: When connected to equipment compatible with 88.2 or 96 kHz
Up to 192 kHz: When connected to equipment compatible with 176.4 or 192 kHz
≥
Signals that exceed the set maximum frequency and signals from copy-protected discs are converted to 48 or 44.1 kHz.
≥Some equipment cannot handle sampling frequencies of 88.2 kHz, even if they can handle 96 kHz.
Read your equipment’s operating instructions for details.
Dolby Digital
≥ Bitstream ≥ PCM
Select “Bitstream” when the equipment can decode the bitstream (digital
form of multi-channel data). Otherwise, select “PCM”.
≥ If the bitstream is output to the equipment without a decoder, high levels
of noise can be output and may damage your speakers and hearing.
DTS Digital Surround
≥ PCM ≥ Bitstream
MPEG
§
6
§
7
≥ PCM ≥ Bitstream
Dynamic Range Compression
≥ Off
≥ On:
Adjusts for clarity even when the volume is low through compressing the range of the lowest sound
level and the highest sound level. Convenient for late night viewing. (Only works with Dolby Digital)
Audio during Search
≥ On ≥ Off
Menu Language
≥ English
§6 §7
≥ Français ≥ Deutsch ≥ Italiano ≥ Español≥ Português ≥ Svenska≥ Nederlands
≥ English
§5
≥
On-Screen Messages
≥ On ≥ Off
FL Dimmer
Changes the brightness of the unit’s display.
≥ Bright ≥ Dim
≥ Auto:The display is dimmed during play, but brightens when you perform some operations.
Auto Power Off
≥ On:
The unit switches to standby mode after about 30 minutes in the stop mode, irrespective of the SLEEP setting.
≥ Off
HighMAT
≥ Enable ≥ Disable (Unable to use the HighMAT function.)
QUICK SETUP
≥ Yes ≥ No
Re-initialize Setting
This returns all values in the Setup menus to
the default settings.
≥ Yes: The password screen is shown if “Ratings” (above) are set. Please enter the same password.
After “INIT” on the display disappears, turn the unit off and on again.
≥ No
Changing the player settings