COOKOLOGY CGL100BK User manual

Category
Cooker hoods
Type
User manual

COOKOLOGY CGL100BK is a cooker hood with a large power low noise electric motor and centrifugal leaf, producing strong suction and low noise. It has an isolated low voltage circuit board control, 4vAC input, making the lights safer. With special wind tunnel construction and oil collector design, free dirt is absorbed quickly. It comes with 4-speed settings: stop, low, mid, and high, and has two lights that can be turned on and off with a push of a button.

COOKOLOGY CGL100BK is a cooker hood with a large power low noise electric motor and centrifugal leaf, producing strong suction and low noise. It has an isolated low voltage circuit board control, 4vAC input, making the lights safer. With special wind tunnel construction and oil collector design, free dirt is absorbed quickly. It comes with 4-speed settings: stop, low, mid, and high, and has two lights that can be turned on and off with a push of a button.

1
CGL100BK & CGL100SS
Cooker hood
Instruction manual
2
CONTENT
1……………………………………….Notice
2……………………………………….Feature
3………………………………………..Installation
4………………………………………..Notice of installation
5………………………………………..Safety Warning
6…………………………………………Speed adjustment
7…………………………………………Maintenance
8………………………………………….. Abnormity and Solution
3
1.Notice
This appliance can be used by
children aged from 8 years and above
and persons with reduced physical,
sensory or mental capabilities or lack
of experience and knowledge if they
have been given supervision or
instruction concerning use of the
appliance in a safe way and
understand the hazards involved.
Children shall not play with the
appliance. Cleaning and user
maintenance shall not be made by
children without supervision
If the supply cord is damaged, it must
be replaced by the manufacturer, its
service agent or similarly qualified
persons in order to avoid a hazard.
4
The instructions shall state the
substance of the following:
there shall be adequate ventilation
of the room when the range hood is
used at the same time as appliances
burning gas or other fuels (not
applicable to appliances that only
discharge the air back into the room);
the details concerning the method
and frequency of cleaning;
there is a fire risk if cleaning is not
carried out in accordance with the
instructions;
do not flambé under the range hood;
5
CAUTION: Accessible parts may
become hot when used with cooking
appliances.
The installation instructions shall
include the substance of the
following:
the air must not be discharged into a
flue that is used for exhausting fumes
from appliances burning gas or other
fuels (not applicable to appliances
that only discharge the air back into
the room);
the minimum distance between the
supporting surface for the cooking
vessels on the hob and the lowest part
of the range hood. (When the range
hood is located above a gas appliance,
this distance shall be at least 65 cm.
regulations concerning the
6
discharge of air have to be fulfilled.
The installation instructions for range
hoods with accessible metallic
enclosures of class II construction
shall include details that indicate the
location and maximum permitted
lengths for any fixing or mounting
screw or other fixing device that
penetrates into the range hood to
attach an accessory such as a facia or
duct fitting.
Where fixing or mounting screws, or
other fixing devices are used, that
penetrate into the range hood with an
accessible metallic enclosure of class
II construction, to attach an accessory,
the instructions shall indicate the
required location of these screws or
fixing devices and include the
7
substance of the following warning.
Warning: Failure to install the screws
or fixing device in accordance with
these instructions may result in
electrical hazards
2. Feature
1. The cooker hood uses high quality materials, and is made with a
streamlined design.
2. Equipped with a large power low noise electric motor and
centrifugal leaf, it produces strong suction, low noise, non stick grease
filter and easy to clean.
3. With the isolated low voltage circuit board control, 4vAC input, the
lights are therefore safer.
4. Special wind tunnel construction and oil collector design, free dirt
will be absorbed in a second.
3. Installation
MOUNTING OF THE V-FLAP
If the cooker hood does not have an assembled V-flap 1, you should
mount the half-parts to its body. The images only show an example of
how to mount the V-flap,the outlet may be various according to different
models and configuration.
To mount the V-flap 1 you should:
• Mount two half-parts 2 into the body 6
• a pin 3 should be top oriented;
• the axis 4 should be inserted in the holes 5 on body;
• repeat all the operations for the 2nd half-part
8
INSTALLATION
If you have an outlet to the outside, your cooker hood can be connected
as below picture by means of an extraction duct (enamel, aluminum,
flexible pipe or inflammable material with an interior diameter of
150mm)
1. Before installation, turn the unit off and unplug it from the outlet.
2. The cooker hood should be placed at a distance of 65~75cm above the
cooking surface for best effect.
9
3. After decide the cooker hood height, measure the position of the holes
for hanging hood and inside chimney bracket. Drill 4 φ8 holes, 2 for
inside chimney bracket and 2 for hanging the hood,and keep the hood
level. The fixed position of the inside chimney bracket is the highest
place of chimney. See pic 2.
4. Screw two 4 x 30mm screws on the wall with wall plugs to fix the
hood,then use two 4mm x 40mm screws to fix the inside chimney
bracket.See Pic 2.
5. Put the glass according to the lead direction and way on the cooker
hood, and then use the screws to fix the glass.Attach the expansion pipe
onto the one-way-valve as shown below,and fix the pipe on the valve by
cable tie, then lay the expansion pipe to the wall outlet. See pic 3.
6. Dress the inside chimney into the outside chimney. See Pic 4.
7. Make the hood hang on the wall in the fixed position, adjusting the
cooker hood position, fix the cooker hood with safety screws.See Pic 5.
8. Put the two chimneys together onto the cooker hood body, meanwhile
adjust the height of the inside chimney into the suitable height, and fix the
inside chimney to the inside chimney bracket by screw, here should be
sure the inside chimney can be flexed freely. See Pic 6.
10
Note: The two safety vents are positioned on the back housing, with
diameter of 6mm.
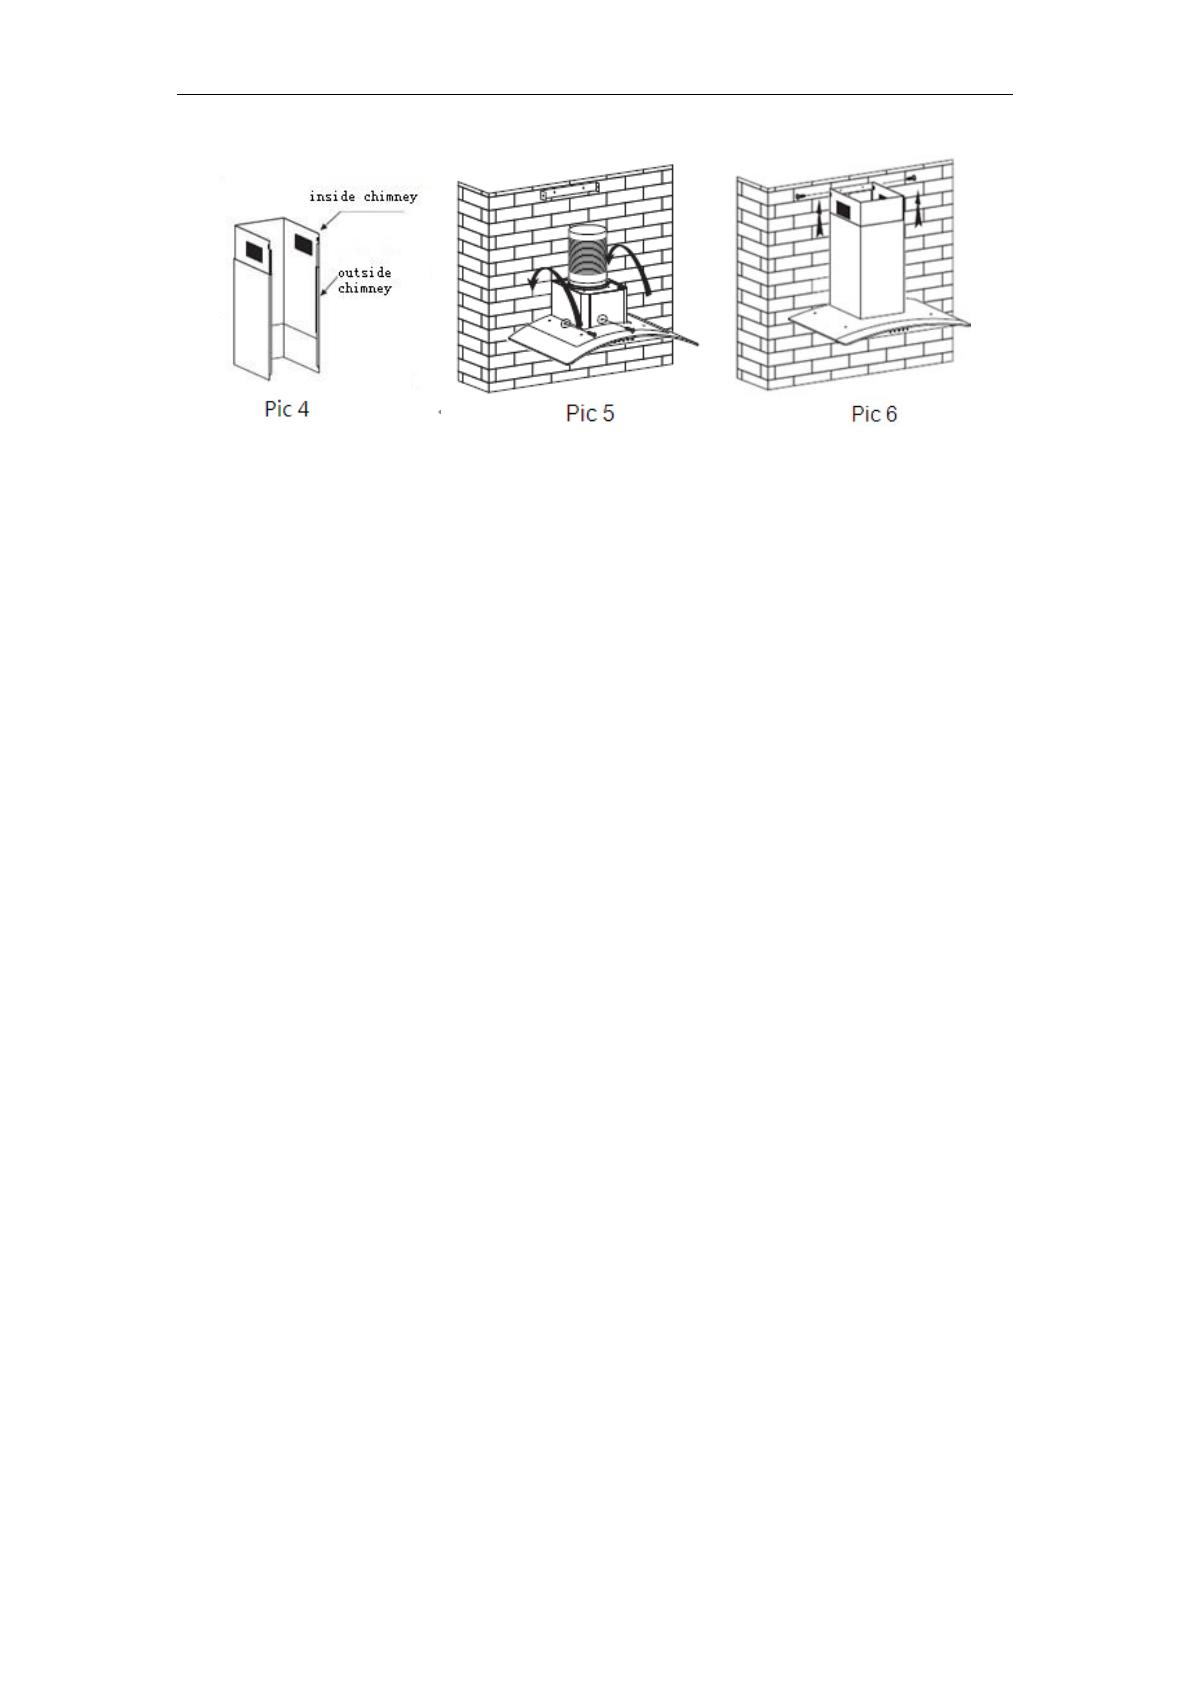
4.Notice of installation
1. Before installation, please ensure the area is clean to avoid suction
of the remaining bits of broken wood and dust.
2. It cannot share the same air ventilation tube with other appliance
such as gas tube, warmer tube, and hot wind tube.
3. The bending of ventilation tube should be120°, parallel or above
the start point and should be connected to the external wall.
4. After installation, make sure that the extractor is level to avoid
grease collection at one end.
5. Safety Warning
In certain circumstances electrical appliances may be a danger hazard.
Keep electrical appliances out of reach from Children or infirm
persons. Do not let them use the appliances without supervision.
This appliance is not intended for use by persons (including children)
with reduced physical. Sensory or mental capabilities, or lack of
experience and knowledge ,unless they have been given supervision
or instruction concerning use of the appliance by a person responsible
for their safety.
Do not touch the light bulbs when/after appliance use.
Do not check the status of the filters while the cooker hood is
operating
Flame cooking is prohibited underneath the cooker hood
Your cooker hood is for domestic use only, not suitable for barbecue,
roast shop and other commercial use.
Any installation work must be carried out by a qualified electrician or
competent person.
Before cleaning, always ensure that you have switched your cooker
11
hood off.
Clean the cooker hood according to the instruction manual and keep
the cooker hood from the danger of burning.
No fire for drying your cooker hood.
If there is any fault with your cooker hood, please call the service
department appointed by agent for servicing.
If the power cord is damaged, it must be replaced by the manufacturer
or a qualified service engineer in order to avoid a hazard.
Do not exhaust the gas from cooker hood through the same heated
flue which is for the gas from gas hob and other kitchen appliances.
Before installation and usage, read all the instructions and make sure
that the voltage (V) and the frequency (Hz) indicated on your cooker
hood are exactly the same as the voltage (V) and the frequency (Hz)
in your home.
Regulations concerning the discharge of air have to be fulfilled.
CAUTION: Accessible parts may become hot when used with
cooking appliances.
Attention! Observe the warning in the instruction sheet concerning
the operation of the appliance when air is discharged from the room.
Regarding the instructions for the bulb changing, pls use the same
bulb and ILCOS D code for this lamp is DBS-2.5/65-H-120/33
6. Speed adjustment
Push button
1) Push stop button, and the motor will stop.
2) Push the low button, and the motor runs at low speed.
3) Push the middle button, and the motor runs at mid speed.
4) Push the high button, and the motor runs at high speed.
5) Push the light button and the two lights will come on. Push it again and
the light will turn off.
12
7. MAINTENANCE
1. It is recommended to operate the appliance prior to cooking.
2. It is recommended to leave the appliance in operation for 15 minutes
after cooking is terminated in order to completely eliminate cooking
vapors and odors.
3. The proper function of the cooker hood is conditioned by the
regularity of the maintenance operations, in particular, the active
carbon filter.
4. The anti-grease filters capture the grease particles suspended in the air,
and are therefore subject to clogging according to the frequency of the
use of the appliance.
5. The cooker hood must regularly cleaned on both the inside and outside
with hot water plus non corrosive detergent (AT LEAST ONCE A
MONTH) to protect the main body from corrosion over a long period
of time.
Attention! Please do not use abrasive detergent or alcohol as it will
damage the body.
Attention! Keep the motor and other spare parts free from water, as this
will cause damage to the appliance.
Attention! Before cleaning the appliance please remember to cut off the
power.
6. Changing and cleaning the anti-grease filters
-Removing the filters as the instruction of picture.
13
You can clean the filter as below measure:
Soak them for about 3 minute in hot water (40-50 degrees) with a
grease-loosening detergent then brush it gently with a soft brush.
Please do not apply too much pressure, avoid damaging it.
Note: Please do not use abrasive detergent for it will damage the hood;
Make sure that the hood is shut off before cleaning.
CARBON FILTER-not supplied
Activated carbon filter can be used to trap odors. Normally the activated
carbon filter should be changed at three or six months according to your
cooking habit. The installation procedure of activated carbon filter is as
below.
Put the pin of the carbon filter into the rectangular hole of the fan(as
per the arrow A shown below)
Push the other side of the carbon filter toward the fan to make it
flat(as per the arrow B shown),and then press filter into fan.
If you want to remove the filter, press fastener of filter and remove it
by turning anticlockwise.
14
NOTE:
Make sure the filter is securely locked. Otherwise, it would loosen and
cause dangerous.
When activated carbon filter attached, the suction power will be
lowered.
BULB REPLACEMENT
Important :
The Bulb must be replaced by a competent
person.
Always switch off the electricity supply before
carrying out any operations on the appliance.
When handling b
ulb, make sure it is
completely cool
down before any direct
contact to hands.
When handling globes hold with a cloth or
gloves to
ensure perspiration does not come
in contact with the
globe as this can reduce
the life of the globe.
Changing the light:
*Before changing the lights, make sure that the appliance is plugged off.
*Use the screw driver loosen the ST4*8MM self-tapping screw (2pcs)
from the lighting panel, take out the lighting fixture. Open the terminal
box that connected with the wire, disconnect the wire connector and
replace the lamp.
ILCOS D code for this lamp is: DBS-2.5/65-H-120/33
LED modules rectangle lamp
Max wattage: 2.5 W
Voltage range: AC 220-240V
Dimensions:
15
8.Abnormity and Solution
Fault
Cause
Solution
Light on, but motor
does not work
The leaf blocked
Get rid of the blocking
The capacitor damaged
Replace capacitor
The motor jammed bearing
damaged
Replace motor
The internal with of motor off or
a bad smell from the motor
Replace motor
Light does not work,
motor does not work
Beside the above mentioned, check the following:
Light damaged
Replace lights
Power cord looses
Connect the wires as per
the electric diagram
Oil leakage
One way valve and the air
ventilation entrance are not
tightly sealed
Take down the one way
valve and seal with glue
Leakage from the connection
of U-shaped section and
cover
Take U-shaped section
down and seal with soap
or paint
16
Shake of the body
The leaf damaged and causes
shaking
Replace the leaf
The motor is not tightly
hanged
Lock the motor tightly
The body is not tightly
hanged
Fixed the body tightly
Insufficient suction
The distance between the
body and the gas top too long
Readjust the distance
Too much ventilation from
open doors or windows
Choose a new place and
resemble the machine
The machine inclines
The fixing screw not tight
enough
Tighten the hanging
screw and make it
horizontal
The hanging screw not tight
enough
Tighten the hanging
screw and make it
horizontal
ENVIRONMENTAL PROTECTION:
This product is marked with the symbol on the selective sorting of
waste electronic equipment. This means that this product must not
be disposed of with household waste but must be supported by a
system of selective collection in accordance with Directive
2002/96/EC. It will then be recycled or dismantled to minimize impacts
on the environment, electrical and electronic products are potentially
dangerous for the environment and human health due to the presence of
hazardous substances.
For more information, please contact your local or regional authorities.
Note
a. In order to reduce the environmental impact (e.g. energy use) of the
cooking process, please be sure that your product is installed according
to the user manual, keep the operation place ventilated, keep the
extraction duct be direct and short as possible as it can be.
b. For the product with manual operation mode, we suggest switch the
motor off within 10 minutes after finishing the cooking process.
c. Please be sure to dismantle related components according to the user
manual when maintaining for non-destructive, protect the parts to make
the re-installed work can be favoring and avoid damage.
  • Page 1 1
  • Page 2 2
  • Page 3 3
  • Page 4 4
  • Page 5 5
  • Page 6 6
  • Page 7 7
  • Page 8 8
  • Page 9 9
  • Page 10 10
  • Page 11 11
  • Page 12 12
  • Page 13 13
  • Page 14 14
  • Page 15 15
  • Page 16 16

COOKOLOGY CGL100BK User manual

Category
Cooker hoods
Type
User manual

COOKOLOGY CGL100BK is a cooker hood with a large power low noise electric motor and centrifugal leaf, producing strong suction and low noise. It has an isolated low voltage circuit board control, 4vAC input, making the lights safer. With special wind tunnel construction and oil collector design, free dirt is absorbed quickly. It comes with 4-speed settings: stop, low, mid, and high, and has two lights that can be turned on and off with a push of a button.

Ask a question and I''ll find the answer in the document

Finding information in a document is now easier with AI