Before Using
76
IMPORTANT SAFETY INSTRUCTIONS (Continued)
15. Accessories
Do not place this product on an
unstable cart, stand, tripod,
bracket, or table. The product may
fall, causing serious injury to a
child or adult, and serious damage
to the product. A product and cart
combination should be moved with
care. Quick stops, excessive
force, and uneven surfaces may
cause the product and cart
combination to overturn.
S3125A
16. Damage Requiring Service
Unplug this product from the wall
outlet and refer servicing to
qualified service personnel under
the following conditions:
a) When the power-supply cord or
plug is damaged.
b) If liquid has been spilled, or
objects have fallen into the
product.
c) If the product has been exposed to
rain or water.
d) If the product does not operate
normally by following the operating
instructions. Adjust only those
controls that are covered by the
operating instructions as an
improper adjustment of other
controls may result in damage and
will often require extensive work by
a qualified technician to restore
the product to its normal
operation.
e) If the product has been dropped or
damaged in any way (If the cabinet
should break, please handle with
care to avoid injury) .
f) When the product exhibits a
distinct change in performance -
this indicates a need for service.
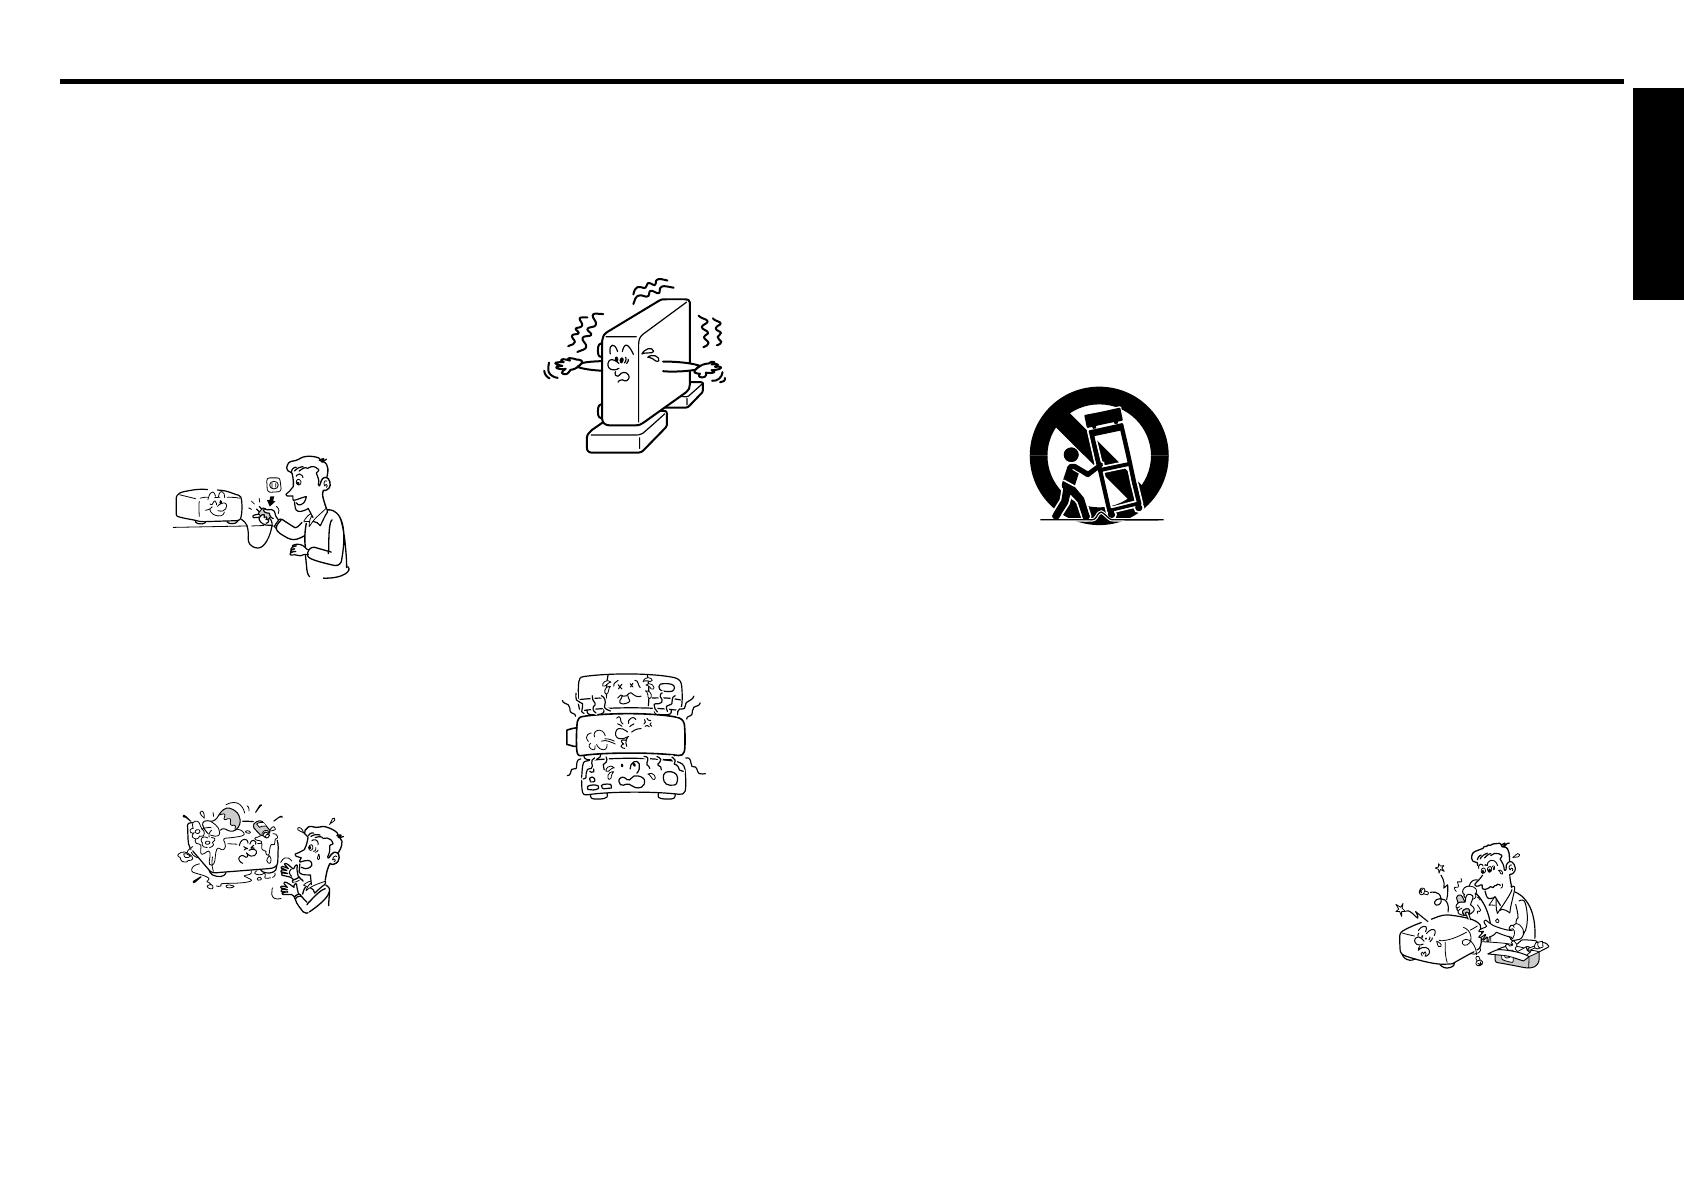
17. If glass components,
including lens and lamp,
should break, contact your
dealer for repair service.
This product incorporates glass
components, including a lens and
a lamp. If such parts should
break, please handle with care to
avoid injury and contact your
dealer for repair service. The
broken pieces of glass may cause
to injury. In the unlikely event of
the lamp rupturing, thoroughly
clean the area around the
projector and discard any edible
items placed in that area.
18. Servicing
Do not attempt to service this
product yourself as opening or
removing covers may expose you
to dangerous voltage or other
hazards. Refer all servicing to
qualified service personnel.
10. Lightning storms
For added protection for this
product during storm, or when it is
left unattended and unused for
long periods of time, unplug it from
the wall outlet. This will prevent
damage to the product due to
lightning and power-line surges.
However, while it is thundering or
lightning, do not touch the
apparatus and any connected
cable and/or equipment.
This will prevent you from
receiving the electric shock by an
electric surge.
11. Object and Liquid Entry
Never push objects of any kind
into this product through openings
as they may touch dangerous
voltage points or short-out parts
that could result in a fire or electric
shock. Never spill liquid of any
kind on the product.
12. Do not place the product
vertically
Do not use the product in the
upright position to project the
pictures at the ceiling, or any other
vertical positions. It may fall down
and dangerous.
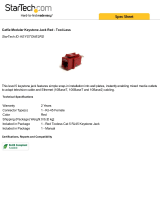
13. Stack Inhibited
Do not stack other equipment on
this product or do not place this
product on the other equipment.
Top and bottom plates of this
product develops heat and may
give some undesirable damage to
other unit.
14. Attachments
Do not use attachments not
recommended by the product
manufacturer as they may cause
hazards.