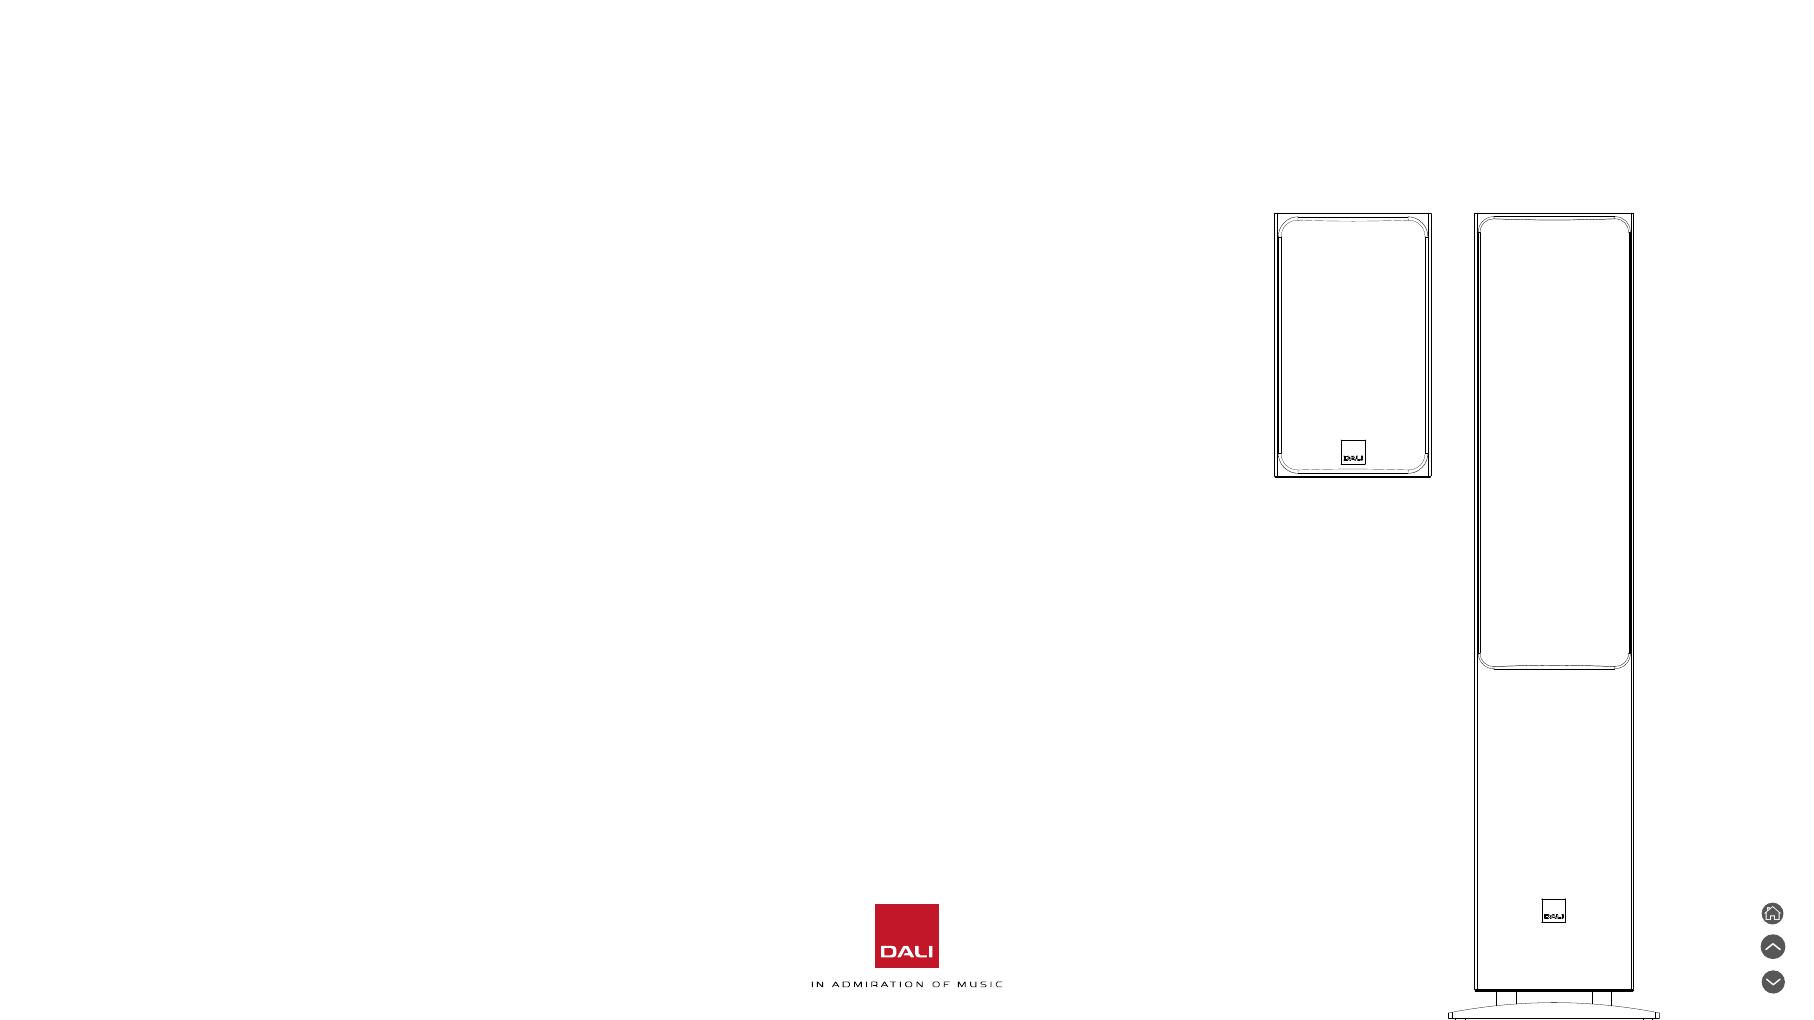
Dali OBERON 7 C Owner's manual

Type
Owner's manual

Dali OBERON 7 C: Experience high-quality audio with ease using these active wireless speakers, designed for seamless integration with the DALI SOUND HUB or SOUND HUB COMPACT. Enjoy a wide range of connectivity options, bringing your music and entertainment to life with exceptional sound quality. The OBERON 7 C's advanced technology delivers a rich, detailed soundscape, perfect for both music lovers and home cinema enthusiasts.

Dali OBERON 7 C: Experience high-quality audio with ease using these active wireless speakers, designed for seamless integration with the DALI SOUND HUB or SOUND HUB COMPACT. Enjoy a wide range of connectivity options, bringing your music and entertainment to life with exceptional sound quality. The OBERON 7 C's advanced technology delivers a rich, detailed soundscape, perfect for both music lovers and home cinema enthusiasts.

DALI OBERON
1C – 7C – ON-WALL C
MANUAL
2
Introduction
Thank you for choosing DALI OBERONC speakers. DALI is
renowned for continually striving to enhance the experience
of music, while simultaneously designing audio products that
beer suit our lives and homes. The OBERONC series of
active wireless speakers is an exhilarating expression of
those twin aspirations.
OBERONC speakers are technologically advanced electro-
acoustic products that require thoughtful installation to
reach their full potential. We recommend that you read this
manual carefully, and follow its advice, when installing your
OBERONC speakers. Please also read the Important Safe
Instructions contained within the document pack.
Following this introduction the manual covers unpacking,
positioning and installation, setup, and use, but begins with a
short overview of the OBERONC range.
Contents
Introduction 2
1. OBERONC Overview 3
2. Unpacking 4
3. Positioning and Installation 6
3.1 OBERON 1C & OBERON 7C – Positioning 8
3.2 OBERON 7C – Floor spikes or feet 9
3.3 OBERON ON-WALL C – Positioning 10
3.4 Using OBERON 1C and ON-WALL C
wall hanging features 11
4. Speaker Connecting and Configuring 13
5. Listening and Using 16
6. Fault Indication 18
7. Technical Specifications 19
OBERON 7C
NOTE:
OBERONC speakers can be used with
either DALI SOUND HUB or SOUND
HUB COMPACT.
1. OBERONC Overview
The OBERONC series comprises three
active, wireless speaker models designed
primarily for use in stereo audio systems:
the OBERON 1C, the OBERON 7C and
the OBERON ON-WALL C.
The OBERON 1C is a compact speaker
intended for wall or stand-mounting. The
OBERON 7C is a floor-standing speaker.
And the OBERON ON-WALL C is a low
profile speaker designed specifically for
wall-mounting.
The OBERONC series is designed
specifically for use with either the
DALI SOUND HUB or DALI SOUND
HUB COMPACT wireless streaming
preamplifiers. The SOUND HUB and
SOUND HUB COMPACT enable a varie
of traditional hardware and streaming-
based audio sources to be broadcast to
each connected OBERONC speaker.
OBERON 1C
SOUND HUB
SOUND HUB COMPACT
OBERON ON-WALL C
NOTE:
OBERONC speakers are equipped
to be used in home theatre surround
and front channel roles. However, the
DALI SOUND HUB and SOUND HUB
COMPACT are currently only able to
broadcast conventional stereo. The DALI
SOUND HUB is engineered to support
multi-channel broadcast functionali
should this become available.
3
4
The contents of each DALI
OBERONC pack is illustrated in
Diagram 1.
Take care when unpacking your DALI
OBERONC speakers. Be especially
careful not to touch the bass driver
cones or tweeter domes.
NOTE:
We suggest that you retain the
OBERONC packaging for future
use. However, if that is not possible,
please dispose of it responsibly.
7C
x1
x1
x4
x4
x1
ON-WALL C
x1
x1
x4
x2
x1
1C
x2
x2
x8
x8
x4
x1
2. Unpacking
DIAGRAM 1
5
2. Unpacking
DALI OBERONC speakers are supplied with
grilles fied. However, tweeter protection
masks beneath the grilles must be removed
before the speakers are used. To remove a
mask, detach the speaker grille by pulling it
gently away from the cabinet, li the mask
away, and replace the grille. This is illustrated
in Diagram 2.
DIAGRAM 2
6
3. Positioning and Installation
The location of speakers within a listening space will influence their performance, so it is
worth spending some time considering where your OBERONC speakers are best positioned.
Diagram 3 illustrate the positioning guidelines.
DIAGRAM 3
A
AA
>0.75m
0 – 1.0m
OBERON 1C
A
AA
>1.0m
>0.75m
0.3 – 1.5m
OBERON 7C ON-WALL C
A
A
A
BB
TV
7
Although OBERONC
speakers need no wired
signal connection, they
require connection to a
mains power supply. Use
the cables supplied to
connect the speaker rear
panel mains sockets to
mains power. The location
of the mains sockets is
illustrated in the rear panel
Diagram 4.
3. Positioning and Installation
DIAGRAM 4
OBERON 1C OBERON 7C ON-WALL C
OBERON 1C speakers can be mounted
on either speaker stands, shelves, wall
brackets or furniture units. The speakers
also incorporate keyhole slots on their
rear panels that enable them to be hung
directly on walls. Mounting your OBERON
1C speakers on stands is likely to result in
the best audio performance. However, great
results can also be obtained with wall, shelf
and furniture mounting.
OBERON 7C speakers are intended to
be placed directly on the floor and are not
suitable for any other kind of installation.
Pairs of OBERON 1C and OBERON 7C
speakers should generally be positioned
between 2.0m and 4.0m apart with the
primary listening area a similar distance
away. OBERON 1C speakers should ideally
be located at, or slightly below, listening head
height. Always aim to keep the speakers
away from room corners and try to ensure
3.1 OBERON 1C & OBERON 7C – Positioning
that the acoustic environment around each
speaker is similar. Solid walls and heavy
curtains, for example, would constitute
dierent acoustic environments.
It is likely to be beneficial to position the
speakers initially at least 0.3m away from
the rear wall. Changing the distance to
the rear wall can be used to adjust the
prominence of bass frequencies. For less
bass, move the speakers further from the
wall.
OBERONC speakers feature response
characteristics optimised for installation
without an inward angle towards the listening
area. They are best aligned at right angles to
the rear wall.
OBERON 1C and OBERON 7C positioning is
illustrated in Diagram 3.
8
3.2 OBERON 7C – Floor spikes or feet
The plinths fied to the underside of OBERON 7C
speakers incorporate screw holes for the installation
of the supplied floor spikes. We recommend that floor
spikes are employed if the speakers are to be used on
carpeted floors. If the speakers are to be installed on
non-carpeted floors, the supplied self-adhesive rubber
pads can be used in place of the floor spikes. To fit
the floor spikes, screw them into the plinth holes and
tighten them with the locknuts using a 10mm spanner.
Once the speakers are located in their final position,
the floor spikes can be adjusted so that the speakers
are vertical and firmly stable.
NOTE:
Floor spikes can be used on non-carpeted floors with
coins placed between the floor and the floor spike tips.
Always take care when fiing floor spikes or when
moving speakers with floor spikes fied.
10mm x 4 x 4
9
OBERON ON-WALL C speakers are designed specifically to be wall-
mounted in home environments where their low profile dimensions aid
compatibili with interior design schemes. The speakers incorporate
keyhole slots in their rear panels that enable them to be wall-hung
using a single screw. Both portrait and landscape (using two mounting
screws) orientation is possible. However, portrait orientation is likely to
result in beer performance.
OBERON ON-WALL C speakers should generally be positioned
between 2.0m and 4.0m apart with the primary listening area a similar
distance away. If the speakers are to be used for TV audio, they should
be located equidistant either side of the TV on its horizontal centre
line. Speakers used for TV audio are generally beer located closer
together than for music use alone. Aim for each speaker to be no more
than 0.5m distant from the side of the TV.
For more general applications OBERON ON-WALL C speakers should
ideally be located at, or slightly below, listening head height. Aim to
keep the speakers away from room corners and try to ensure that
the acoustic environment around each speaker is similar. Solid walls
and heavy curtains, for example, would constitute dierent acoustic
environments.
OBERON ON-WALL C positioning is illustrated in Diagram 3.
3.3 OBERON ON-WALL C – Positioning
NOTE:
If you wish to position your
OBERON ON-WALL C
speakers significantly above
head height, it may benefit
sound quali to mount them
upside down.
The front grille DALI logo
can be rotated to suit upside
down orientation.
10
The OBERON 1C and ON-WALL C
incorporate keyhole slots on their rear panels
that enable them to be directly wall-mounted.
Before you begin you must be confident that
the wall and wall fiings you intend to use
are easily able to support the weight of the
speaker. If you are unsure of the suitabili of
the wall, or of your abili to securely insert a
screw, you should seek advice.
OBERON 1C and ON-WALLC wall hanging is
illustrated in Diagram5.
OBERON 1C: Use wall-mounting screws of
3–5mm (0.12-0.20inches) shank diameter
and 10mm( 0.4 inches) maximum head
diameter. Leave 15mm (0.6 inches) screw
length protruding from the wall surface.
OBERON ON-WALL C: Use wall-mounting
screws of 3–5mm (0.12–0.20inches) in shank
diameter and 9mm (0.35inches) maximum
head diameter. Leave 7mm (0.28inches)
screw length protruding from the wall surface.
3.4 Using OBERON 1C and ON-WALL C wall hanging features
DIAGRAM 5
32cm
7mm15mm
Max. 5mm
Max. 5mm
Max. 9mm
Max. 10mm
11
OBERON 1C
Once the preferred speaker
positions have been established,
insert a mounting screw in the wall
on the centre line of the speaker
position, 30mm (1.25inches)
below the speaker top panel.
Aach the supplied adhesive
rubber feet to the rear corners
of the speakers. Using the rubber
feet reduces the possibili of the
speakers vibrating against the wall.
The speakers can now be lied
onto the screws so that the screw
heads engage with the keyhole
slots.
3.4 Using OBERON 1C and ON-WALL C wall hanging features
NOTE:
The front grille DALI logo
can be rotated 90° for
landscape orientation.
OBERON ON-WALL C
For portrait speaker orientation, once
the preferred speaker positions have
been established, insert a mounting
screw in the wall on the centre
line of the speaker position 30mm
(1.25inches) below the speaker top
panel.
For landscape speaker orientation,
once the preferred speaker positions
have been established, insert two
mounting screws in the wall 321mm
(12.6inches) apart on the speaker
position horizontal centre line.
Aach the supplied adhesive rubber
feet to the rear spacing pads of
each speaker. Using the rubber feet
reduces the possibili of the speakers
vibrating against the wall.
The speakers can now be lied onto
the screws so that the screw heads
engage with the keyhole slots.
x 4
12
4. Speaker Connecting and Configuring
The OBERONC series is designed to be
used with either the DALI SOUND HUB or
SOUND HUB COMPACT wireless streaming
preamplifiers.
NOTE:
If you are installing either a DALI SOUND HUB
or SOUND HUB COMPACT at the same time
as you are installing OBERONC speakers, we
recommend that you have its user manual to
hand.
Once all the OBERONC speakers are installed
in position and connected to mains power,
switch them on using their rear panel mains
power switch. The mains power switch locations
are illustrated in Diagram 4. When switched
on, the power indicators on the rear panels will
illuminated red. With all the speakers switched
on, follow the steps described on the next page.
NOTE:
You may need to temporarily
unmount OBERON ON-
WALLC speakers from the
wall to gain access to their
rear panels.
NOTE:
If your OBERONC speakers have been previously used
they may need to be reset. To reset your speakers use
an appropriate tool to press and hold the rear panel
RESET pinhole buons for 1second. The location of the
reset buon is illustrated below.
Reset buon
13
4. Speaker Connecting and Configuring
14
Press the LINK & CONNECT buon on the SOUND HUB or
SOUND HUB COMPACT A. It will indicate speaker connection
mode as described in its user manual.
Now return to one of the OBERONC speakers in your system
and press its rear panel LINK & CONNECT buon B. The power
indicator will illuminate green and the speaker channel matrix
indicators will illuminate cyclically while connection to the SOUND
HUB or SOUND HUB COMPACT is underway.
When connection is established, the cyclic illumination will stop,
leaving just the le and right channel matrix indicators flashing
slowly. The speaker will play a short confirmation tone.
With the speaker connected to the SOUND HUB or SOUND
HUB COMPACT, it can be assigned to either the le or right
channel. The channel matrix display on the speaker rear panel
incorporates indicators at each channel position.
Pressing the speaker LINK & CONNECT buon changes the
channel specified for the speaker C. If the first speaker is to be
assigned to the le channel, the LINK & CONNECT buon will
only need to be pressed once because the le channel is the
default. If the first speaker is to be assigned to the right channel,
press the LINK & CONNECT buon twice to select the right
channel.
With the first speaker connected to the SOUND
HUB or SOUND HUB COMPACT and its channel
assigned, move to the second speaker and repeat
the process D E.
When both speakers in the system are connected
and their channels assigned, return to the SOUND
HUB or SOUND HUB COMPACT and press its
LINK & CONNECT buon to complete the speaker
connection process F. Both speakers will play
a short confirmation tone and the SOUND HUB
or SOUND HUB COMPACT will exit speaker
connection mode.
The SOUND HUB or SOUND HUB
COMPACT connection procedure is
illustrated in Diagram 6.
C E
4. Speaker Connecting and Configuring
DIAGRAM 6
15
POWER
9V 1.3A
POWER
9V 1.3A
AF
Press the LINK & CONNECT buon on the
SOUND HUB COMPACT/SOUND HUB. Press the LINK & CONNECT buon on
the SOUND HUB COMPACT/SOUND
HUB.
HUB HUB
LL
RR
POWER
9V 1.3A
POWER
9V 1.3A
5-10
sec.
A
B
Press the LINK & CONNECT buon on the
LEFT speaker.
Press the LINK & CONNECT buon
repeatedly to select the required channel.
HUB
LR
5-10
sec.
A
B
Press the LINK & CONNECT buon on the
RIGHT speaker.
Press the LINK & CONNECT buon
repeatedly to select the required channel.
HUB
LR
5-10
sec.
16
Once your OBERONC speakers are installed and connected to your
SOUND HUB or SOUND HUB COMPACT, you can begin listening.
Select an active input source on the SOUND HUB or SOUND
HUB COMPACT and slowly increase the volume. Check that both
speakers in the system are working and that the stereo image at the
listening position is well focussed. It’s best to use some music that
you know well.
Once you have become familiar with your OBERONC speakers
performance in your listening space you may wish to adjust their
position to fine-tune their sound. Move the speakers closer to or
further from the walls of the listening space to increase or reduce
the prominence of bass frequencies. If you find the sound initially a
lile bright, more so furnishings or curtains in the listening space
will help. However, you will likely find that any brightness will diminish
as you become more familiar with the sound of your new speakers.
5. Listening and Using
OBERONC speakers can be used without their grilles fied.
However, we strongly recommend that grilles are used if your home
includes inquisitive children or pets. Detach the grilles by pulling them
gently away from the body of the speaker. Replace the grilles by
aligning the grille pegs and sockets and pushing them gently together.
We hope and expect that you will enjoy your OBERONC speakers
from the first moment. However, there may be subtle performance
changes in the first hours or days of use as, for example, driver
suspension components loosen. This is more likely if your speakers
have been stored at below their subsequent ambient operating
temperature.
17
Your OBERONC speakers are capable of reproducing music at
volume levels well in excess of those usually required in pical
domestic listening spaces. However, we understand that it is
sometimes rewarding to turn up the volume and enjoy your music
loud. On those occasions, please take your neighbours into account,
and listen for any distortion that might indicate that your speakers
are at risk of damage.
Your OBERONC speakers don’t require any special treatment
beyond the kind of care that you would give other high value items in
your home. Use a so, dry cloth to dust o the cabinet panels. We
do not recommend the use of any cleaning fluids or sprays, but if you
wish to use furniture polish, apply it to a cloth rather than directly to
the speaker panels. Dust can be removed from bass and midrange
driver cones and from fabric grilles using a so brush. We do not
recommend any aempt to clean or dust tweeter domes.
5. Listening and Using
DALI may occasionally release updated firmware for your
OBERONC speakers which can be updated via the USB connector
on the rear panel. Updated firmware may improve performance
and reliabili or introduce new features. Firmware updates will
be made available for download from the DALI website and will be
accompanied by full instructions on the update process.
18
6. Fault Indication
Wireless audio link error
All seven speaker position indicators
repeatedly blink twice.
Fix:
First check that the SOUND HUB or
SOUND HUB COMPACT is switched on. If
this doesn’t fix the problem, switch the failing
OBERONC loudspeaker o and on. If the
problem persists then reset the system
(SOUND HUB/ SOUND HUB COMPACT
and speakers) as described in its user
manual and re-connect the speakers as
described in Section 4 of this manual.
General hardware failure
The rear panel service
indicator alternates between
red and amber.
Fix:
Switch the OBERONC o
and on again. If the problem
persists, contact DALI
or your local retailer or
distributor for service advice.
Amplifier over-temperature
The rear panel service
indicator blinks red.
Fix:
Pause the music and allow the
amplifier to cool down. It will
switch back on automatically.
If the problem persists, a
General hardware failure
will be indicated. Contact
DALI or your local retailer or
distributor for service advice.
ON-WALL C
OBERON 1C
Service
indicator
In the unlikely event of your OBERON C speakers failing to operate
correctly, the fault indications and fixes described here may provide
a solution. Further help is always available from DALI, your local
retailer, or via the support pages of the DALI website.
OBERON 7C
19
OBERON 1C OBERON 7C OBERON ON-WALL C
Frequency range (±3dB) (Hz) 39–26,000 31–26,000 51–26,000
Maximum SPL (dB) 106 108 107
Crossover frequency (Hz) 2350 2450 2700
Crossover principle Full active 24Bit DSP Full active 24Bit DSP Full active 24Bit DSP
High Frequency driver 1 × 29mm so dome tweeter 1 × 29mm so dome tweeter 1 × 29mm so dome tweeter
Low frequency driver 1 × 5.25" 2 × 7" 1 × 5.25"
Enclosure pe Bass reflex (Rear ported) Bass reflex (Rear ported) Bass reflex (Rear ported)
Reflex tuning frequency (Hz) 52 40 52
Amplifier output power (W) 2 × 50W 2 × 50W 2 × 50W
Amplifier pe Class-D Class-D Class-D
Wireless input Full 24Bit / 96kHz (not compressed) Full 24Bit / 96kHz (not compressed) Full 24Bit / 96kHz (not compressed)
Wireless Audio RF Band (MHz) 5150-5250MHz and 5725-5875MHz*5150-5250MHz and 5725-5875MHz*5150-5250MHz and 5725-5875MHz*
Input Mains Universal mains 100-240VAC Universal mains 100-240VAC Universal mains 100-240VAC
Maximum power consumption (W) 62 62 62
Standby power consumption (W) 1 1 1
Networked standby power consumption (W) ** 1.25 1.25 1.25
Time to enter networked standby < 20 minutes < 20 minutes < 20 minutes
Recommended placement Stand/ Shelf Floor Wall
Recommended distance to walls (cm) 1–50 15–100 On-wall
Dimensions (H × W × D) mm 274 × 162 × 234 1015 × 200 × 340 385 × 245 × 120
Weight (kg/lb) 4.2kg / 9lb 14.8kg / 32lb 4.9kg / 10lb
Included accessories Quick start guide, mains cable, front grille,
rubber feet, silicone bumpers
Quick start guide, mains cable, front
grille, rubber feet, spikes
Quick start guide, mains cable, front grille,
rubber feet, silicone bumpers, cable clips
* Excluding Japan
** Please note that the speaker will remain in networked standby if the
SOUND HUB / SOUND HUB COMPACT is powered o.
7. Technical Specifications
  • Page 1 1
  • Page 2 2
  • Page 3 3
  • Page 4 4
  • Page 5 5
  • Page 6 6
  • Page 7 7
  • Page 8 8
  • Page 9 9
  • Page 10 10
  • Page 11 11
  • Page 12 12
  • Page 13 13
  • Page 14 14
  • Page 15 15
  • Page 16 16
  • Page 17 17
  • Page 18 18
  • Page 19 19

Dali OBERON 7 C Owner's manual

Type
Owner's manual

Dali OBERON 7 C: Experience high-quality audio with ease using these active wireless speakers, designed for seamless integration with the DALI SOUND HUB or SOUND HUB COMPACT. Enjoy a wide range of connectivity options, bringing your music and entertainment to life with exceptional sound quality. The OBERON 7 C's advanced technology delivers a rich, detailed soundscape, perfect for both music lovers and home cinema enthusiasts.

Ask a question and I''ll find the answer in the document

Finding information in a document is now easier with AI