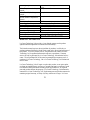
La Crosse Technology WS-7215TWC-IT User manual
- Category
- Weather stations
- Type
- User manual
This manual is also suitable for
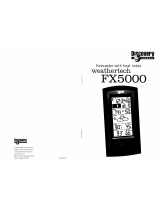
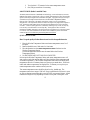
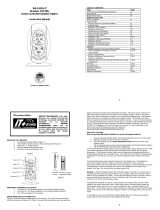
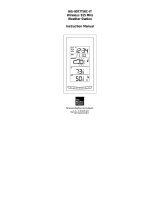
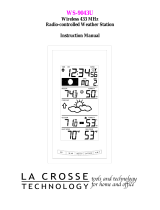
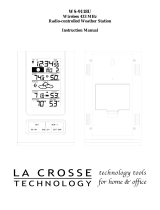
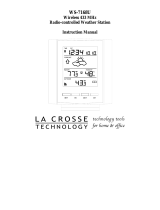
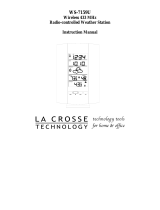
La Crosse Technology WS-7215TWC-IT is a wireless weather station that provides accurate weather information for your home. It features a large, easy-to-read LCD display that shows indoor and outdoor temperature and humidity, as well as the time and date. The weather station also includes a variety of other features, such as a weather forecast, a clock with an alarm, and a snooze function.
La Crosse Technology WS-7215TWC-IT is a wireless weather station that provides accurate weather information for your home. It features a large, easy-to-read LCD display that shows indoor and outdoor temperature and humidity, as well as the time and date. The weather station also includes a variety of other features, such as a weather forecast, a clock with an alarm, and a snooze function.


-
 1
1
-
 2
2
-
 3
3
-
 4
4
-
 5
5
-
 6
6
-
 7
7
-
 8
8
-
 9
9
-
 10
10
-
 11
11
-
 12
12
-
 13
13
-
 14
14
-
 15
15
-
 16
16
-
 17
17
-
 18
18
-
 19
19
-
 20
20
-
 21
21
-
 22
22
-
 23
23
-
 24
24
-
 25
25


La Crosse Technology WS-7215TWC-IT User manual
- Category
- Weather stations
- Type
- User manual
- This manual is also suitable for
La Crosse Technology WS-7215TWC-IT is a wireless weather station that provides accurate weather information for your home. It features a large, easy-to-read LCD display that shows indoor and outdoor temperature and humidity, as well as the time and date. The weather station also includes a variety of other features, such as a weather forecast, a clock with an alarm, and a snooze function.
Ask a question and I''ll find the answer in the document
Finding information in a document is now easier with AI
Related papers
-
 La Crosse Technology WS-9228U-IT User manual
-
La Crosse WS-7014CH-IT User manual
-
 La Crosse Technology WS-9077TWC-IT User manual
-
 La Crosse Technology WS-9043U User manual
-
La Crosse WS-9043TWC User manual
-
 La Crosse Technology WS-9118U User manual
-
 La Crosse Technology WS-7168U User manual
-
La Crosse Technology WS-9065TWC User manual
-
 La Crosse Technology WS-7159U User manual
-
La Crosse Technology WS-9035U User manual