CKSW0555-20230104-00 Printed in China
CLOCK SET
Follow the instructions on sections Setting the Year/Date/Time to set the clock to
the correct year,date and time
Press the CLOCK SET button repeatedly to check the year,date and time.
Make final adjustment if necessary.
1-7
1-5
6-7
(1 or 2 )
1 2
NOTE: Wake-to-buzzer alarm volume level is fixed and cannot be adjusted.
CKSW0555
• Press the AL.1(AL.2) button again to confirm, then the Alarm Week Mode blinks. Press the
AL.1(AL.2) button repeatedly to select your desired Alarm Week Mode: 1-7, 1-5 or 6-7.
• Press the AL.1(AL.2) button again to store the alarm setting and resume to clock mode.
2) Press and hold the AL.1(AL.2) button until the display blinks and changes from the
current time to the Alarm1 or Alarm2 wake up time.
3) Release the AL.1(AL.2) button, press the button to adjust Hour. TUNE- or TUNE+
Press the AL.1(AL.2) button to confirm, then the Minutes will blink. Press the
TUNE- or TUNE+ button to adjust Minutes.
5) Press the AL.1(AL.2) button to confirm, then press the VOL- or VOL+ button to
adjust the alarm volume level (V01~V16) that will come on at wake up time.
4) Press the AL.1(AL.2) button to confirm, then press the TUNE- or TUNE+ button to
select Alarm Week Mode (1-7 everyday, 1-5 weekdays or 6-7 weekends only), if
necessary.
Press the AL.1(AL.2) button repeatedly to turn the Indicator On.
1 (2 )
press the
Saturday 2022
6) Press the AL.1(AL.2) button to confirm and save the alarm settings.
IMPORTANT: Alarm settings can only be adjusted in Standby mode.
Adjusting The Wake Up Time, Alarm Week Mode And Alarm Volume
• Press and hold the AL.1(AL.2) button until the display blinks and changes from the current
time to the Alarm1(Alarm2) wake up time.
• Release the AL.1(AL.2) button, press the TUNE- or TUNE+ button to adjust Hours. Press
the AL.1(AL.2) button again to confirm, then the Minutes blinks. Press the TUNE- or
TUNE+ button to adjust Minutes.
6
959 Route 46 East
1.) Follow the instructions on previous page to install a new CR2032 lithium battery in
the battery compartment.
2.) Connect the radio to your AC outlet and let the clock set itself.
1
2
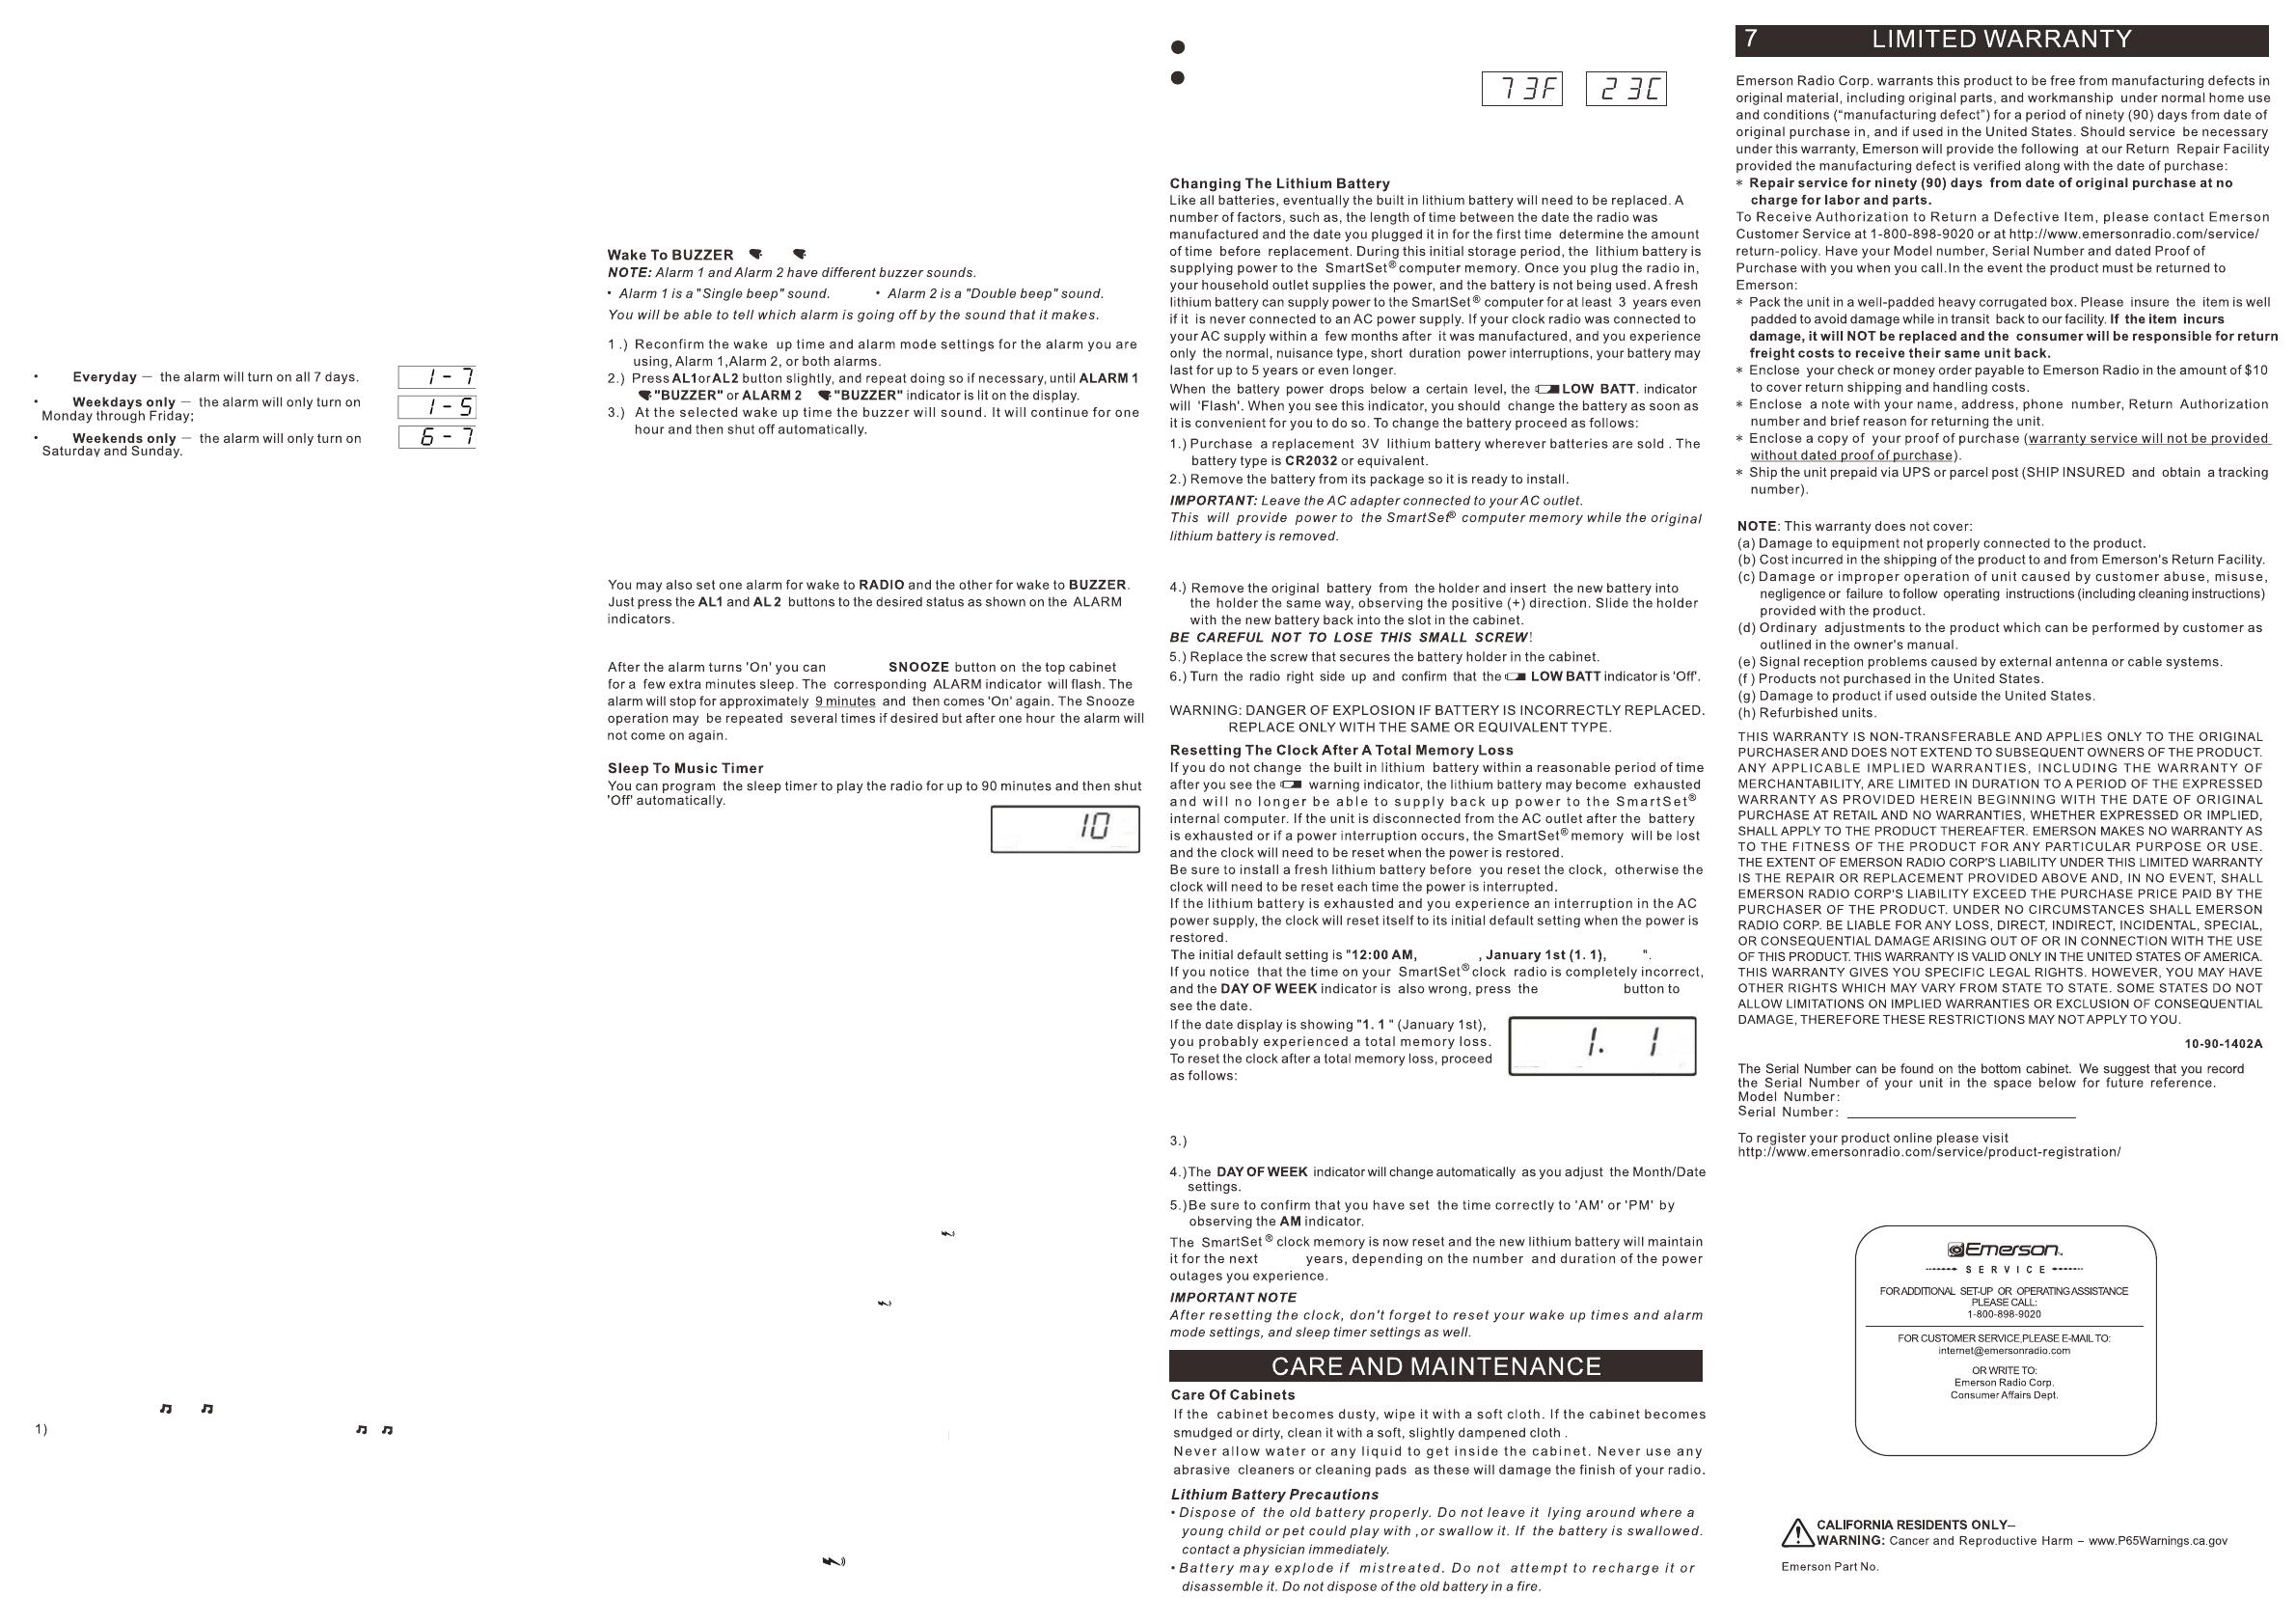
Celsius
Fahrenheit
WARNING: DO NOT place the Temperature Sensor in the mouth or any part
of the body to avoid it from fracturing into small particles and harming you.
Sensing Room Temperature
1.) Press the ON/OFF button to turn the radio On. The frequency of the tuning
frequency will show for a few seconds on the display.
Listening To The Radio
2.) Set the volume level by pressing the VOL+ or VOL- button to a level that is
neither too high nor too inaudible.
3.) Select your desired radio station/frequency with the TUNING control:
a) Press TUNE+ or TUNE- button briefly, the receiving frequency will
increment or decrement by one step.
b) Press and hold the TUNE+ or TUNE- button for two seconds then release.
Auto Station Searching will be engaged, the receiving frequency will
increment or decrement automatically until a station with acceptable
reception is found.
4.) Adjust the volume control to the desired setting.
5.) When you finished listening, press the ON/OFF button to turn the radio Off.
NOTE: The FM antenna is a long wire located at the back. Extend this wire
antenna fully and orient it for better FM reception.
Storing And Recalling Radio Station Memory
When you have a few favorite radio stations to listen to, you may like to save them,
and pick one out of them in a few seconds without needing to search it each time.
Our digital tuning technology PLL (Phase-Lock-Loop) allows you to do this easily
by following steps:
Storing Stations Into Memory
1) Make sure the radio is turned ON.
2) Tune in the desired station with the TUNING control described above.
3) Press and hold the STO. button until ‘PXX’ blinks, where ‘XX’ (01~20) is the
5) After deciding the memory location, press the STO. button again, the current
listening station is then stored accordingly.
6) The display will show the frequency of the station just stored for few seconds
and then resume to clock mode.
Recalling Stations From Memory
1) Make sure the radio is ON.
2) Press the MEM. button, ‘PXX’ shows on the display. The station according to
the memory location will be tuned in.
3) While ‘PXX’ is showing on the display, press the TUNE- or TUNE+ button can
change the memory location from 1 through 20, and the station stored in that
location will then be tuned in.
4) The display will show the frequency of the station for few seconds and then
resume to clock mode.
Wake To RADIO (1 or 2 )
Press the TEMP. button to sense indoor
Temperature can be converted between
Fahrenheit and Celsius by pressing
and holding the TEMP. button while in
temperature mode.
NOTE: When the sensor exceeds the operating range (32-140°F), it will display as ‘--F’.
1) Press the SLEEP button after the radio is turned On.
The display will show ‘10’ (10 minutes default). After 10
minutes countdown the radio will shut off automatically.
Each time you press the SLEEP button the sleep timer increases in 10 minutes
step (10-90, OFF minutes).
NOTE: When you change the sleep timer from the 10 minutes default setting to
a different setting, the new setting becomes the default setting. Whenever you
activate the sleep timer it will begin with your new default setting and count
down to zero from that point.
2) To cancel the sleep timer before it counts down to ‘00’ and shut the radio Off
immediately, press the ON/OFF button once.
4-Level DIMMER Control
Press the DIMMER button while in Standby mode and select any of the four levels.
Wireless Charging
A 5W Wireless Charging Pad is built on top of this unit for wireless power transfer
to any Qi-compatible Smartphones or Qi-enabled Receivers over a vertical
distance of NOT more than 0.2 inches (5 mm).
1) Place your Qi-compatible smartphone or receiver (only one set at a time) on top
of the Wireless Charging Pad. The center of your smartphone or receiver must
be positioned properly right at the middle of this charging pad in order to
maximize the charging efficiency.
2) While wireless charging started or detected, the indicator will be flashing
‘Red’ slowly.
3) To make sure wireless charging performs properly, check the charging icon
and/or charging message displays on your phone.
4) While your phone is fully charged, the indicator will turn solid ‘Red’.
Please also check the charging icon and/or charging message on your
phone to ensure it is fully charged, then remove it from the wireless
charging pad.
Note:
ŸThis wireless charging pad works with Qi-compatible device including
iPhone 14/13/12/11/XS/XR/X/8/8 Plus, Galaxy S22, S21, S20, S10
Plus/S10E/S10/S9 and 5W-15W all Qi-enabled phones.
ŸWireless charging may not work properly if the protective case or
accessory placed at the back of your smartphone is thicker than 0.2
inches (5 mm), remove the protective case or accessory before placing
your phone (screen facing upward) on the wireless charging pad.
ŸDo not place any foreign objects, such as coins, keys, metallic objects,
magnets, and magnetic stripe cards, between your phone and the
wireless charger, to avoid interference or overheating. While wireless
charging error occurred, the indicator will be flashing ‘Red’ rapidly
to alert user to get the erroneous receiver removed.
NOTE: Be sure that you have set the wake up time correctly by observing the AM
Indicator. If the AM Indicator is ‘On’ the wake up time is “AM”. If the AM Indicator is
‘Off’, the wake up time is “PM”.
Checking The Wake Up Times (in Standby mode only)
To check the Wake Up Time set for Alarm1(Alarm2), press briefly the AL.1(AL.2) button.
• Press the AL.1(AL.2) button again to confirm, then the Alarm Volume blinks (only if it is set
to wake-to-radio alarm mode). Press the TUNE- or TUNE+ button to select your
desired wake-to-radio alarm volume (V01~V16).
®
Your SmartSet clock radio allows you to select from three different Alarm Week Modes
for each alarm. They are:
3.) Turn the radio bottom up and use a small screw driver to remove the screw securing
the battery holder to the cabinet.
4) While ‘PXX’ is blinking, press the TUNE- or TUNE+ button to change it to your
desired memory location from 01 to 20. For example, ‘P03’ means the
current listening station is about to be stored on the 3rd location of the memory.
7) At the selected wake up time the radio will turn On and has its radio volume
gradually reaches its preset level. It will play for one hour and then shut Off
automatically.
8) To stop the radio sooner, press the ON/OFF button. The radio will stop but the
alarm remains set and will turn the radio On again at the same time on the
following day (depending on the Alarm Week Mode setting).
9) If you do not want the alarm to turn the radio On the following day, quickly press
and release the appropriate ALARM button until alarm indicator light is Off.
nd
Suite 210, 2 Floor
Parsippany, NJ 07054
3 to 5
programmable memory location.
4.) To stop the buzzer sooner, press the ON/OFF button. The buzzer will stop but
the alarm remains set and will turn the buzzer on again at the same time on
the following day (depending on the Alarm Week Mode setting).
5.) If you do not want the alarm to turn the radio on the following day, quickly press
and release the appropriate ALARM button until the alarm indicator light is off.
Radio And Buzzer Alarm Operation
7.) Save these instructions for future use as you will have to do this again.
Snooze/Repeat Alarm
temperature.
®
Your SmartSet clock radio has separate alarms that can be set and used
independently. You may use the alarms to wake two people at different times, or
you may use one alarm for weekdays and the other for weekend wake up times. The
procedure for adjusting the wake up times is the same for both Alarm1 and Alarm2.