Lightolier CP6RN CorePro LED Downlight Install Instructions
- Type
- Install Instructions
This manual is also suitable for
Lightolier CP6RN CorePro LED Downlight
The Lightolier CP6RN CorePro LED Downlight is a versatile and energy-efficient lighting solution for a variety of applications. With its adjustable bar hangers, the downlight can be easily installed in ceilings with joists spaced up to 8 inches apart. The fixture's junction box allows for secure connections to electrical supply wires, ensuring a safe and reliable installation.
The CP6RN CorePro LED Downlight is IC rated, meaning it can be covered with thermal insulation after installation. This makes it an ideal choice for use in insulated ceilings, where traditional recessed lighting fixtures may pose a fire hazard. Additionally, the downlight's gasket complies with California's Title 24 requirement for air-tight installations, making it suitable for use in energy-efficient buildings.


-
 1
1
-
 2
2
Lightolier CP6RN CorePro LED Downlight Install Instructions
- Type
- Install Instructions
- This manual is also suitable for
Lightolier CP6RN CorePro LED Downlight
The Lightolier CP6RN CorePro LED Downlight is a versatile and energy-efficient lighting solution for a variety of applications. With its adjustable bar hangers, the downlight can be easily installed in ceilings with joists spaced up to 8 inches apart. The fixture's junction box allows for secure connections to electrical supply wires, ensuring a safe and reliable installation.
The CP6RN CorePro LED Downlight is IC rated, meaning it can be covered with thermal insulation after installation. This makes it an ideal choice for use in insulated ceilings, where traditional recessed lighting fixtures may pose a fire hazard. Additionally, the downlight's gasket complies with California's Title 24 requirement for air-tight installations, making it suitable for use in energy-efficient buildings.
Ask a question and I''ll find the answer in the document
Finding information in a document is now easier with AI
in other languages
- français: Lightolier CP6RN CorePro LED Downlight
Related papers
-
Lightolier CorePro LED Downlight Install Instructions
-
Lightolier LyteCaster LED Accent Install Instructions
-
Lightolier Calculite LED 3" Round Downlights, Wall Wash and Accents Install Instructions
-
Lightolier Calculite LED Install Instructions
-
Lightolier Calculite LED 6" square gen 3 Install Instructions
-
Lightolier LyteCaster LED Accent Install Instructions
-
Lightolier Calculite LED 6" square gen 3 Install Instructions
-
Lightolier Calculite LED Install Instructions
Other documents
-
 Commercial Electric CER5R532WHP Installation guide
-
 Commercial Electric CER4G10R464CLP Installation guide
-
 Commercial Electric CER5TR551WHP Installation guide
-
EnviroLite EVR2000LA-6 Installation guide
-
 Commercial Electric CER3G10R343WHP Installation guide
-
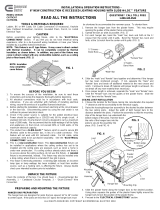 Commercial Electric CAT7ICATA-6PK Installation guide
-
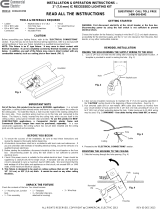 Commercial Electric CER3LICR373BN30 Installation guide
-
PRIVATE BRAND UNBRANDED CAT7ICRM Installation guide
-
Halo H36LVTAT Installation guide
-
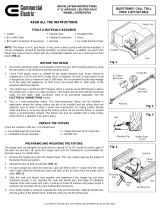 Commercial Electric CER6CP6743-4PK Installation guide


