Console Sink Installation Instructions 3
Read entire Console Sink Installation Instructions.
Observe all local building and safety codes.
TOOLS AND MATERIALS:
Pencil
BEFORE INSTALLING INSTALLATION
CONSOLE SINK INSTALLATION
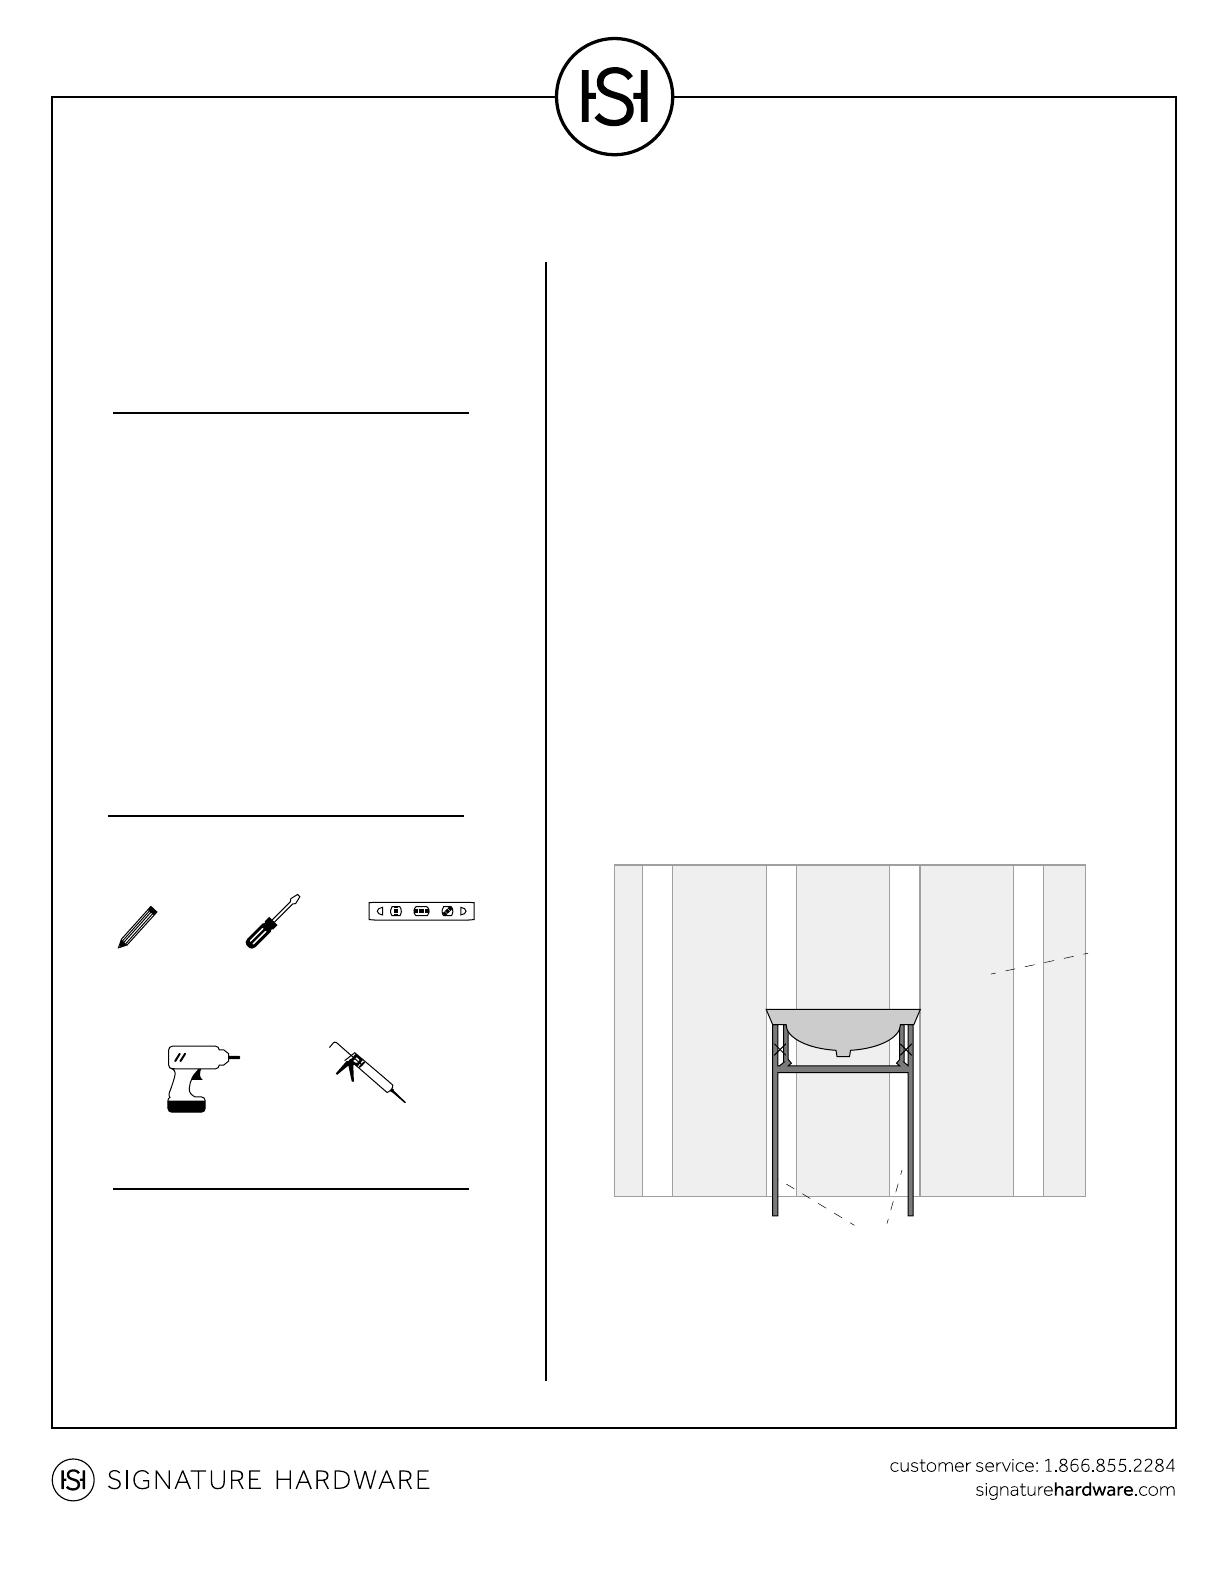
1. Once assembled, place the sink stand against the wall and in
line with wall studs or wood blocking. Make sure the stand is
level. If needed, adjust the small screws under each leg to level.
2. Mount the flanges to the wall with the included screws. Each
flange has three screws.
3. Apply a thin coat of silicone to the tops of the sink stand
where the vanity top will rest.
4. Carefully place the vanity top on the sink stand, center it and
allow silicone to dry for 24 hours.
5. Proceed to installing your faucet, drain, and plumbing fixtures
to complete the installation.
Level
Screwdriver
Drill
Silicone Sealant
INSTRUCTIONS
Unpack and inspect the product for any shipping
damages. If you find damages, do not install.
Contact Customer Service at 1.866.855.2284. If
you need assistance or have questions while
installing your sink, contact Customer Service.
For adequate wall support, we recommend using
heavy-duty steel wall anchors and placing wood
blocking inside the wall. We recommend consulting
a professional if you are unfamiliar with installing
bathroom fixtures. Signature Hardware accepts no
liability for any damage to the sink or wall, or for
personal injury during installation.
BACKSPLASH
For counters with a backsplash, apply silicone to
the backsplash's edge and wall-facing side.
Position the backsplash to the rear of the
counter and against the wall. Allow silicone to dry.
Wall
Studs


